iRobo S9+ (9550) Robot Vacuum
Product's Documents
Below are documents related to this product, you can read online or download:
- Owner's manual - (English) Read Online | Download pdf
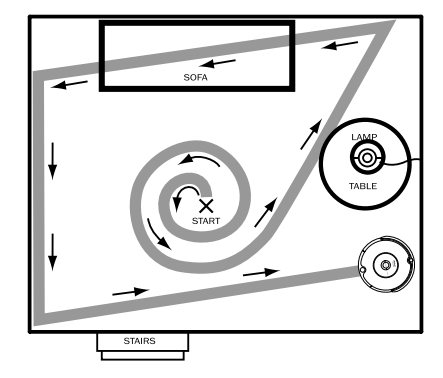
Spiraling:
Wall Following:
Room Crossing:
Dirt Detection:
Cleaning Modes
Clean Mode (all models)
Spot Mode (all models)
Scheduled Cleaning Mode (Models 650 and above)
Cleaning System

Floor Surfaces
Anti-Tangle system
Cleaning Time
Hour Refresh Charge
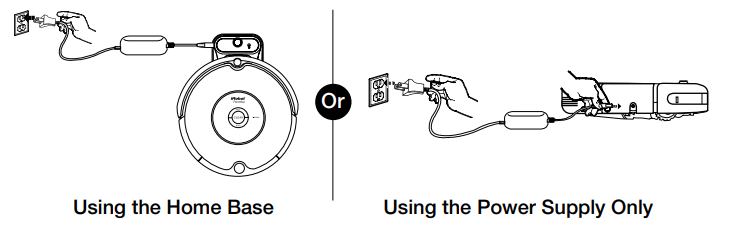
Charging Roomba
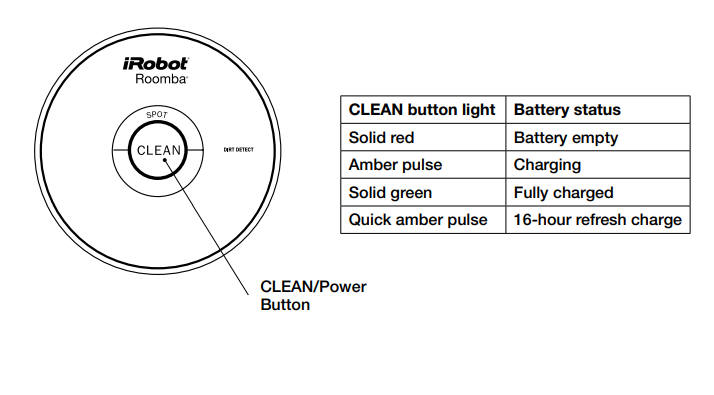
Charging Lights
Manual Virtual Wall
Auto Virtual Wall
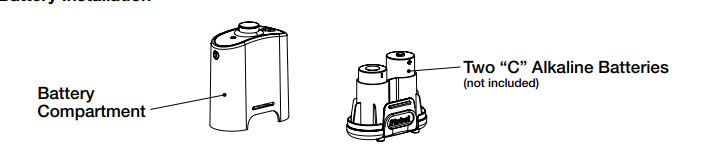
Virtual Wall® Halo (optional accessory for all models)
Home Base Location
Setting the Time
To set a schedule:
To view Roomba’s scheduled cleaning times:
To Delete a Schedule
To Change a Schedule
TIP:
Tip:
Tip:
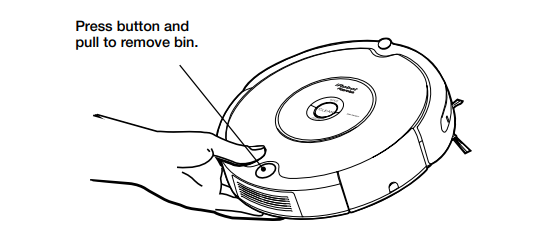
Empty bin
Clean Roomba’s filter
Clean Roomba’s front wheel
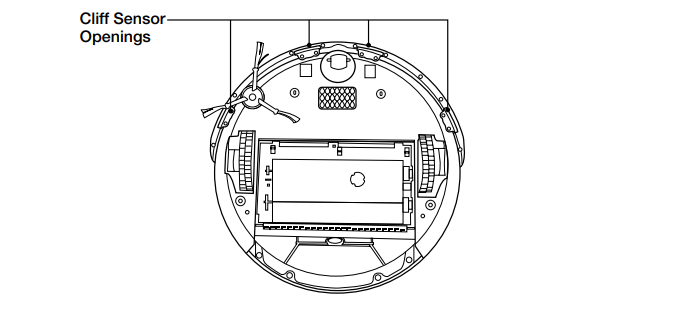
Clean Roomba’s cliff sensors
Setting the Language
1 blink (every 2 seconds)
1 blink
2 blinks
3 blinks
5 blinks
6 blink
7 blinks