Loading ...
Loading ...
Loading ...
232323232323
Refrigerator rocks
and is not stable
■ Refrigerator is not level - To stabilize the refrigerator, remove the base grille and lower the
leveling feet until they touch the floor. See the “Door Removal, Leveling, and Alignment.”
DOORS AND LEVELING Possible Causes and/or Recommended Solutions
ICE AND WATER Possible Causes and/or Recommended Solutions
Ice maker is not
producing ice,
not producing
enough ice,
or producing
small/hollow ice
■ Refrigerator is not connected to a water supply or the water supply shut-off valve is not fully
turned on - Connect the refrigerator to a water supply and make sure the water shutoff valve is
fully open.
■ Kink in the water source line - A kink in the water line can reduce water flow, resulting in decreased
ice production, small ice cubes, and/or hollow or irregularly shaped ice. Straighten the water line.
■ Ice maker is not turned on - Turn on the ice maker. See “Ice Maker and Storage Bin.”
■ New installation - After connecting the refrigerator to a water source, flush the water system.
(See “Water and Ice Dispensers.”) Wait 24 hours for ice production to begin. Wait 72 hours for full ice
production. Discard the first three batches of ice produced.
■ Large amount of ice was recently removed - Allow sufficient time for the ice maker to produce
more ice.
■ Ice is jammed in the ice maker ejector arm (on some models) - Remove ice from the ejector arm
using a plastic utensil.
■ Inadequate water pressure - Verify that the household has adequate water pressure. See “Water
Supply Requirements.”
■ Water filter is installed incorrectly - Make sure the filter is properly installed. See “Water Filtration
System.”
■ A reverse osmosis water filtration system is connected to your cold water supply - This can
decrease water pressure. See “Water Supply Requirements.”
NOTE: If questions remain regarding water pressure, contact a licensed, qualified plumber.
Ice dispenser
will not operate
properly
■ Doors not closed completely - Make sure both doors are firmly closed. (On some models, only the
freezer door must be closed in order to operate the dispenser.)
■ New installation - After connecting the refrigerator to a water source, flush the water system.
(See “Water and Ice Dispensers.”) Wait 24 hours for ice production to begin. Wait 72 hours for full ice
production. Discard the first three batches of ice produced.
■ Ice maker is not turned on or ice bin is not installed correctly - Turn on the ice maker and make
sure the ice storage bin is firmly in position. See “Ice Maker and Storage Bin.”
■ Ice is clogged or frozen together in the ice storage bin or ice is blocking the ice delivery
chute - Remove or separate the clogged ice, using a plastic utensil if necessary. Clean the ice delivery
chute and the bottom of the ice storage bin using a warm damp cloth, then dry both thoroughly. To avoid
clogging and to maintain a fresh supply of ice, empty the storage bin and clean both the storage bin and
the delivery chute every 2 weeks.
■ Wrong ice has been added to the storage bin - Use only ice cubes produced by the current ice maker.
■ Dispenser is locked - Unlock the dispenser. See “Water and Ice Dispensers.”
■ Ice dispenser jams while dispensing crushed ice - For models with the ice storage bin on the door,
temporarily switch from crushed ice to cubed ice to clear the jam.
■ Dispenser pad/lever has been pressed too long - Ice will automatically stop dispensing. Wait a few
minutes for the dispenser to reset, then resume dispensing. Take large amounts of ice directly from the
ice bin, not through the dispenser.
■ Water pressure to the home is not at or above 30 psi (207 kPa) - The water pressure to the home
affects the flow from the dispenser. See “Water Supply Requirements.”
■ Water filter is clogged or incorrectly installed - Replace filter or reinstall it correctly. See “Water
Filtration System.”
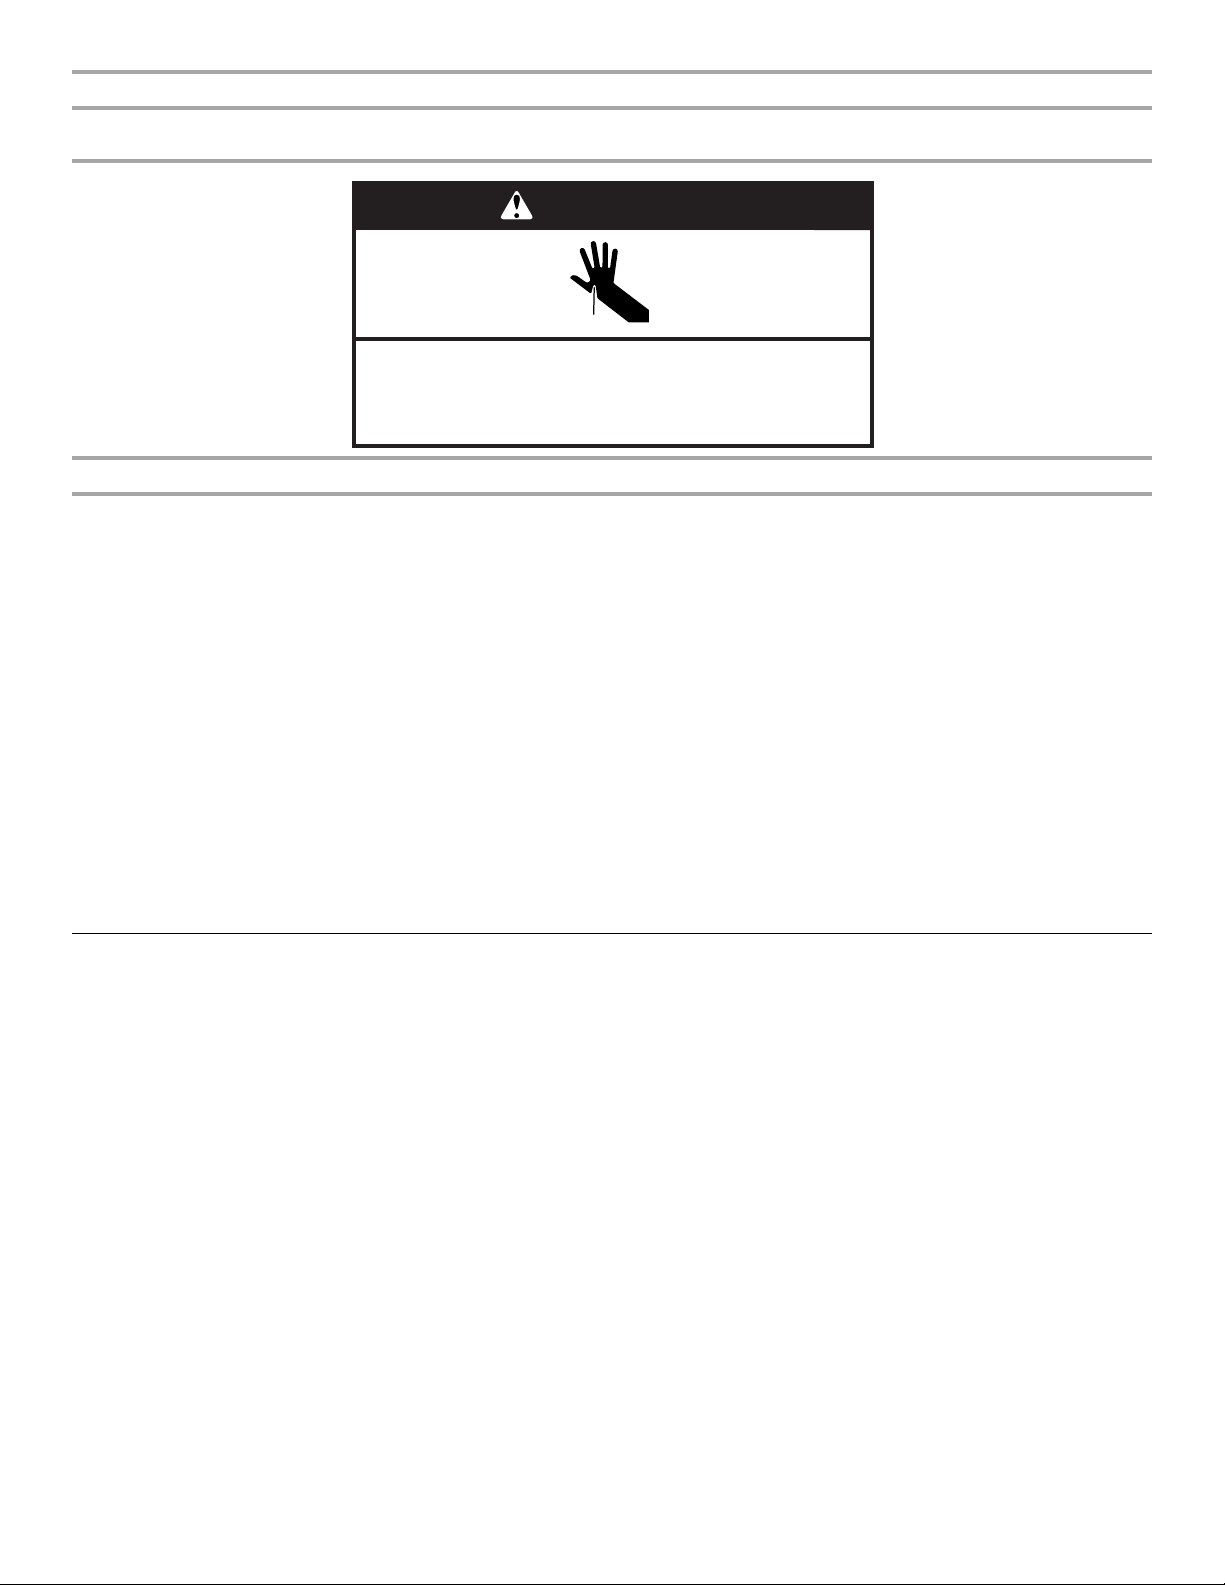
Cut Hazard
Use a sturdy glass when dispensing ice.
Failure to do so can result in cuts.
WARNING
Loading ...
Loading ...
Loading ...