Loading ...
Loading ...
Loading ...
14
Care & Cleaning and
Energy Saving Tips
Care and cleaning
Front Grille
Be sure that nothing obstructs the required
air flow openings in front of the cabinet. At
least once or twice a year, brush or vacuum
lint and dirt from the front grille area.
Cabinet
The painted cabinet can be washed
with either a mild soap and water and
thoroughly rinsed with clear water. NEVER
use abrasive scouring cleaners.
Interior
Wash interior compartment with mild soap
and water. Do NOT use an abrasive cleaner,
solvent, polish cleaner or undiluted detergent.
Care of Appliance
1. Avoid leaning on the drawer, you
may bend the drawer slides or tip the
appliance.
2. Exercise caution when sweeping,
vacuuming or mopping near the front
of the appliance. Damage to the grille
can occur.
3. Periodically clean the interior of the
appliance as needed.
4. Periodically check and/or clean the
front grille as needed.
In the Event of a Power Failure
If a power failure occurs, try to correct it as soon
as possible. Minimize the number of drawer
openings while the power is off so as not to
adversely affect the appliance's temperature.
Light assembly replacement
All models use an LED to illuminate the interior
of the appliance. This component is very
reliable, but should it fail, contact a qualified
service technician for replacement of the LED.
The following suggestions will
minimize the cost of operating
your refrigeration appliance.
1. Do not install your appliance next to a
hot appliance (cooker, dishwasher, etc.),
heating air duct, or other heat sources.
2. Install product out of direct sunlight.
3. Ensure the front grille vents at front
of appliance beneath drawer are not
obstructed and kept clean to allow
ventilation for the refrigeration system
to expel heat.
4. Plug your appliance into a dedicated
power circuit. (Not shared with other
appliances).
5. When initially loading your new product,
or whenever large quantities of warm
contents are placed within refrigerated
storage compartment, minimize drawer
openings for the next 12 hours to allow
contents to pull down to compartment
set temperature.
6. Maintaining a relatively full storage
compartment will require less appliance
run time than an empty compartment.
7. Ensure drawer closing is not obstructed
by contents stored in your appliance.
8. Allow hot items to reach room
temperature before placing in product.
9. Minimize drawer openings and
duration of drawer openings.
10. Use the warmest temperature control
set temperature that meets your
personal preference and provides the
proper storage for your stored contents.
11. When on vacation or away from
home for extended periods, set the
appliance to warmest acceptable
temperature for the stored contents.
12. Set the control to the “off” position if
cleaning the appliance requires the drawer
to be open for an extended period of time.
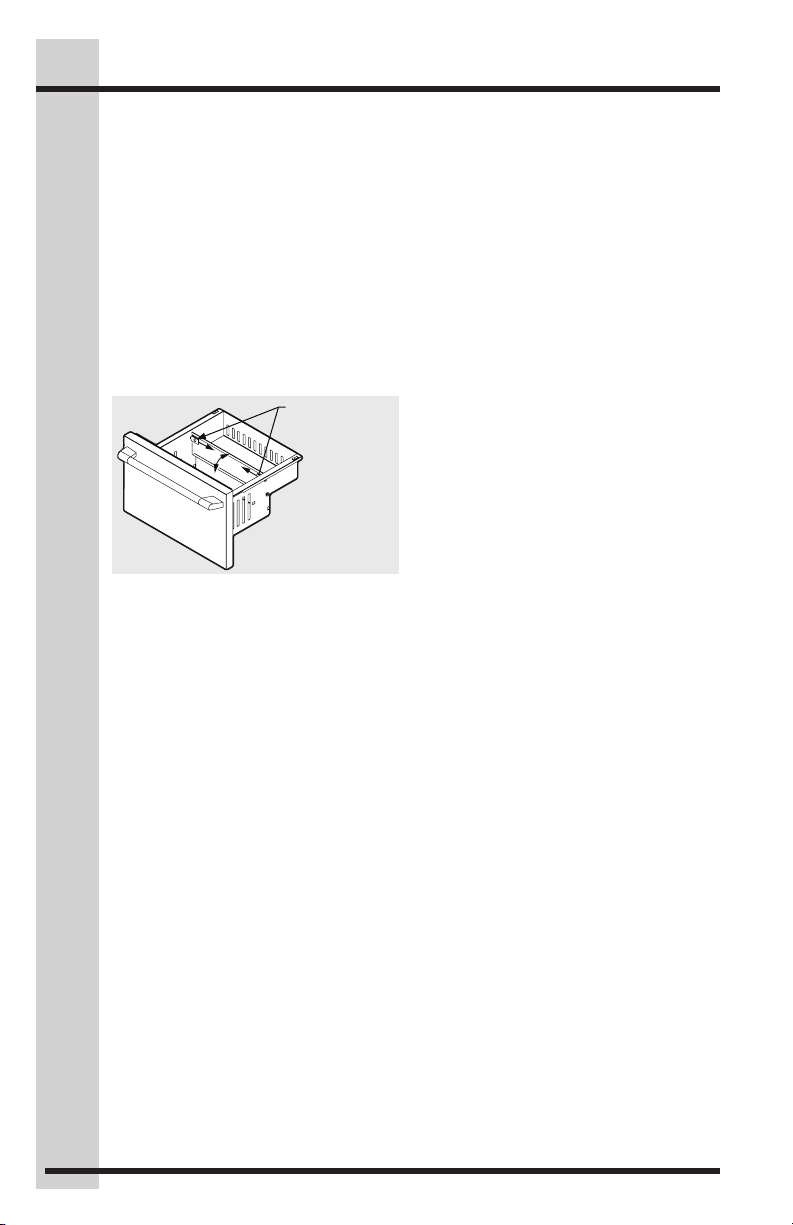
Bottom drawer divider
The bottom drawer has a divider that can
be flipped up or down depending on your
preference. There are three positions for
the divider.
UP- Use to create a partition between the
front and rear of the drawer.
FLAT- Use to extend the rear of the drawer
bottom.
DOWN- Use to combine the front and rear
areas of the drawer.
Move the spring loaded outside latches
toward the center of the drawer and
release into a new position.
Bottom drawer
divider shown
in "UP" position
Latches
Figure 12
Loading ...
Loading ...
Loading ...