Loading ...
Loading ...
Loading ...
12
6. Close the filter cover door completely in order to snap the filter
into place. You may need to press hard.
7. After changing the filter, reset the filter status light. See “Water
Filtration System” in the User Instructions or User Guide.
8. Flush the water system. See “Water and Ice Dispensers” in the
User Instructions or User Guide.
REFRIGERATOR CARE
Cleaning
Both the refrigerator and freezer sections defrost automatically.
However, clean both sections about once a month to avoid
buildup of odors. Wipe up spills immediately.
IMPORTANT: Because air circulates between both sections, any
odors formed in one section will transfer to the other. You must
thoroughly clean both sections to eliminate odors. To avoid odor
transfer and drying out of food, wrap or cover foods tightly.
To Clean Your Refrigerator:
NOTE: Do not use abrasive or harsh cleaners such as window
sprays, scouring cleansers, flammable fluids, cleaning waxes,
concentrated detergents, bleaches or cleansers containing
petroleum products on plastic parts, interior and door liners or
gaskets. Do not use paper towels, scouring pads, or other harsh
cleaning tools.
1. Unplug
refrigerator or disconnect power.
2. Hand wash, rinse, and dry removable parts and interior
surfaces thoroughly. Use a clean sponge or soft cloth and a
mild detergent in warm water.
3. Wash stainless steel and painted metal exteriors with a clean
sponge or soft cloth and a mild detergent in warm water.
4. There is no need for routine condenser cleaning in normal
home operating environments. If the environment is
particularly greasy or dusty, or there is significant pet traffic in
the home, the condenser should be cleaned ev
ery 2 to
3 months to ensure maximum efficiency.
If you need to clean the condenser:
Remove the base grille. See the “Door Removal”
instructions, either in the User Instructions or the
Installation Instructions and Owner’s Manual, or in the
separate instruction sheet provided with your refrigerator.
Use a vacuum cleaner with a soft brush to clean the grille,
the open areas behind the grille and the front surface area
of the condenser.
Replace the base grille when finished.
5. Plug in refrigerator or reconnect power.
Lights
IMPORTANT: The refrigerator and freezer compartments, air
tower and dispenser lights are LEDs that cannot be changed
by yourself. To order replacement LED lightings, call Whirlpool
service. In the U.S.A., call 1-800-253-1301. In Canada,
call 1-800-807-6777.
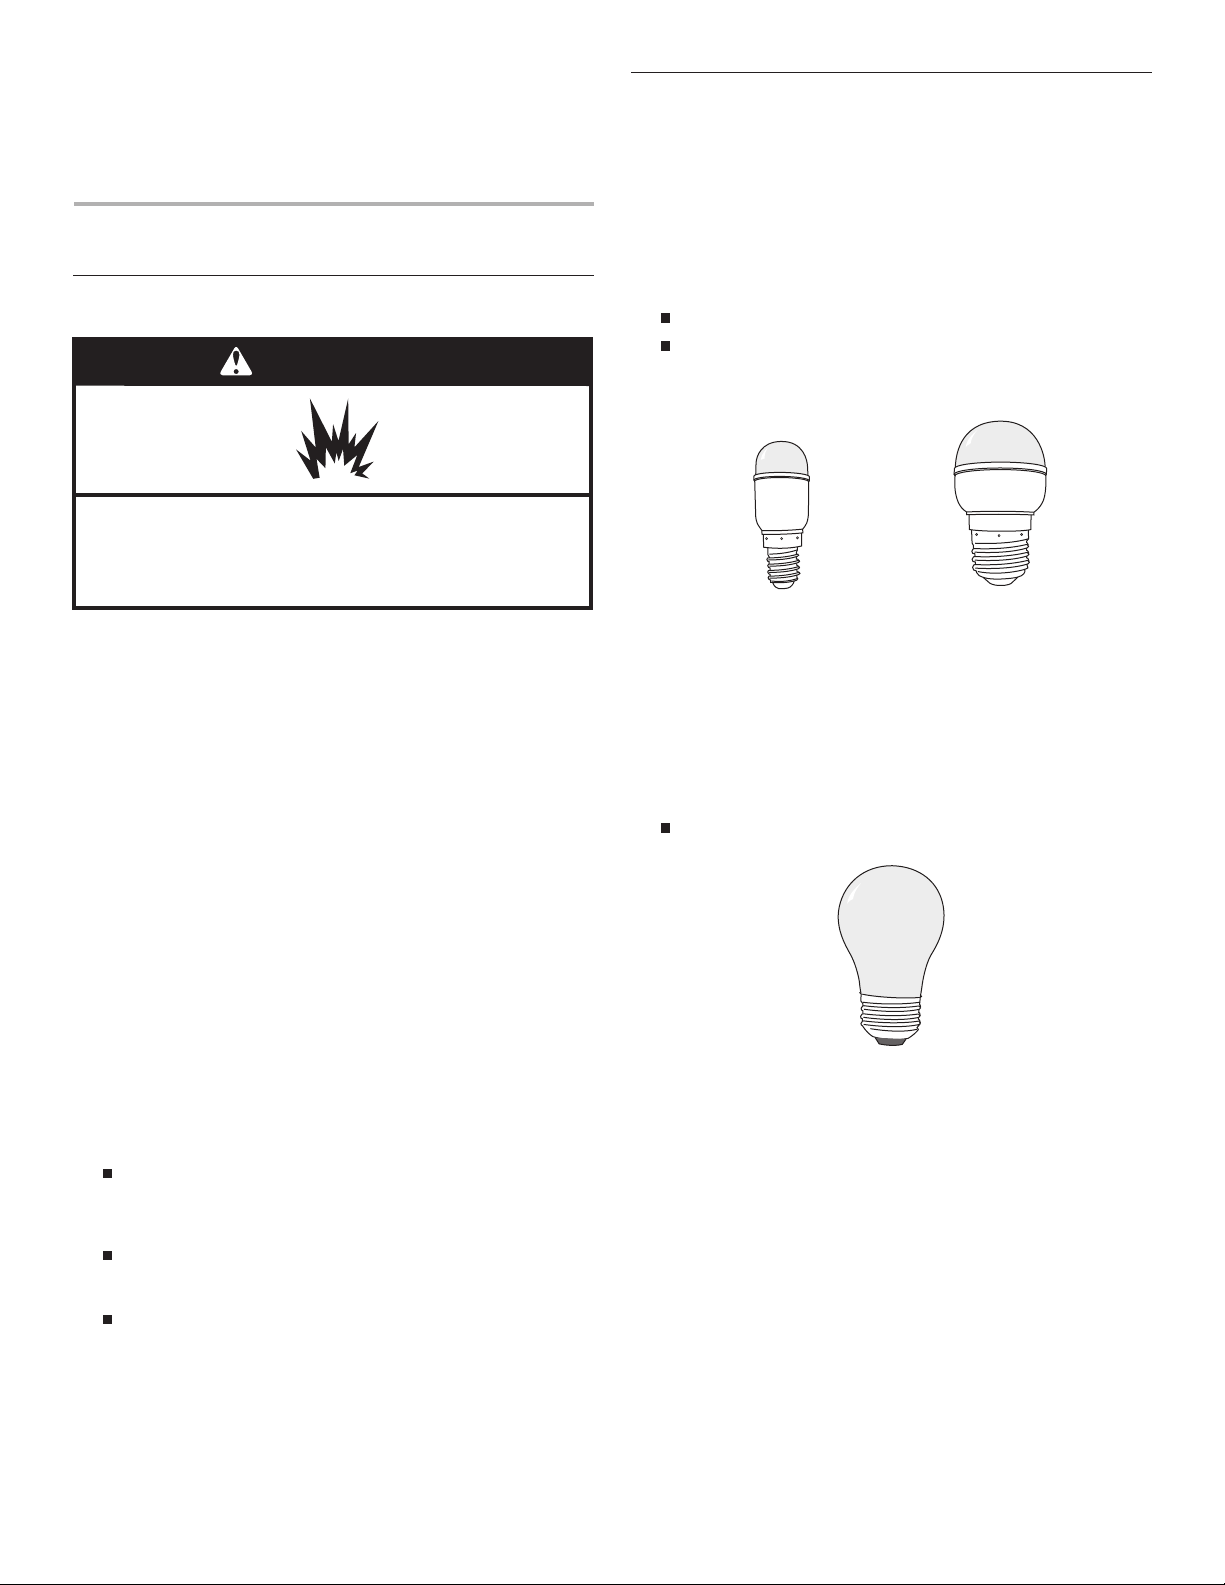
Light Styles:
The dispenser lights are mini LEDs that cannot be changed.
The interior lights vary by model.
Some models have mini LEDs that cannot be changed.
Some models have full-size LED bulbs that can be
changed. To order replacement LED bulbs, call
1-800-253-1301 (U.S.A.) or 1-800-807-6777 (Canada).
NOTE: Some LED replacement bulbs are not
recommended for wet/damp environments. The
refrigerator and freezer compartments are considered to
be wet/damp environments. If using a brand of LED bulb
other than the recommended Whirlpool LED bulb, read
and follow all instructions on the replacement bulb’s
packaging before installing it.
Some models have incandescent 40-watt bulbs that can
be changed.
NOTE: Not all replacement bulbs will fit your refrigerator.
Do not use an incandescent bulb in excess of 40 watts.
To Change a Light Bulb:
1. Unplug refrigerator or disconnect power.
2. Remove the light shield as explained in the following
sections.
NOTE: To clean the light shield, wash it with warm water and
liquid detergent. Before reinstalling, thoroughly rin
se and dry
the shield.
3. Replace the burned-out light bulb, as explained in the
following sections.
4. Reinstall the light shield, as explained in the following
sections.
5. Plug in refr
igerator or reconnect power.
WARNING
Explosion Hazard
Use nonflammable cleaner.
Failure to do so can result in death, explosion, or fire.
Whirlpool
Part Number
W10574850A
(2.0 watts)
Whirlpool
Part Number
W10565137A
(3.6 watts)
Loading ...
Loading ...
Loading ...