Loading ...
Loading ...
Loading ...
34 OPERATION
• Bread wrappers
• Non-polyethylene plastic containers
• Containers without tight lids
• Wax paper or wax-coated freezer wrap
• Thin, semi-permeable wrap
NOTE
• If you are leaving home for a short period, like a
short vacation, the refrigerator should be left on.
Refrigerated foods that are able to be frozen will
stay preserved longer if stored in the freezer.
• If you are leaving the refrigerator turned off for
an extended period, remove all food and unplug
the power cord. Clean the interior, and leave the
door open to prevent fungi from growing in the
refrigerator.
• Do not store food with high moisture content
towards the top of the refrigerator. The moisture
could come into direct contact with the cold air
and freeze.
• Wash food before storing it in the refrigerator.
Vegetables should be washed, and food
packaging should be wiped down to prevent
adjacent foods from being contaminated.
• If the refrigerator is kept in a hot and humid
place, frequent opening of the door or storing a
lot of vegetables in the refrigerator may cause
condensation to form. Wipe off the
condensation with a clean cloth or a paper towel.
• If doors are opened or closed too often, warm
air may penetrate the refrigerator and raise its
temperature. This can increase the running costs
of the unit.
Humidity Controlled
Crispers
Using the Humidity Controlled
Crispers
This feature is only available on some models.
The crispers provide fresher tasting fruit and
vegetables by letting you easily control humidity
inside the drawer.
You can control the amount of humidity in the
moisture-sealed crispers by adjusting the control
to any setting between Vegetables and Fruit.
• Vegetables keeps moist air in the crisper for
best storage of fresh, leafy vegetables.
• Fruit lets moist air out of the crisper for best
storage of fruit.
Removing/Assembling the
Humidity Controlled Crispers
1 Open the doors completely and remove the
contents of the Door-in-Door case. Lift up and
pull out the Door-in-Door case.
NOTE
• The Door-in-Door feature is only available on
some models.
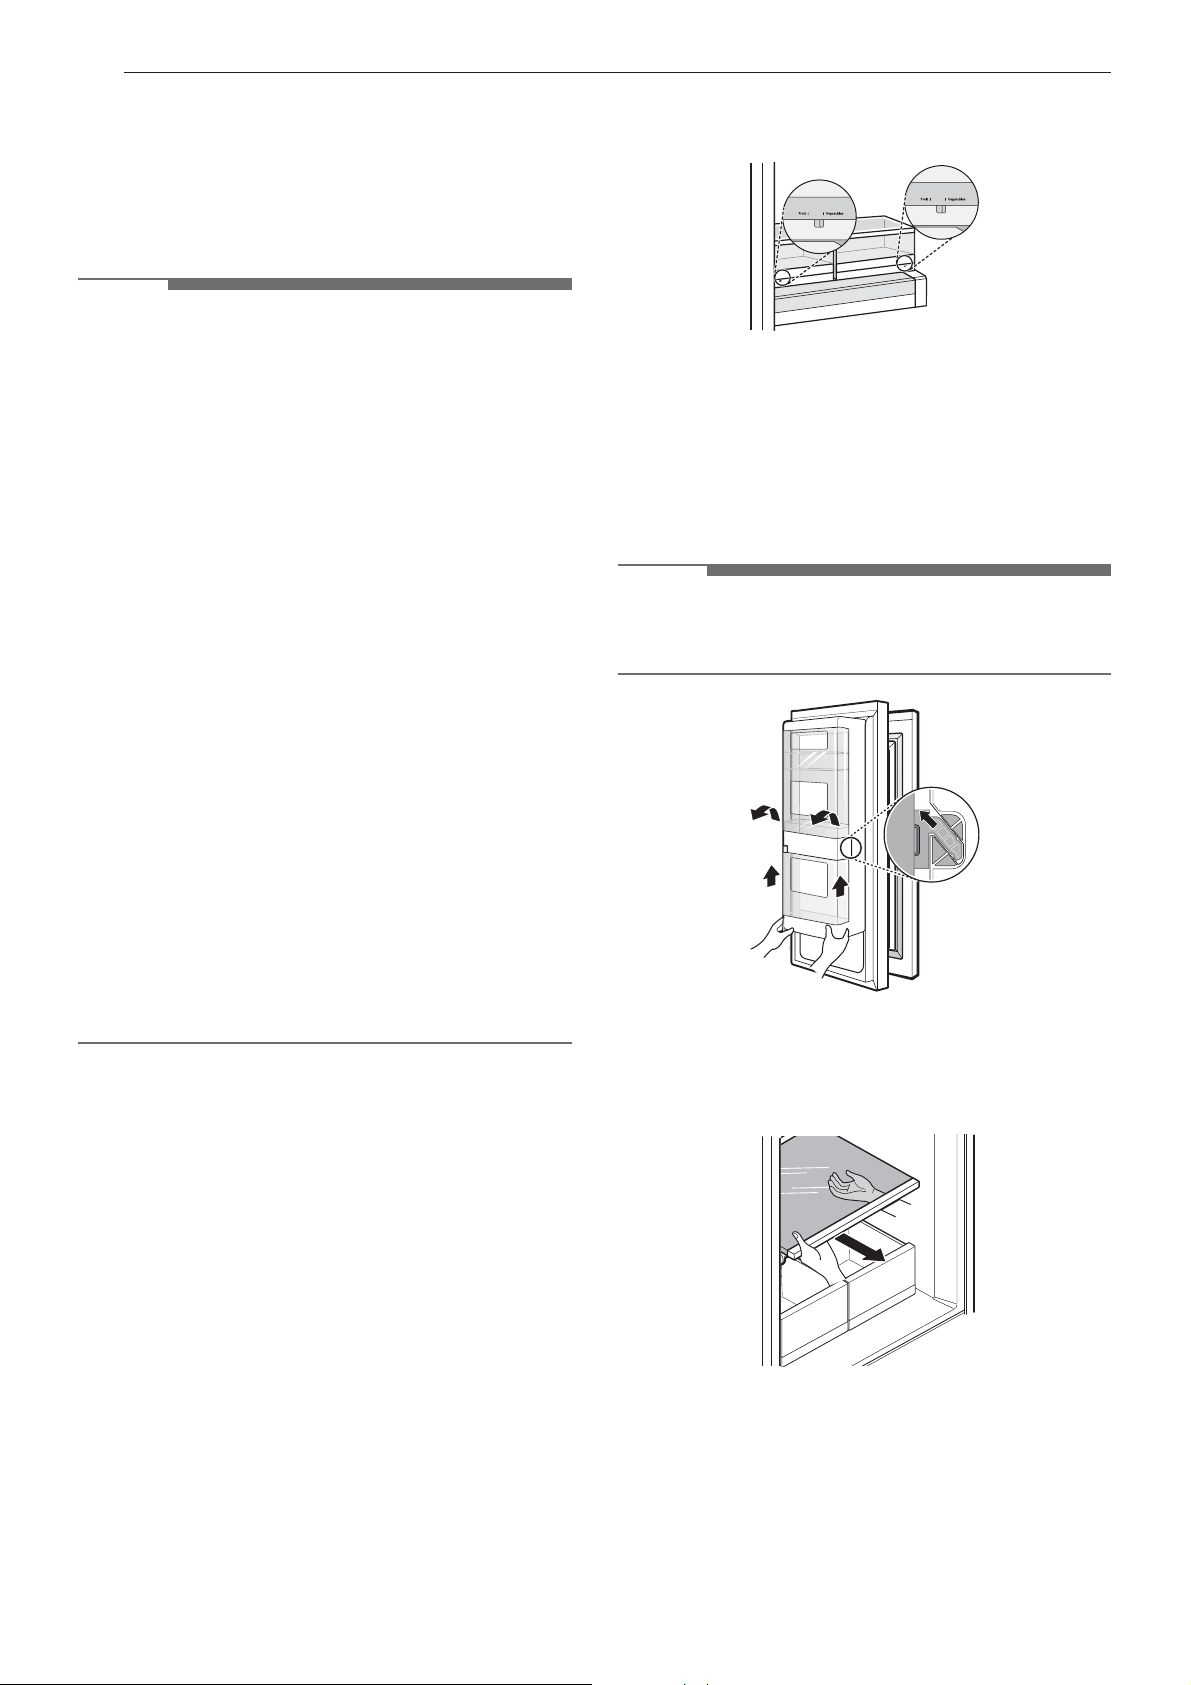
2 Lift the front of the cover up with both hands
until it detaches from the back wall of the
cabinet, then pull it out.
3 Pull out the crisper to full extension, lift the
front up, and pull straight out.
Loading ...
Loading ...
Loading ...