Loading ...
Loading ...
Loading ...
28
Setting input ports using menu
Inputting image from Main to Sub
- Video signal (either component or video)
1.
If the STACK menu is already displayed on the screen, proceed to 3 below.
Otherwise press the MENU button on the remote control.
If the MENU dialog is displayed, use the ▲/▼ buttons to highlight MAIN, and
press the ► button. A menu will be displayed.
If the MENU dialog is not displayed, the STACK menu will appear.
2.
Press the MENU button on the remote control
or control panel on the Main projector. Use the
▲/▼/◄/► buttons to open the COMPUTER IN
dialog. (
Operating Guide → INPUT menu)
3.
To input component signals to COMPUTER IN1 or IN2, set the port to AUTO.
Then, use the ▲/▼/◄/► buttons to highlight EXIT and press the ► button to
complete the setting.
To input video signals to COMPUTER IN1 or IN2, set the port to VIDEO. If it
is necessary to select a video format, use the ▲/▼/◄/► buttons to highlight
RETURN and press the ◄ button to display the INPUT menu. Otherwise, use
the ▲/▼/◄/► buttons to highlight EXIT and press the ► button to complete
the setting.
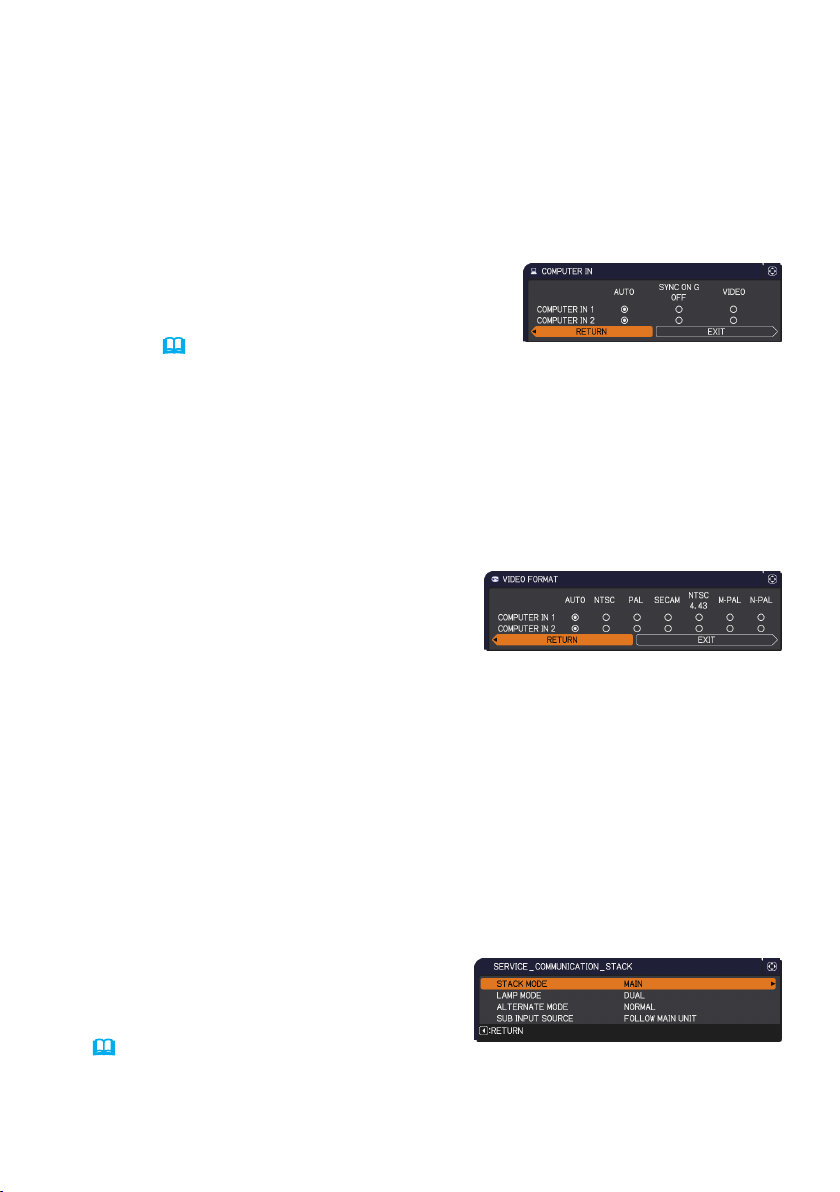
4.
Select VIDEO FORMAT in the INPUT
menu to display the VIDEO FORMAT
dialog.
Select AUTO or an appropriate format for
the video signal input.
Then, use the ▲/▼/◄/► buttons to highlight EXIT and press the ► button to
complete the setting.
Inputting image to Sub and Main individually
2.
Use the ▲/▼/◄/► buttons to go into the following menu.
ADVANCED MENU > OPTION
> SERVICE > COMMUNICATION > STACK
STACK menu will appear on screen.
(
Operating Guide → OPTION menu)
(continued on next page)
Loading ...
Loading ...
Loading ...