Loading ...
Loading ...
Loading ...
11
Installation
2.5 Fine adjusting image position
To superimpose the images of Main (Set B) and Sub (Set A), ne adjust the im-
age size and position of Main (Set B) using PERFECT FIT.
3. Using PERFECT FIT on Main (Set B), adjust the im-
age size and position of Main (Set B) to superimpose
well to the image of Sub (Set A). (Operating Guide
→ EASY MENU or SETUP menu)
It is recommended to adjust in the following ways.
(1) Roughly adjust the four corners in the order below.
Top left → Top right
→ Bottom right → Bottom left
(2) Fine adjust the four corners in the same way.
NOTE • Refer to NOTES for all users. (
12
)
For Intellectual Stack users
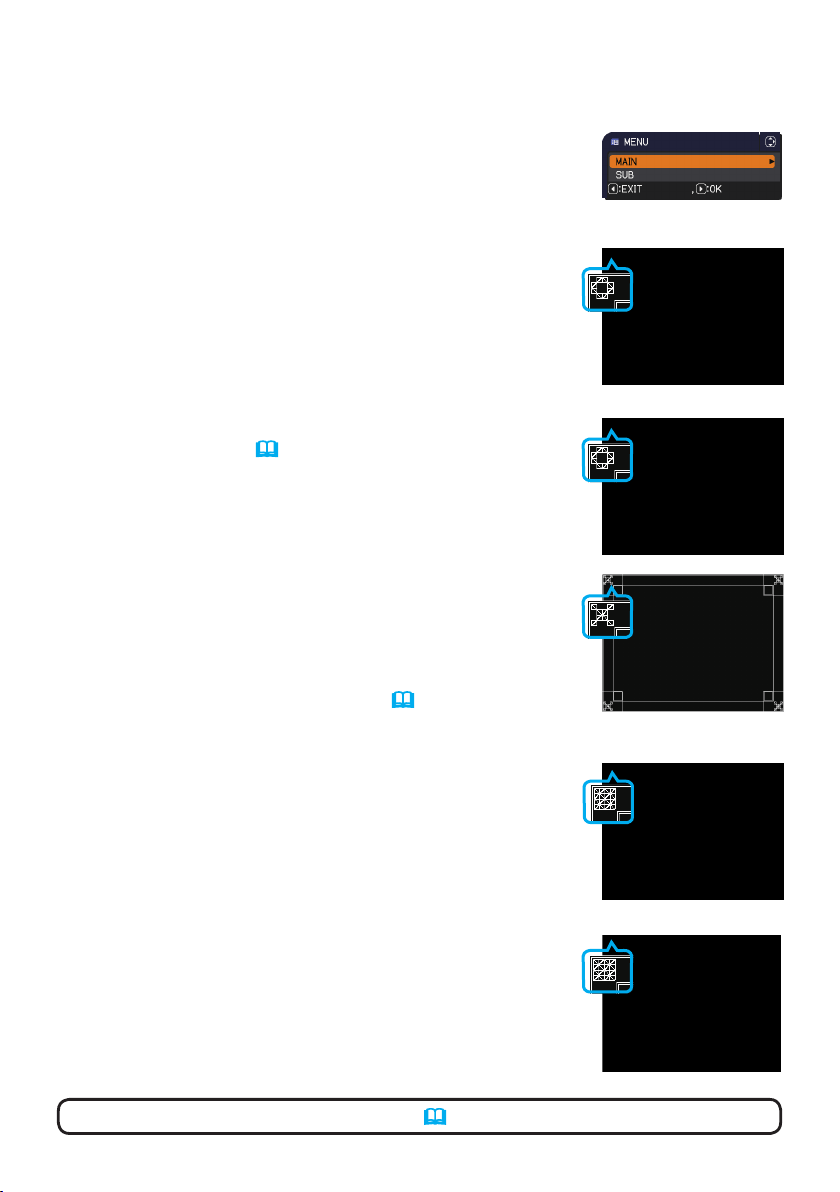
1. Press the MENU button on the remote control or the
control panel on Main (Set B) to display the MENU
dialog.
Highlight MAIN with the ▲/▼ buttons, and press the
► button.
Menu on Main (Set B) will appear.
2. Using the ▲/▼/◄/► buttons on the remote control or
the control panel on Main (Set B), select PERFECT
FIT from EASY MENU, or the SETUP menu of AD-
VANCED MENU. (Operating Guide → EASY MENU
or SETUP menu)
The image for Intellectual Stack appears on screen.
This image includes a TEMPLATE screen with the
PERFECT FIT dialog from Main (Set B) and another
TEMPLATE screen from Sub (Set A).
Main (Set B)
Image from Sub (Set A)
<CP-X8160, CP-X8160,
CP-WX8240, CP-WX8255>
Image from Main (Set B)
<CP-SX8350, CP-WU8440,
CP-WU8450>
<CP-X8160, CP-X8160,
CP-WX8240, CP-WX8255>
Superimposed image
<CP-SX8350, CP-WU8440,
CP-WU8450>
Superimposed image
Loading ...
Loading ...
Loading ...