Sharp R210DW 750W Compact Microwave
Product's Documents
Below are documents related to this product, you can read online or download:
- Owner's manual - (English) Read Online | Download pdf
Owner's Guide Microwaves
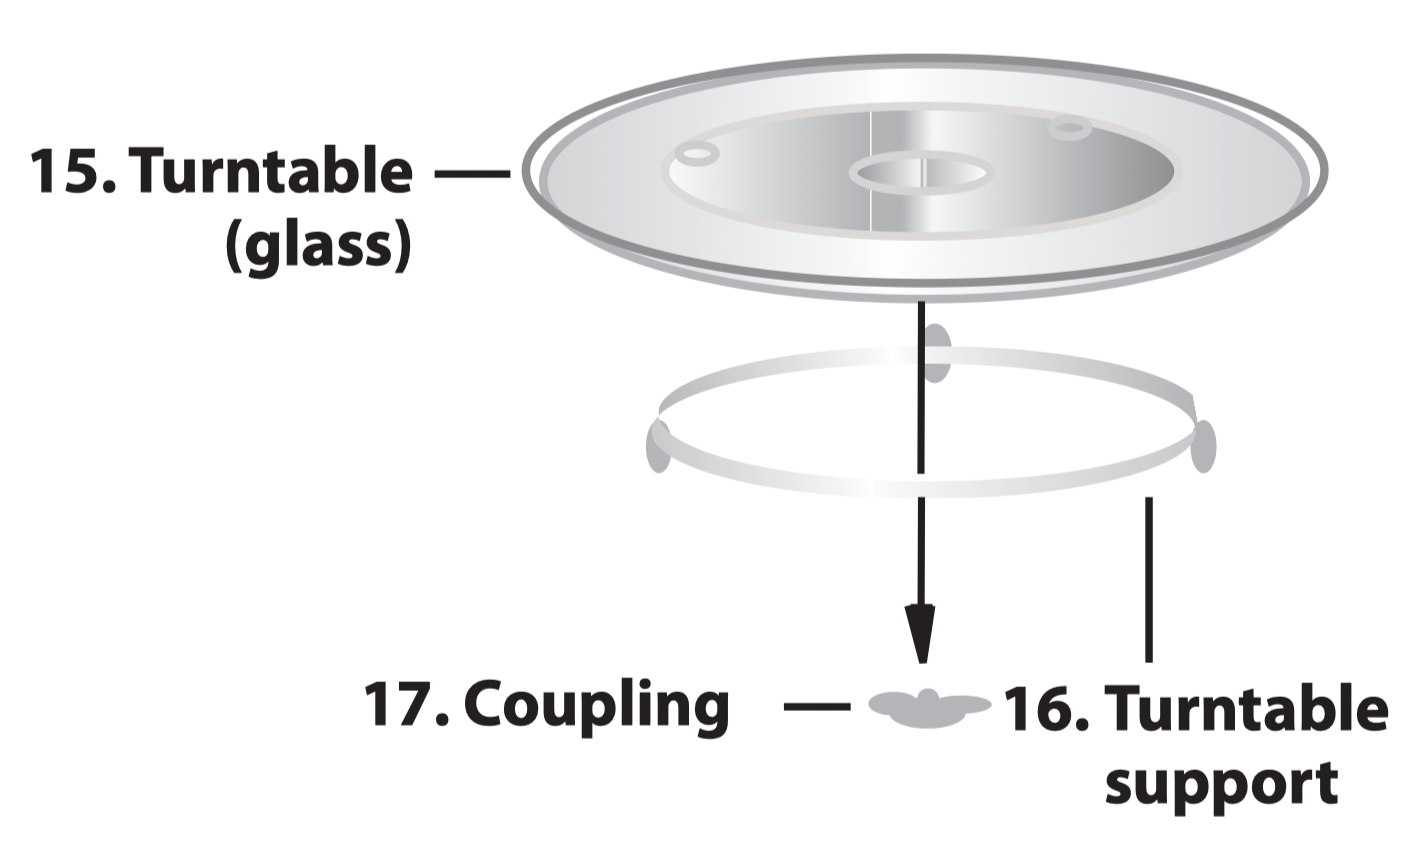
Check to make sure the following accessories are provided:
(15) Turntable (16) Turntable support (17) Coupling Place the turntable support in the centre of the oven floor so that it can freely rotate around the coupling. Then place the turntable on to the turntable support so that it locates firmly into the coupling.
To avoid turntable damage, ensure dishes and containers are lifted clear of the turntable rim when removing them from the oven.
NOTE: When you order accessories, please mention two items: part name and model name to your dealer or SHARP authorised service agent.
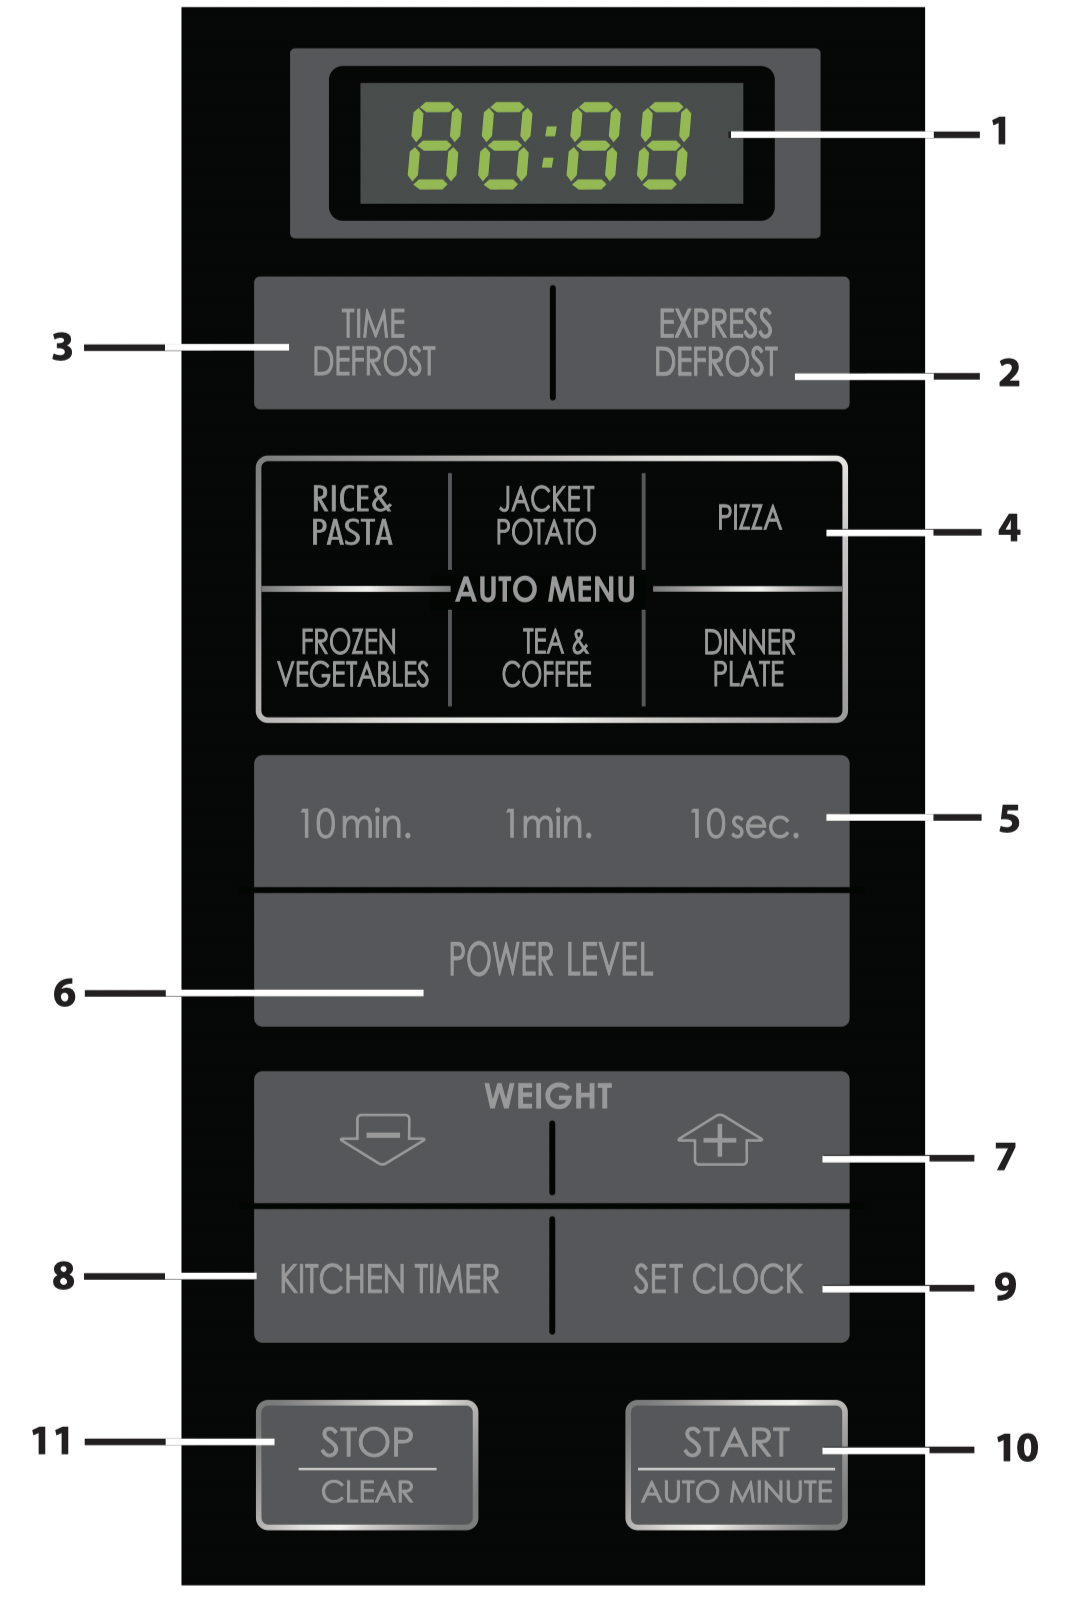
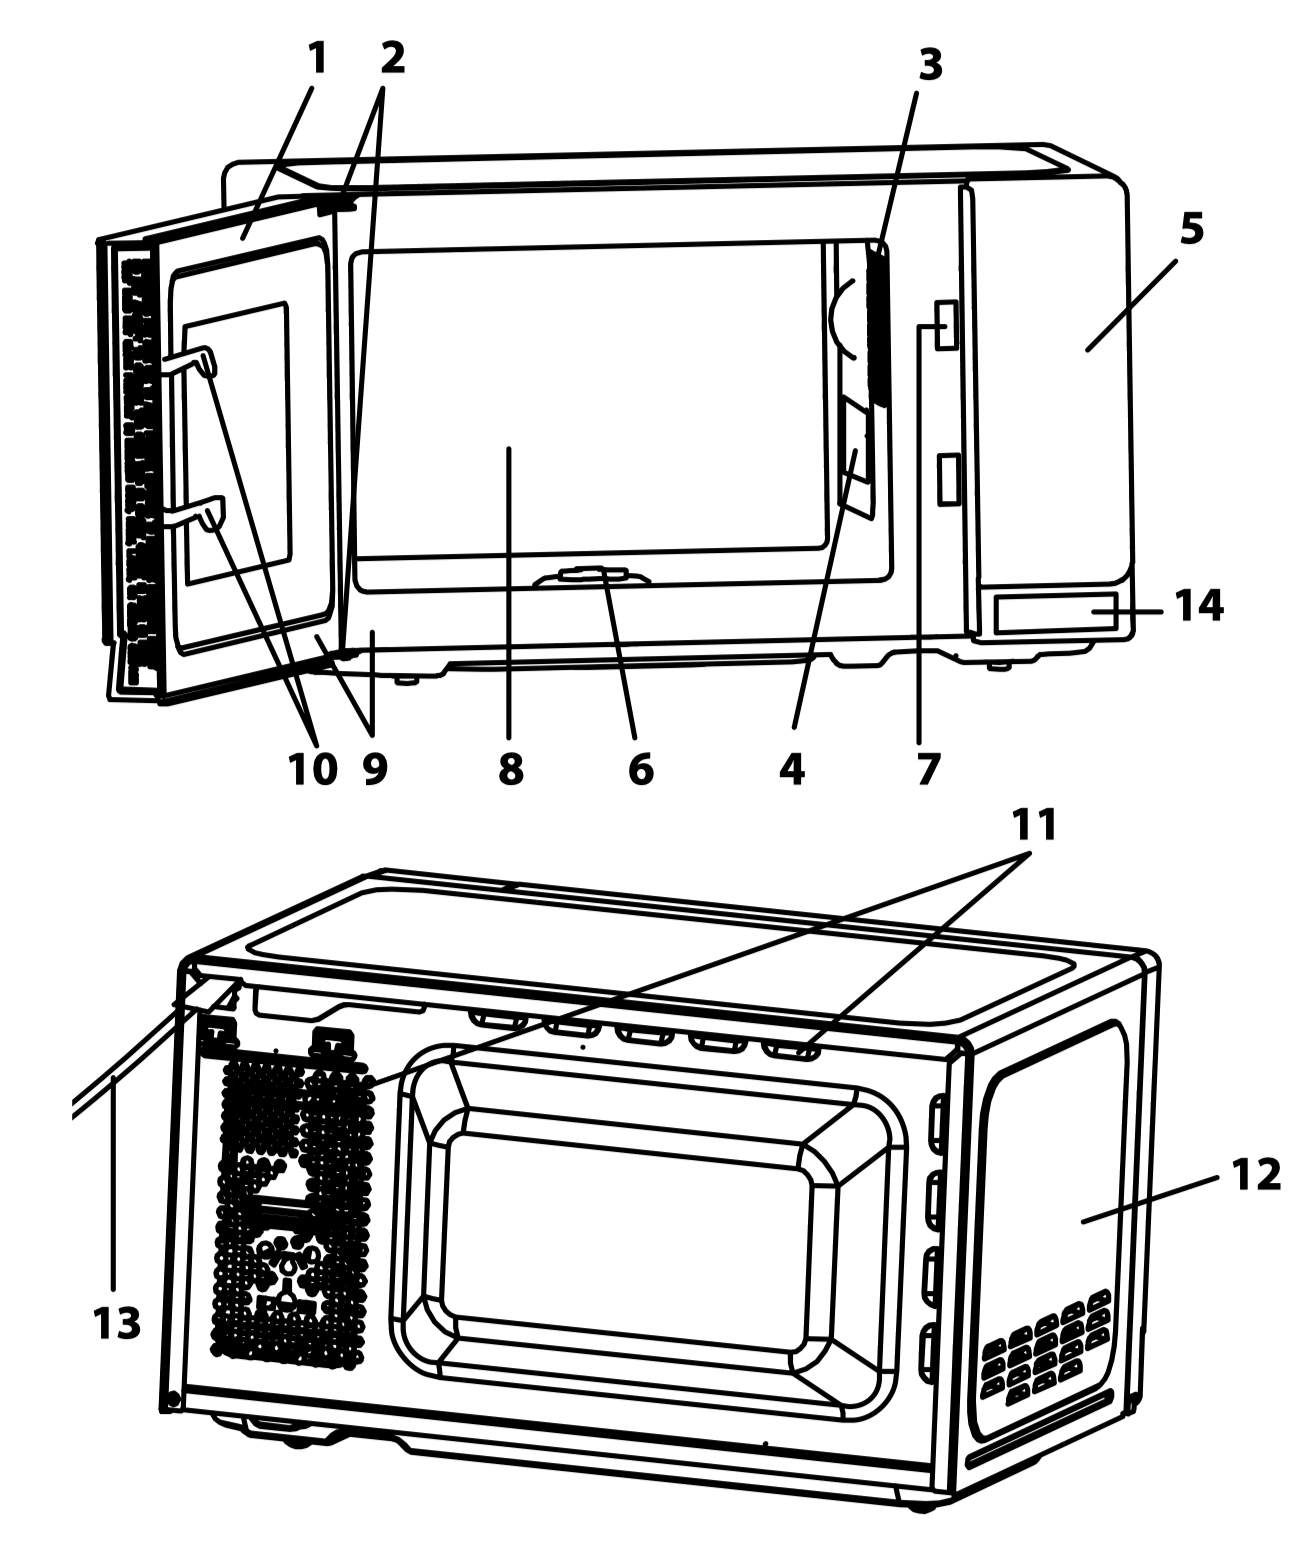
1. DIGITAL DISPLAY
2. EXPRESS DEFROST key
3. TIME DEFROST key
4. AUTO MENU keys
 Rice & Pasta
 Jacket Potato
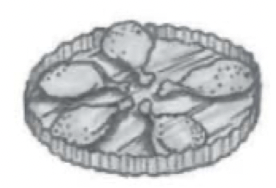
 Pizza
Pizza
 Frozen Vegetables
 Tea & Coffee
 Dinner Plate
5. TIME keys
Press to enter time,and keep pressing to continuously increase time.
6. POWER LEVEL key:
Press to select microwave power level.
7. WEIGHT keys (up and down)
Press to increase/decrease weight,and keep pressing to continuously increase/decrease weight.
8. KITCHEN TIMER key
Press to use as a minute timer, or to programme standing time.
9. SET CLOCK key
10. START/AUTO MINUTE key
11. STOP/CLEAR key
Plug in the oven. The oven display will display: “0:00”, an audible signal will sound once.
This model has a clock function and the oven uses less than 1.0 W in stand by mode.
Your oven has a 24 hour clock mode.
 once and "00:00" flash.
NOTES:
Opening the door:
To open the oven door, push the door opening button.
Starting the oven:
Prepare and place food in a suitable container onto the turntable or place directly onto the turntable. Close the door and press the START/AUTO MINUTE key after selecting the desired cooking mode.

Once the cooking programme has been set and the START/AUTO MINUTE key is not pressed in 1 minute, the setting will be cancelled.
The START/AUTO MINUTE key must be pressed to continue cooking if the door is opened during cooking. The audible signal sounds once by efficient press will be no response.
Use the STOP/CLEAR key to:

Your oven can be programmed for up 99 minutes 50 seconds (99.50).
MANUAL COOKING/ MANUAL DEFROSTING
Example:
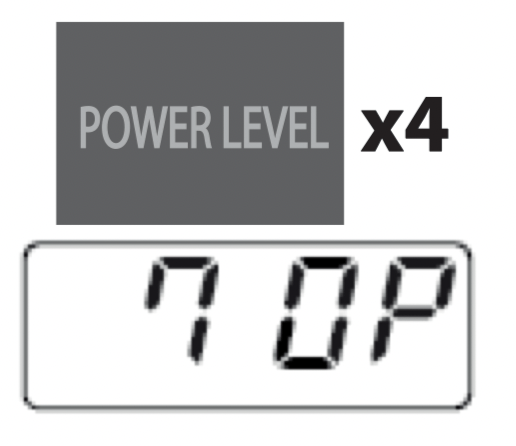
To cook 2 minutes and 30 seconds on 70% microwave power.
1. Input the power level by pressing the POWER LEVEL key 4 times for 70 P.
2. Enter the cooking time by pressing the 1 min. key twice and then the 10 sec. key 3 times.

3. Press the START/AUTO MINUTE key to start the timer. (The display will count down through the set cooking/defrosting time.)

NOTE:
IMPORTANT:
The AUTO MENU keys automatically work out the correct cooking mode and cook time of the food (details on auto menu chart guide below). Follow the example below for details on how to operate this function.
Example: To cook two jacket potatoes (0.46kg) by using the AUTO MENU function.
1. Select the required menu by pressing the Jacket Potato key once.

the display will show: 
2. Press WEIGHT UP/DOWN keys or continue to press the Jacket Potato key to choose the required number of, potatoes (up to 3).
 , display:
3. Press the START/AUTO MINUTE key to start cooking. (The display will count down through defrosting time)
NOTES:
1. SEQUENCE COOKING
This function allows you to cook using up to 2 different stages which can include manual cooking time and mode and/or time defrost function. Once programmed there is no need to interfere with the cooking operation as the oven will automatically move onto the next stage. The audible signal will sound once after the first stage. If one stage is defrosing, it should be in the first stage.
Note: Auto menu cannot be set as one of the multiple sequences.
Example: If you want to defrost the food for 5 minutes, then cook with 80P microwave power for 7 minutes, the steps are as follows:
2. AUTO MINUTE FUNCTION
The START/AUTO MINUTE key allows you to operate the two following functions:
2. AUTO MINUTE FUNCTION The START/AUTO MINUTE key allows you to operate the two following functions:
a. Direct start
You can directly start cooking on 100P microwave power level for 1 minute by pressing the AUTO MINUTE key.

b. Extend the cooking time
You can extend the cooking time during manual cooking, time defrost and auto menu operation in multiples of 1 minute if the START/AUTO MINUTE key is pressed while the oven is in operation. When using the weight defrost function, the cooking time cannot be increased by pressing START/AUTO MINUTE key.
NOTE: The cooking time may be extended to a maximum of 99 minutes 50 seconds.
3. KITCHEN TIMER FUNCTION :
You can use the kitchen timer for timing where microwave cooking is not involved for example to time boiled eggs cooked on a conventional hob or to monitor the standing time for cooked/defrosted food.
Example: To set the timer for 5 minutes.
1. Press the KITCHEN TIMER key once.

2. Enter the desired time by pressing the 1 min. key 5 times.
3. Press the START/AUTO MINUTE key to start the timer.
Check the display. (The display will count down through the set cooking/defrosing time).
When the timer time arrives, the audible signal will sound 5 times and the LED will display the time of day.
You can enter any time up to 99 minutes 50 seconds. To cancel the KITCHEN TIMER whilst counting down, simply press the STOP/CLEAR key.
NOTE: The KITCHEN TIMER function cannot be used whilst cooking.
4. CHILD LOCK:
Use to prevent unsupervised operation of the oven by children.
a. To set the CHILD LOCK:
Press and hold the STOP/CLEAR key for 3 seconds until a long beep sounds. The display will show:

b. To cancel the CHILD LOCK:
Press and hold the STOP/CLEAR key for 3 seconds until a long beep sounds.
1. TIME DEFROST
This function quickly defrosts food while enabling you to choose a suitable defrost period, depending on the food type. Follow the example below for details on how to operate this function. The time range is 0:10 – 99:50.
Example: To defrost the food for 10 minutes.
1. Select the menu required by pressing the TIME DEFROST key once.

the display will show: 
2. Enter the cooking time by pressing the 10 min. key once.

3. Press the START/AUTO MINUTE key to start cooking.
Notes for Time Defrost:
2. EXPRESS DEFROST
The microwave oven is pre-programmed with a time and power level so that the following food is defrosted easily: Pork, beef and chicken. The weight range for this food is 0.5kg.
Follow the example below for details on how to operate these functions.
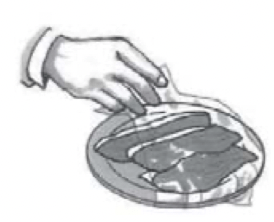
Example : To defrost 0.5kg of minced beef using EXPRESS DEFROST. Place the meat in a shallow microwave oven safe dish or microwave safe defrost rack on the turntable.
1. Select the menu required by pressing the EXPRESS DEFROST key once.

the display will show: 
2. Press the START/ AUTO MINUTE key to start cooking. (The display will count down through defrosting time)
Frozen foods are defrosted from -18°C.
NOTES FOR DEFROST:
Defrosting food using your microwave oven is the quickest method of all.
It is a simple proccess but the following instructions are essential to ensure the food is thoroughly defrosted.
| Rearrange |
Foods that are placed towards the outside of the dish will defrost quicker than foods in the centre. It is therefore essential that the food is rearranged up to 4 times during defrosting. Move closely packed pieces from the outside to the centre and rearrange over-lapping areas. This will ensure that all parts of the food defrosts evenly. |
| Separate | Foods may be stuck together when removed from the freezer. It is important to separate foods as soon as it is possible during defrosting, e.g. bacon rashers, chicken fillets. |
| Shield | Some areas of food being defrosted may become warm. To prevent them becoming warmer and starting to cook, these areas can be shielded with small pieces of foil, which reflect microwaves, e.g. legs and wings on a chicken. |
| Stand | Standing time is necessary to ensure food is thoroughly defrosted. Defrosting is not complete once the food is removed from the microwave oven. Food must stand, covered, for a length of time to ensure the centre has completly defrosted. |
| Turn over | It is essential that all foods are turned over at least 3 - 4 times during defrosting. This is important to ensure thorough defrosting. |
NOTES:
For the reheating of foods, follow the advice and guidelines below to ensure food is thoroughly reheated before serving.
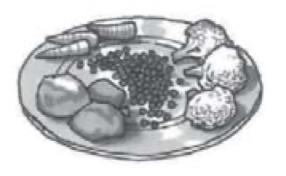
| Plated meals |
Remove any poultry or meat portions, reheat these separately, see below. Place smaller items of food to the centre of the plate, larger and thicker foods to the edge. Cover with vented microwave cling film and reheat on 50%, stir/rearrange halfway through reheating. NOTE: Ensure the food is thoroughly reheated before serving. |
 |
| Sliced meat |
Cover with vented microwave cling film and reheat on 50%. Rearrange at least once to ensure even reheating. NOTE: Ensure the meat is thoroughly reheated before serving. |
 |
| Poultry portions |
Place thickest parts of the portions to the outside of the dish, cover with vented microwave cling film and reheat on 70%. Turn over halfway through reheating. NOTE: Ensure the poultry is thoroughly reheated before serving. |
 |
| Casseroles |
Cover with vented microwave cling film or a suitable lid and reheat on 50%. Stir frequently to ensure even reheating. NOTE: Ensure the food is thoroughly reheated before serving. |
 |
To achieve the best results when reheating, select a suitable microwave power level appropriate to the type of food. e.g. A bowl of vegetables can be reheated using 100%, while a lasagne which contains ingredients that cannot be stirred, should be reheated using 50%.
NOTES:
WARNING: Never heat liquids in narrow-necked containers, as this could result in the contents erupting from the container and may cause burns.
WARNING: The contents of feeding bottles and baby food jars are to be stirred or shaken and the temperature is to be checked before consumption to avoid burns.
Disconnect the power supply cord before cleaning or leave the door open to inactivate the oven.
CLEAN THE OVEN AT REGULAR INTERVALS - Keep the oven clean and remove any food deposits, or it could lead to deterioration of the surface. This could adversely affect the life of the appliance and possibly result in a hazardous situation.
Exterior:
The outside may be cleaned with mild soap and warm water, wipe clean with a damp cloth. Avoid the use of harsh abrasive cleaners. Keep the ventilation openings free of dust.
Door:
Wipe the door and window on both sides, the door seals and adjacent parts frequently with a damp cloth to remove any spills or spatters. Do not use abrasive cleaners.
Touch Control Panel:
Wipe the panel with a cloth dampened slightly with water only.
Do not scrub or use any sort of chemical cleaners. Avoid the use of excess water.
Interior walls:
To clean the interior surfaces, wipe with a soft cloth and warm water. After use wipe the waveguide cover in the oven with a soft damp cloth to remove any food splashes. Built-up splashes may overheat and begin to smoke or catch fire. Do not remove the waveguide cover. DO NOT USE A COMMERCIAL OVEN CLEANER, ABRASIVE OR HARSH CLEANERS AND SCOURING PADS ON ANY PART OF YOUR MICROWAVE OVEN. NEVER SPRAY OVEN CLEANERS DIRECTLY ONTO ANY PART OF YOUR OVEN.
Avoid using excess water. After cleaning the oven, ensure any water is removed with a soft cloth.
Turntable/Roller Stay:
Wash with mild soapy water and dry thoroughly
1. THE ARRANGEMENT
Arrange foods carefully. Place thickest areas toward outside of dish.
2. TURNING
Foods such as poultry and joints of meat should be turned over after half the cooking time.
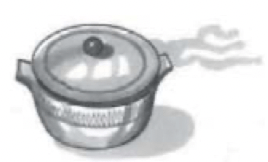
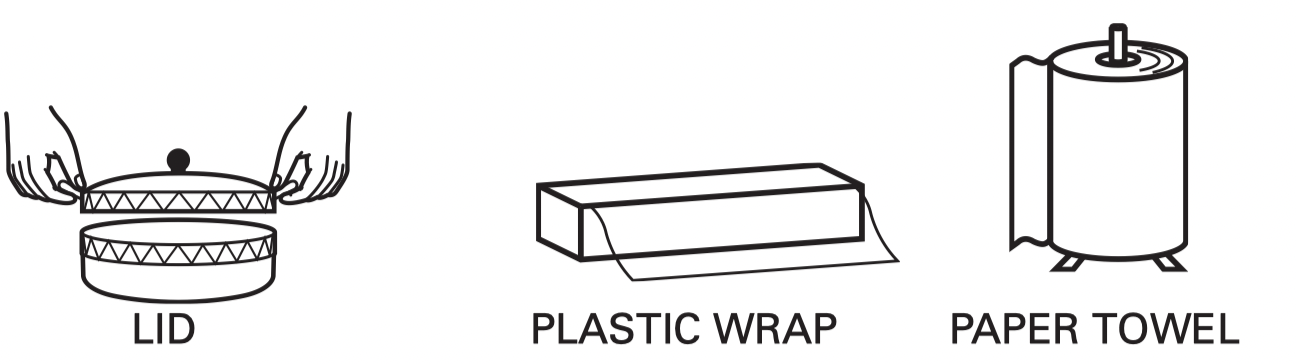
3. COVERING
Cover foods in the microwave if you would normally cover the food in your ordinary oven, or to retain moisture. Cover foods such as Vegetables, Casseroles, or when Reheating.
Use to cover foods:
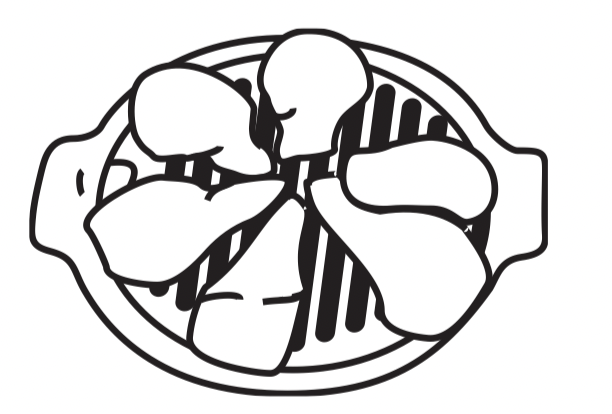
4. PIERCING
Pierce potatoes, eggs, tomatoes or any foods with a skin or membrane to allow steam to escape.

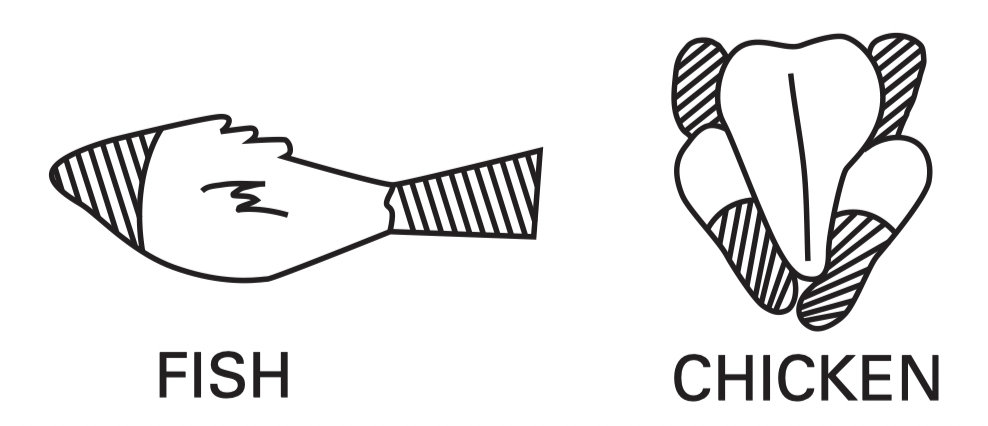
5. SHIELDING
Shield using small pieces of aluminium foil to shield thin areas of meat, fish and poultry or edges of cakes to prevent overcooking.
6. STANDING TIME
Standing time is important. After cooking or defrosting ensure adequate standing time. This allows the food to continue cooking or heating. Refer to cooking guides for each menu or according to manufacturers instructions.
7. STIRRING
Stir foods from the outside to the centre of the dish, once or twice during cooking if possible.
Eg. Casseroles and Sauces.

8. SIZE
Small pieces cook faster than large ones. To speed up cooking, cut pieces smaller than 5 cm so microwaves can penetrate to the centre from all sides. For even cooking, make all the pieces the same size.
9. DENSITY
The depth to which microwaves penetrate food varies depending on the food's density. Porous foods like minced beef or mashed potatoes microwave faster than dense ones like steak or whole potatoes.
10. FAT AND BONE
Marbling within meat, or a thin, even layer of fat on a roast, speeds cooking. Large fatty areas or excess drippings in dish attract energy away from meat, and slows cooking. Centre bones do not affect cooking, but bone on the side of meat conducts heat to the areas next to it.
11. STARTING TEMPERATURE
Frozen or refrigerated foods take longer to heat than food at room temperature. Cooking times in this book are based on normal storage temperatures. Since rooms, refrigerators and freezers differ in temperature, check cooking result at the minimum time.
12. QUANTITY
Microwave cooking times are directly related to the amount of food in the oven. Because energy is absorbed by the food itself, one potato or a single piece of chicken cooks rapidly. When the energy is divided among several items, cooking takes more time.
13. CONDENSATION
Condensation is a normal part of microwave cooking. The humidity and moisture in food will influence the amount of condensation in the oven. Generally, covered foods will not cause as much condensation as uncovered foods. Ensure that the ventilation openings are not blocked.
14. GENERAL
Your microwave oven is capable of heating food and beverages very quickly therefore, it is very important that you select the appropriate cooking time and power level for the type and quantity of food to be heated. If you are unsure of the cooking time and power level required, begin with low cooking times and power levels until the food is sufficiently heated evenly throughout.
Reference file: Sharp R210DW 750W Compact Microwave
Additionally, the document applies to other Sharp models: R-21101D(W)