Loading ...
Loading ...
Loading ...
68
Before Use
Basic Guide
Advanced Guide
Playback Mode
Camera Basics
Auto Mode /
Hybrid Auto Mode
Other Shooting Modes
P Mode
Wi-Fi Functions
Setting Menu
Accessories
Appendix
Index
● To show or hide information, press the [ ] button in step 2.
● Options for viewing the images found (in step 2) include
“Navigating through Images in an Index” (
=
67), “Magnifying
Images” (
=
70), and “Viewing Slideshows” (
=
70). You
can protect, erase, or print all images found or add them to
a photobook by choosing [Select All Images in Search] in
“Protecting Images” (
=
72), “Erasing Multiple Images at Once”
(
=
75), “Adding Images to the Print List (DPOF)” (
=
131), or
“Adding Images to a Photobook” (
=
133).
● If you edit images and save them as new images (
=
79 –
=
83), a message is displayed, and the images that were
found are no longer shown.
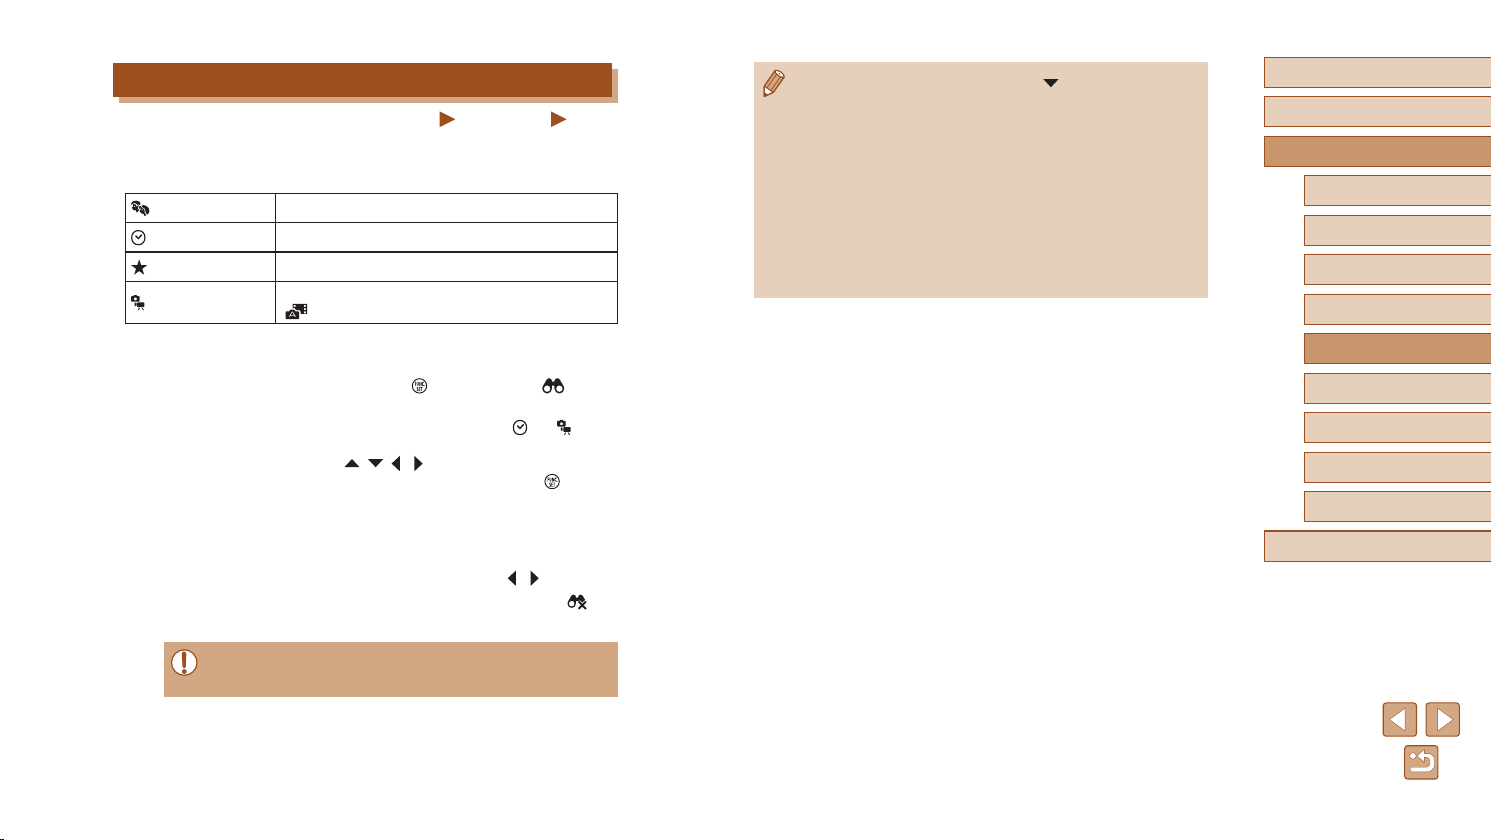
Finding Images Matching Specied Conditions
Still Images
Movies
Find desired images quickly on a memory card full of images by ltering
image display according to your specied conditions. You can also protect
(
=
72) or delete (
=
74) these images all at once.
People
Displays images with detected faces.
Shot Date
Displays the images shot on a specic date.
Favorites
Displays images tagged as favorites (
=
78).
Still image/Movie
Displays still images, movies, or movies shot in
[
] mode (
=
30).
1
Choose a search condition.
● Press the [ ] button, choose [ ] in the
menu, and choose a condition (
=
24).
● When you have selected [
] or [ ],
choose the condition by pressing the
[ ][ ][ ][ ] buttons on the screen
displayed, and then press the [ ] button.
2
View the ltered images.
● Images matching your conditions are
displayed in yellow frames. To view only
these images, press the [ ][ ] buttons.
● To cancel ltered display, choose [
] in
step 1.
● When the camera has found no corresponding images for some
conditions, those conditions will not be available.
Loading ...
Loading ...
Loading ...