Loading ...
Loading ...
Loading ...
- 20 -
DEFROSTING TIPS
•
When using Defrost Weight/Time, the weight to be
entered is the net weight in pounds and tenths of
pounds (the weight of the food minus the container).
• Before starting, make sure you have removed any
of the metal twist-ties which often come with frozen
food bags, and replace them with strings or elastic
bands.
• Open containers such as cartons before they are
placed in the oven.
• Always slit or pierce plastic pouches or packaging.
• If food is foil wrapped, remove foil and place food
in a suitable container.
• Slit the skins, if any, of frozen food such as
sausage.
• Bend plastic pouches of food to ensure even
defrosting.
•
Always underestimate defrosting time. If defrosted
food is still icy in the center, return it to the microwave
oven for more defrosting.
• The length of defrosting time varies according to
how solidly the food is frozen.
• The shape of the package affects how quickly food
will defrost. Shallow packages will defrost more
quickly than a deep block.
• As food begins to defrost, separate the pieces.
Separated pieces defrost more easily.
• Use small pieces of aluminum foil to shield parts
of food such as chicken wings, leg tips, fish tails, or
areas that start to get warm. Make sure the foil does
not touch the sides, top, or bottom of the oven. The
foil can damage the oven lining.
•
For better results, let food stand after defrosting.
(For more information on standing time, see the
“Microwave Cooking Tips” section.)
•
Turn food over during defrosting or standing time.
Break apart and remove food as rquired.
To avoid risk of property damage:
Do not use the rack to pop popcorn.
The rack must be on the four plastic supports
when used.
Use the rack only when cooking food on the
rack position.
Do not cook with the rack on the floor of the oven.
METAL RACK
The metal rack gives you extra space when cooking
in more than one container at the same time.
To use the rack:
1. Place the rack securely in the four plastic supports.
•
The rack MUST NOT touch the metal walls or back
of the microwave oven.
2. Place equal amounts of food both ABOVE AND
BELOW the rack.
•
The amount of food must be approximately the same
to balance out the cooking energy.
SLIDE-OUT VENT HOOD
• Press the slide-out vent hood (marked with “PUSH”) to
extend it forward. To close it, push the vent hood back
until it clicks into place.
• Extension of the slide-out vent hood allows more effective
capture of smoke and vapor from range-top cooking.
USING YOUR MICROWAVE OVEN
CAUTION
SLIDE-OUT HOOD
CAUTION
• Do not place any objects on the slide-out hood as
they could fall and be damaged.
• Do not pull on slide-out hood or damage may occur.
• Do not spill food or liquid on slide-out hood. Spillage
of liquid or food may result in electric shock or
oven malfunction.
• Make sure the slide-out hood has been moved back
to rear before your microwave oven or range
cooking start.
• Strictly install the microwave oven according to
Installation Manual. Install at least 12 inches
(30.5cm) above a cooktop.
• Don’t leave the cooktop without cookware when
cooking, the high temperature of the flame may
cause the slide hood melted.
• Close slide hood after finish cooking on cooktop.
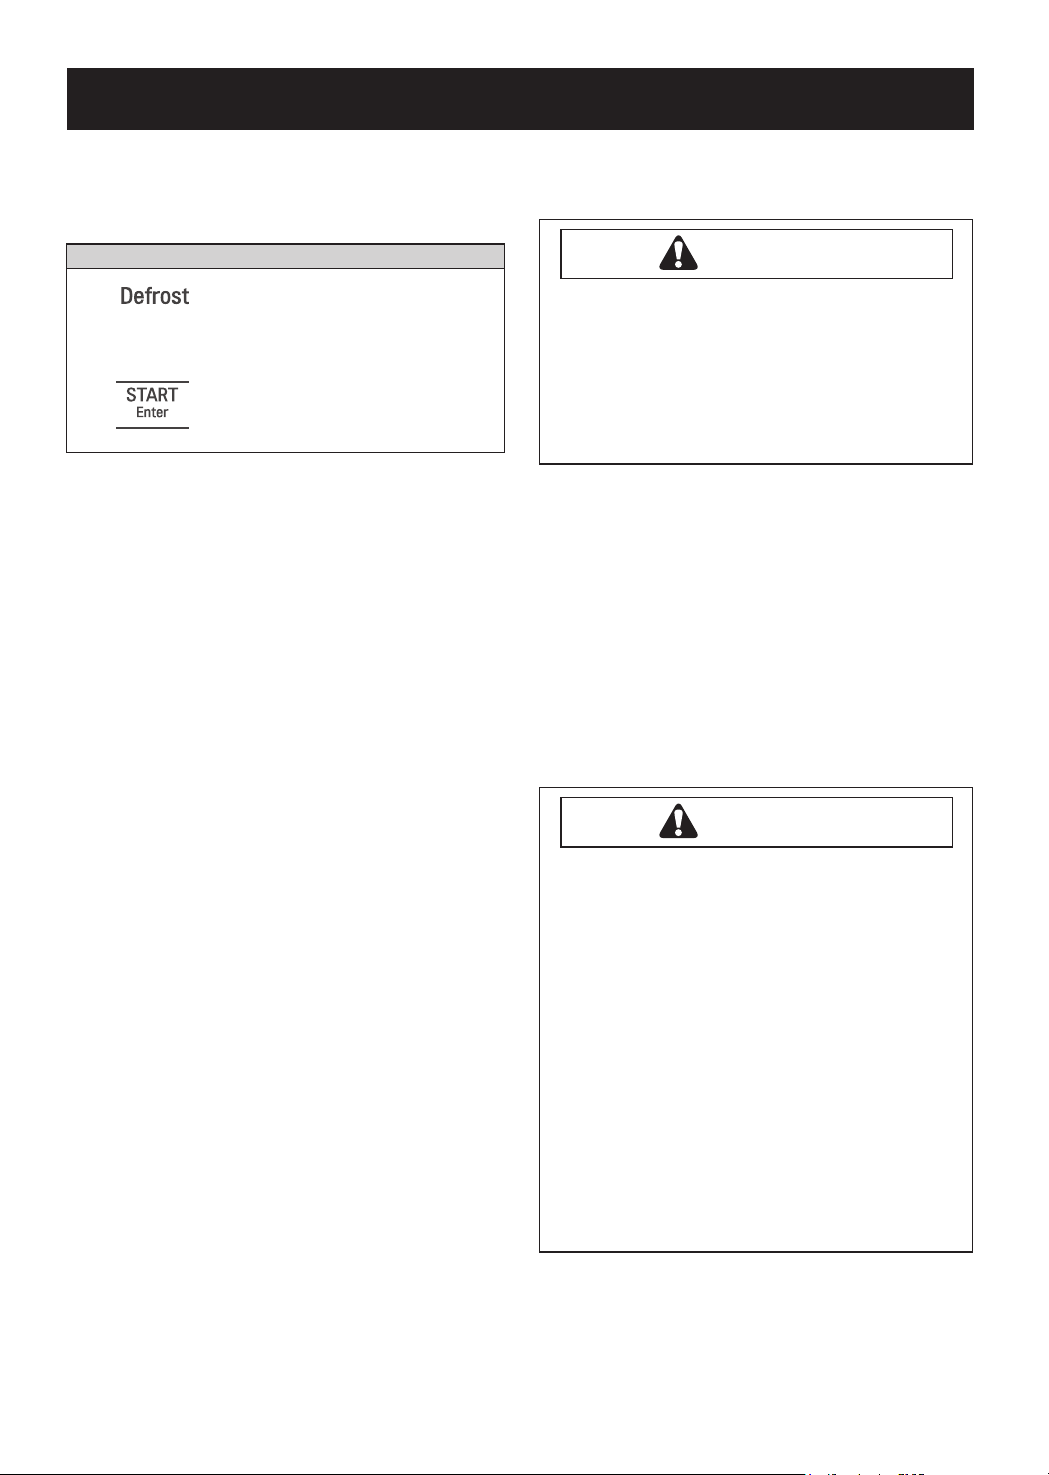
1. Touch Defrost 3 times.
2. Enter time to defrost.
3. Touch START/Enter.
Example: defrost 2 minutes
TIME DEFROST
Time defrost feature allows you to enter time to defrost.
2 0 0
Loading ...
Loading ...
Loading ...