Loading ...
Loading ...
Loading ...
PREPARATION
Unpacking the Icemaker
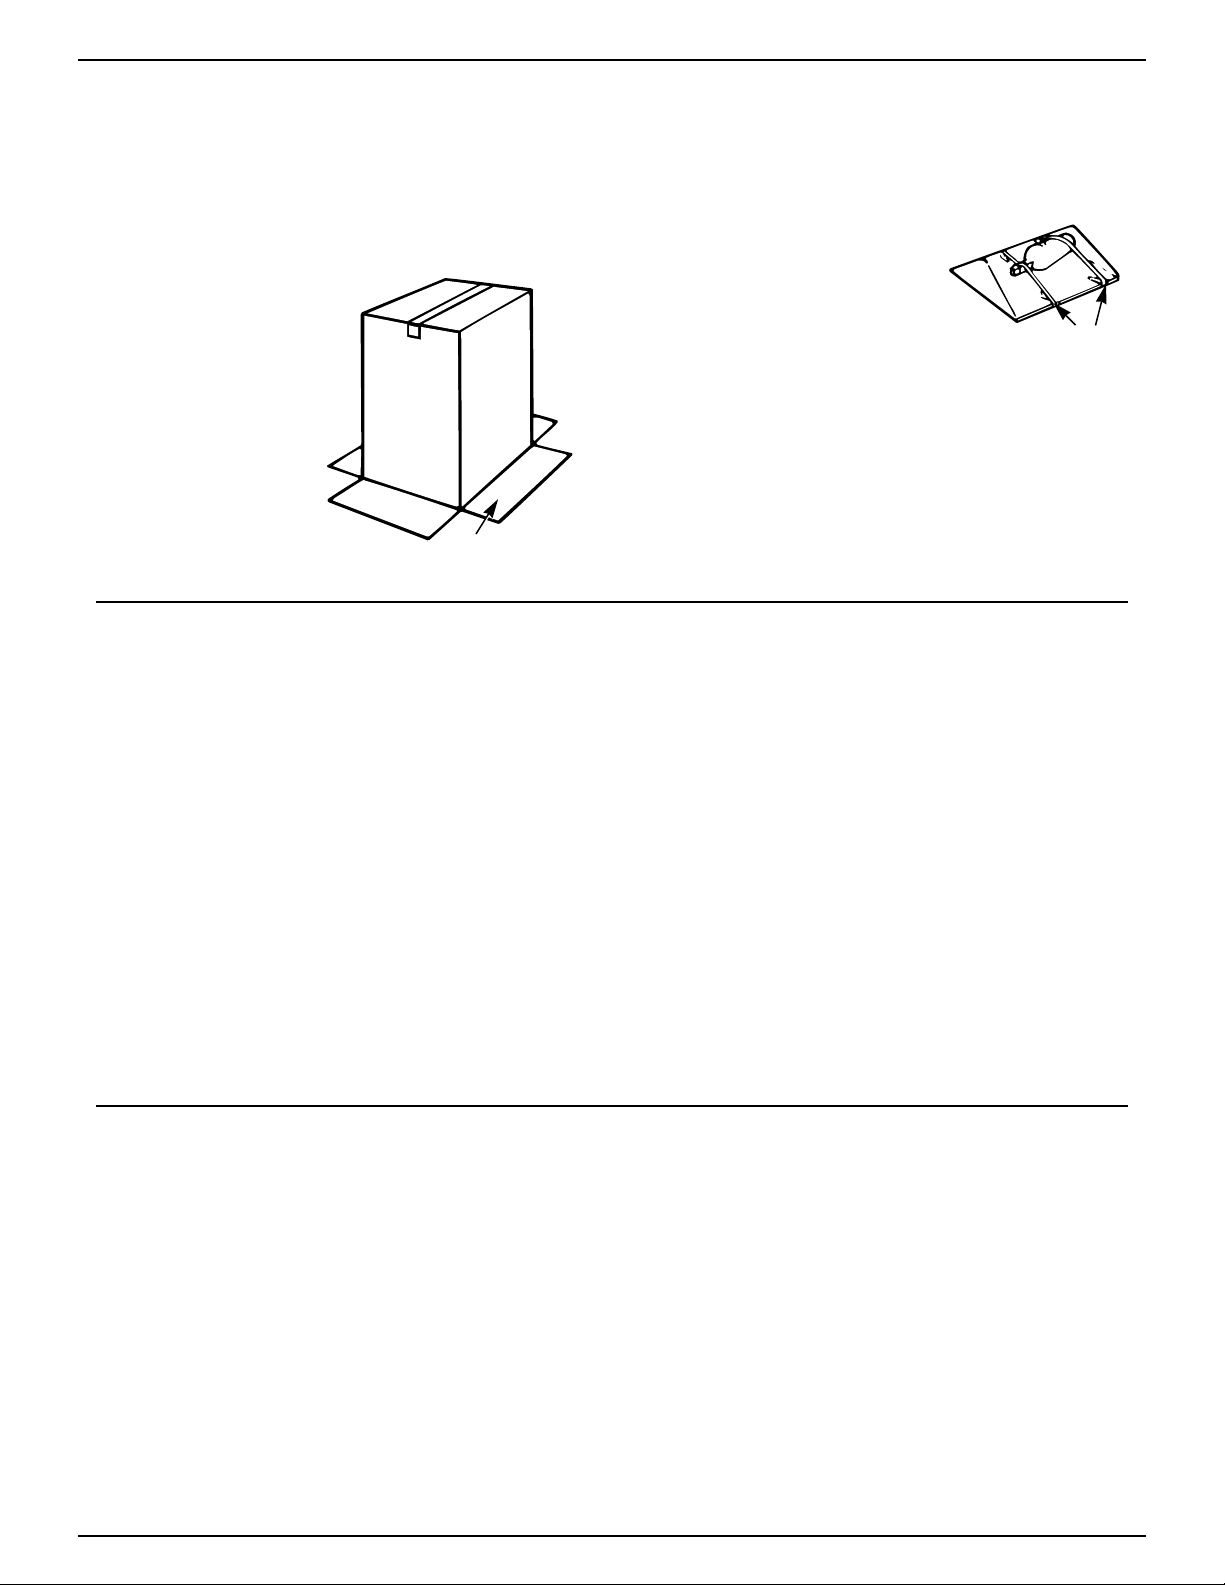
1. Lay the carton on rear face and break open the
bottom flap.
2. Set the carton
upright with all
four flaps outward.
3. Lift carton up and
off icemaker.
4. Remove all tape and
packaging material from
the outside and inside of
the cabinet.
5. Remove the front grille; take
out the screws securing the
grille at the bottom and lift it
free of the cabinet.
6. Turn the fan by hand to make certain it moves freely.
Location Leveling
THIS ICEMAKER MUST BE INSTALLED IN AN
AREA PROTECTED FROM THE ELEMENTS,
SUCH AS WIND, RAIN, WATER SPRAY OR DRIP.
1. Place the icemaker so the front side will be
completely unobstructed to provide proper air flow.
2. The area should be well ventilated with temperature
above 55°F. (13°C.) and below 110°F. (43°C.). Best
results are obtained between 70°F. (21°C.) and
90°F. (32°C.).
3. Provision for electricity, water and drain
connections should be determined.
4. The icemaker may be closed in on the top and three
sides, but the front MUST BE unobstructed for air
circulation and proper operation. Installation should
be such that the cabinet can be moved forward for
servicing, if necessary.
1. After placing the icemaker into position, check to
make certain the icemaker is level side to side and
front to back.
2. Accurate leveling is essential for proper operation.
3. The icemaker should be shimmed so that it is solid
as well as level. The shims should be of hard
permanent type material such as masonite.
4. Compliance with National Sanitation Foundation
standards requires that this type of product be
sealed to the floor at the bottom rail in order to
prevent contamination from spills or the entrance
of vermin. Therefore, we recommend that when
installing the icemaker you seal it to the floor in
accordance with those standards. A silicone-type
sealer is recommended.
Thermostat Calibrations
If the icemaker is installed above two thousand feet of altitude, the bin and
evaporator thermostats must be adjusted to a warmer setting. Disconnect
electricity, remove thermostat and follow the directions for turning the
altitude adjustment screw as shown in the label on each thermostat.
(continued next page)
11
Open Bottom
Flaps
Remove
Interior
Packing
Loading ...
Loading ...
Loading ...