Loading ...
Loading ...
Loading ...
5
Cooktop Controls
The touch-activated electronic controls offer a variety of heat
settings for optimal cooking results.
Display Icon Function Description
0 Zero The cooking area is activated.
1–9 Power level The cooking area is on
atthispower level.
Flashing U No pan
detected
No pan, or the pan is
notcompatible.
NOTE: A “U” and a “∩”
indicates the bridging of the
two elements. Alternating
Upside down U and 9 if
cookware is detected only rear
cooking area (Bridge zone).
HOT Hot Surface
indicator
The cooktop surface is hot.
b Performance
Boost
The Performance Boost
function is on.
U Keep Warm The Keep Warm function ison.
| | Pause The cooktop zone is paused.
A Auto Cooking The Automatic Cooking
function is on.
E Error message There is an electronic failure.
L Cooktop
Lockout
The cooktop will be locked out,
and the cooking areas cannot
be turned on by the cooktop
touch controls.
To Use
To Turn On the Cooktop:
1. Touch the Power keypad.
The indicator light above the Power keypad will light up to
indicate that both cooking areas are ready to be activated.
Inactivity to the control for 10 seconds after the main power
has been turned on will automatically turn off power to the
cooktop.
To Turn On a Surface Cooking Area (Front or Rear):
1. Touch the On/Off keypad for the desired cooking area. This
will turn that cooking area on and the “On” indicator will light
up. The current power level will be indicated above the slider.
2. Select a power level from “1” to “b” by touching or sliding on
the power slider. The power setting will appear in the cooking
area display as you move your nger up or down the slider.
■ The power sliders consist of nine positions plus Keep
Warm (U) and Performance Boost (b) positions.
■ If the cooking area power level is at “0” for 10 seconds,
the cooking area will automatically turn off.
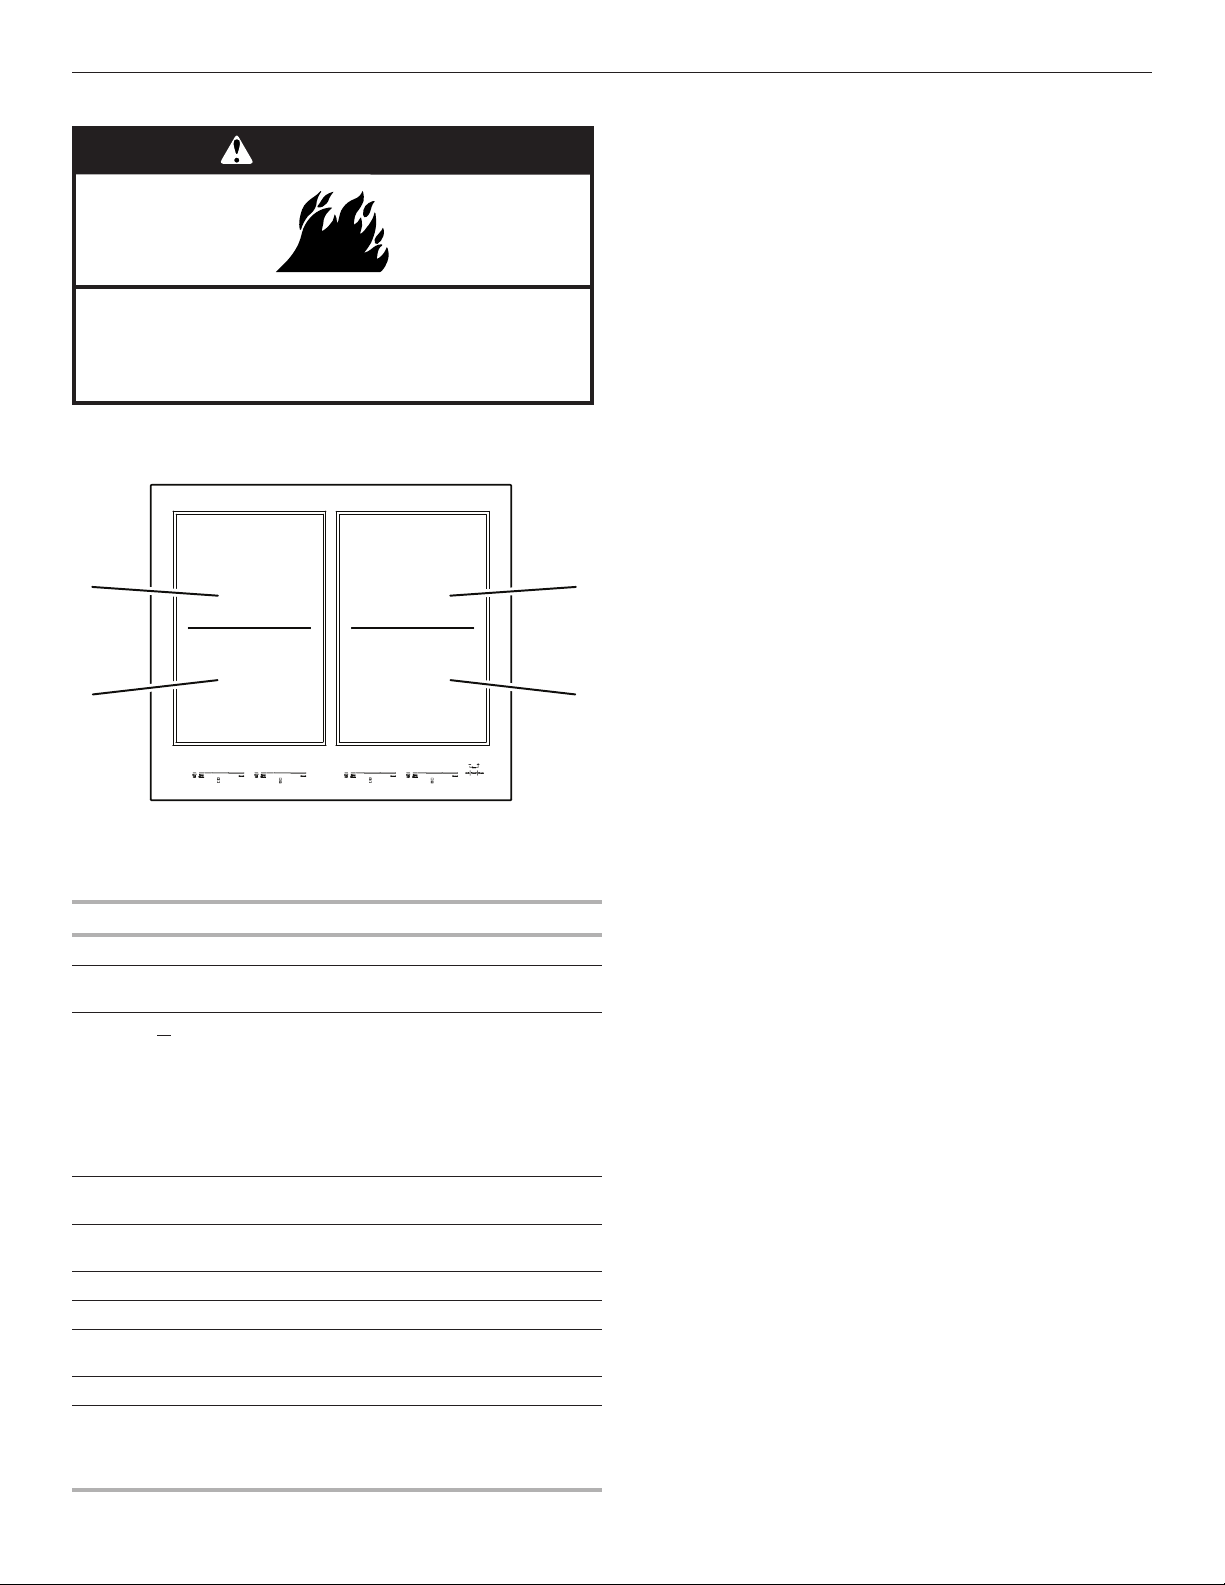
WARNING
Fire Hazard
Turn off all controls when done cooking.
Failure to do so can result in death or fire.
A
B
C
D
Cooktop Area
A. Left Rear cooking area
B. Left Front cooking area
C. Right Rear cooking area
D. Right Front cooking area
Loading ...
Loading ...
Loading ...