Loading ...
Loading ...
Loading ...
English 20
The probe temperature is displayed in the center to the left of the cooking mode. It
starts at 80 degrees and increases in 5°F increments until the chosen probe tem-
perature is reached.
The oven is preheated when the beep signals once.
When the set probe temperature is reached, END appears in display and oven
turns off.
Changing the Oven Temperature
When Using the Probe
1. Touch TEMPERATURE. Oven temp will flash in the display.
2. Turn the knob to desired temperature and press START twice.
Changing the Probe Temperature 1. Touch TEMPERATURE. The oven temperature will flash.
2. Press start and PROBE TEMP will flash.
3. Turn the knob to desired temperature and press START again.
Note: Always remove probe from oven when cooking is complete. The probe
symbol will remain in the display until the probe is removed. Do not leave probe
attachment in oven during self-clean. Oven will not self-clean with the probe
installed in the oven
This section explains how to operate the warming drawer. See “Getting the Most
Out of Your Warming Drawer” on page 30 for guidelines to improve warming
drawer results.
About the Warming Drawer
The warming drawer will keep hot, cooked foods at serving temperature. Warming
drawer settings are Low, Medium, and High.
Warming Drawer Specifi-
cations
Drawer Interior: 25" W x 17" D x 5" H
Dish sizes:
• 2 -9 x 13" Pyrex 3-quart dishes, side by side.
• 2 -9 1/2 x 15" Pyrex 4-quart dishes, side by side.
• 4 -10 1/2" plates, single or stacked
• 3 -11" plates, single or stacked
Operation - Warming Drawer (some models)
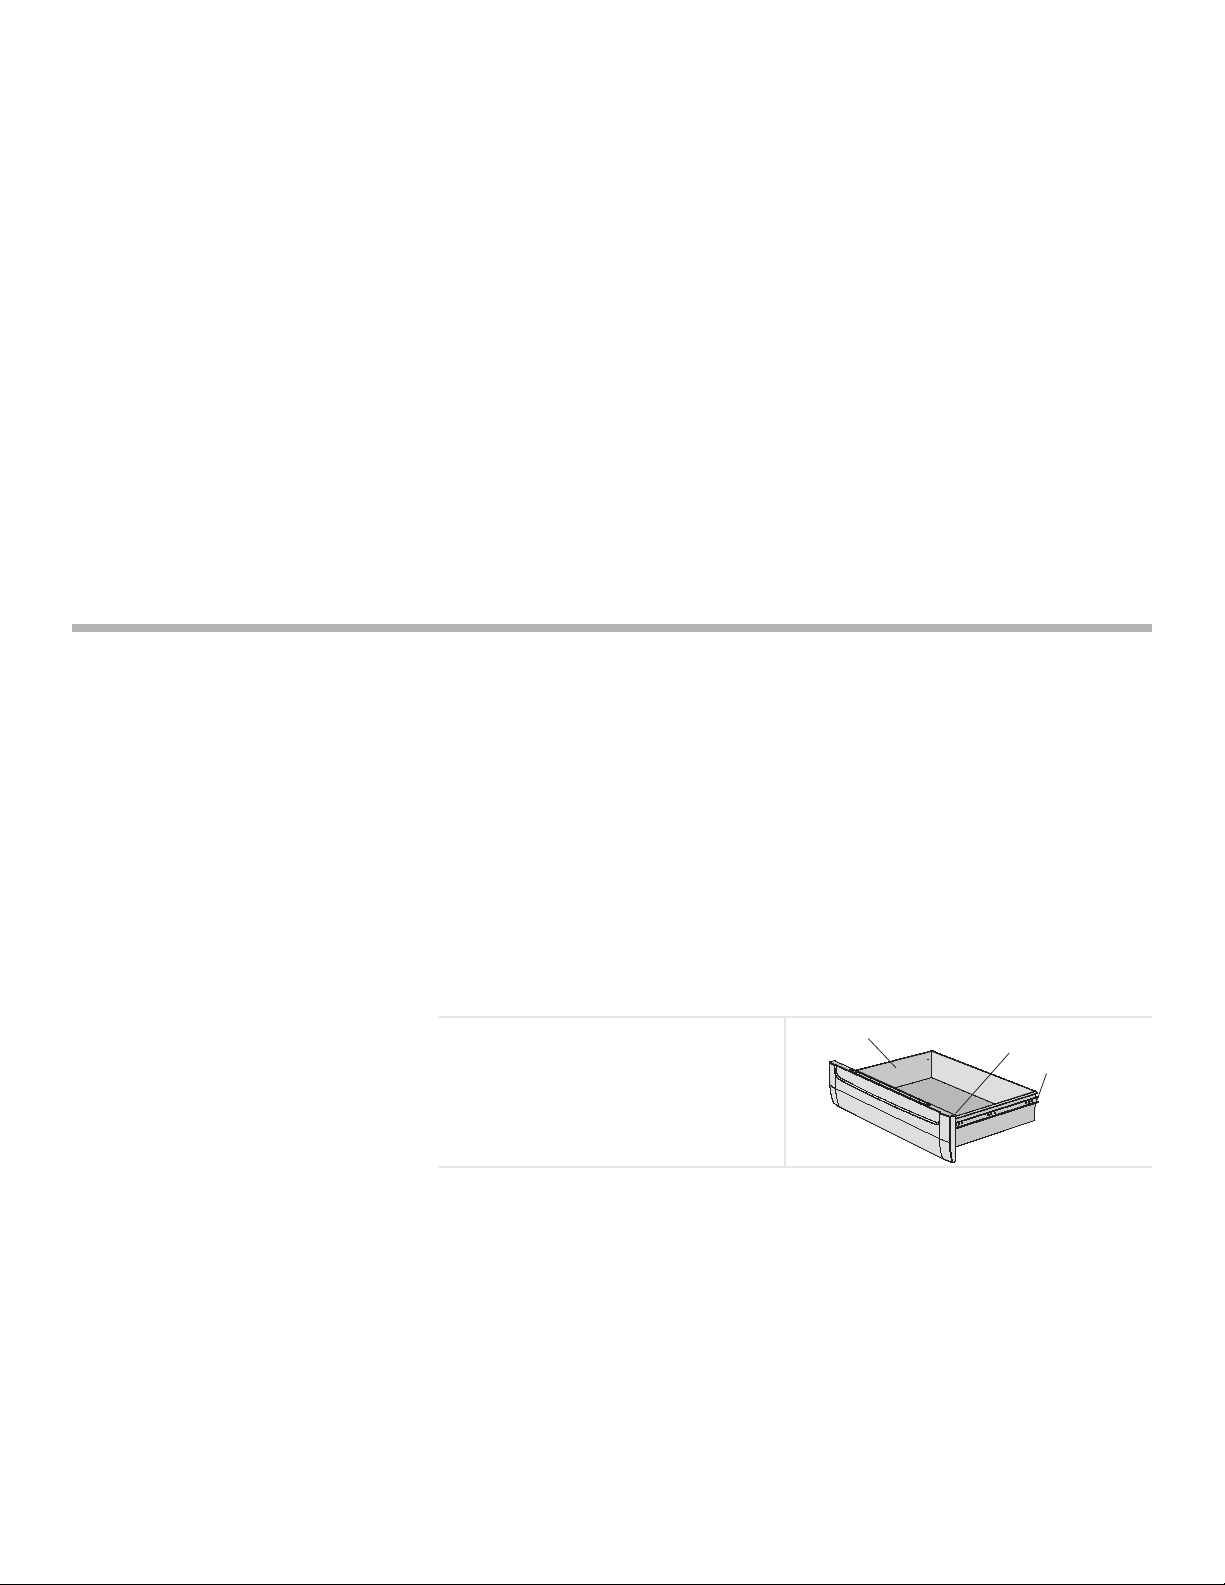
Parts Key:
1. Stainless Steel Drawer Interior
2. Gasket
3. Rail Lock
Figure 13: Warming Drawer Parts
1
2
3
Loading ...
Loading ...
Loading ...