Loading ...
Loading ...
Loading ...
10
2. Setting up the monitor
3
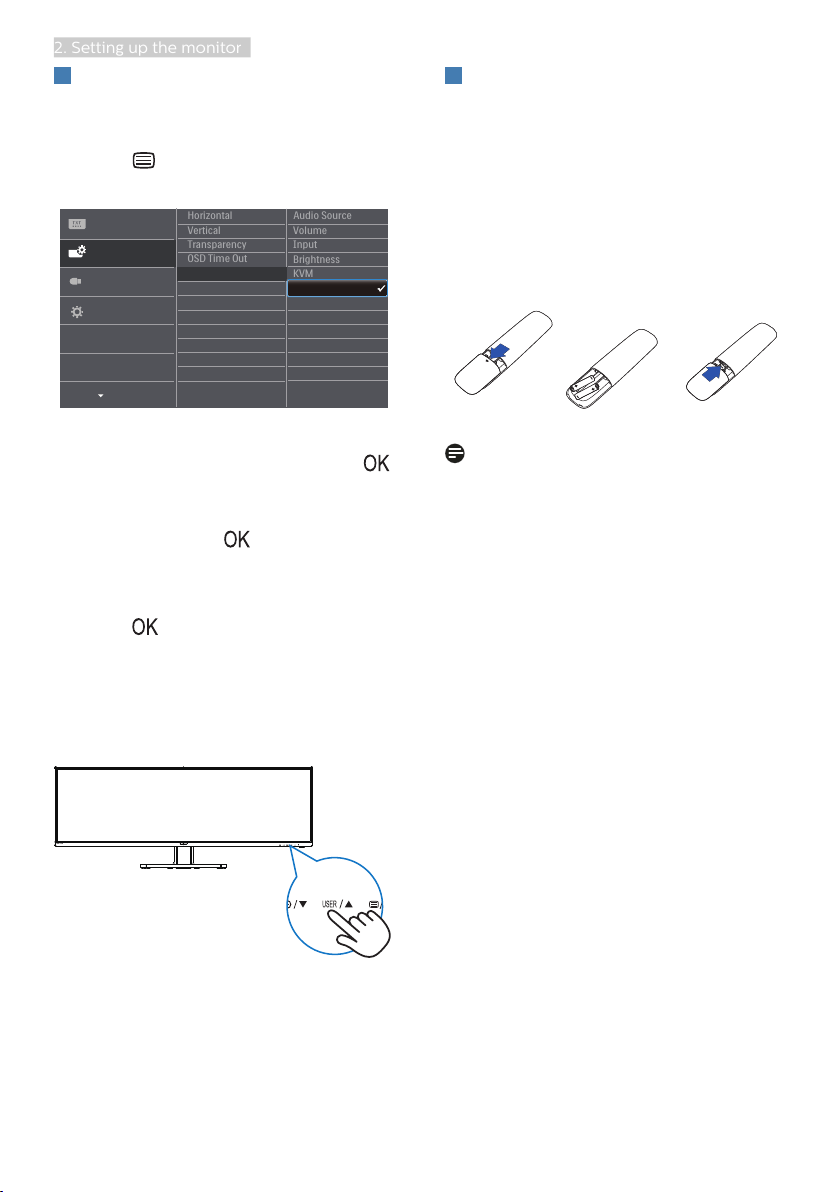
Customize your own “USER” key
This hot key allows you to setup your
favorite function key.
1. Press button on the front bezel
to enter OSD Menu Screen.
2. Press ▲ or ▼ button to select main
menu [OSD Settings], then press
button.
3. Press ▲ or ▼ button to select [User
Key], then press button.
4. Press ▲ or ▼ button to select your
preferred function.
5. Press button to confirm your
selection.
Now you can press the hotkey directly
on the front bezel. Only your pre-
selected function will appear for quick
access.
4
The remote control is powered by
two 1.5V AAA batteries. (499P9H1)
To install or replace batteries:
1. Press and then slide the cover to
open it.
2. Align the batteries according to the
(+) and (–) indications inside the
battery compartment.
3. Replace the cover.
Note
The incorrect use of batteries can result
in leaks or bursting. Be sure to follow
these instructions:
• Place “AAA” batteries matching the
(+) and (–) signs on each battery to
the (+) and (–) signs of the battery
compartment.
• Do not mix battery types.
• Do not combine new batteries with
used ones. It causes shorter life or
leakage of batteries.
• Remove the dead batteries
immediately to prevent them
from liquid leaking in the battery
compartment. Don’t touch exposed
battery acid, as it can damage your
skin.
• If you do not intend to use the
remote control for a long period,
remove the batteries.
Loading ...
Loading ...
Loading ...