Loading ...
Loading ...
Loading ...
4 31-3000210 Rev. 2
Installation Instructions
6
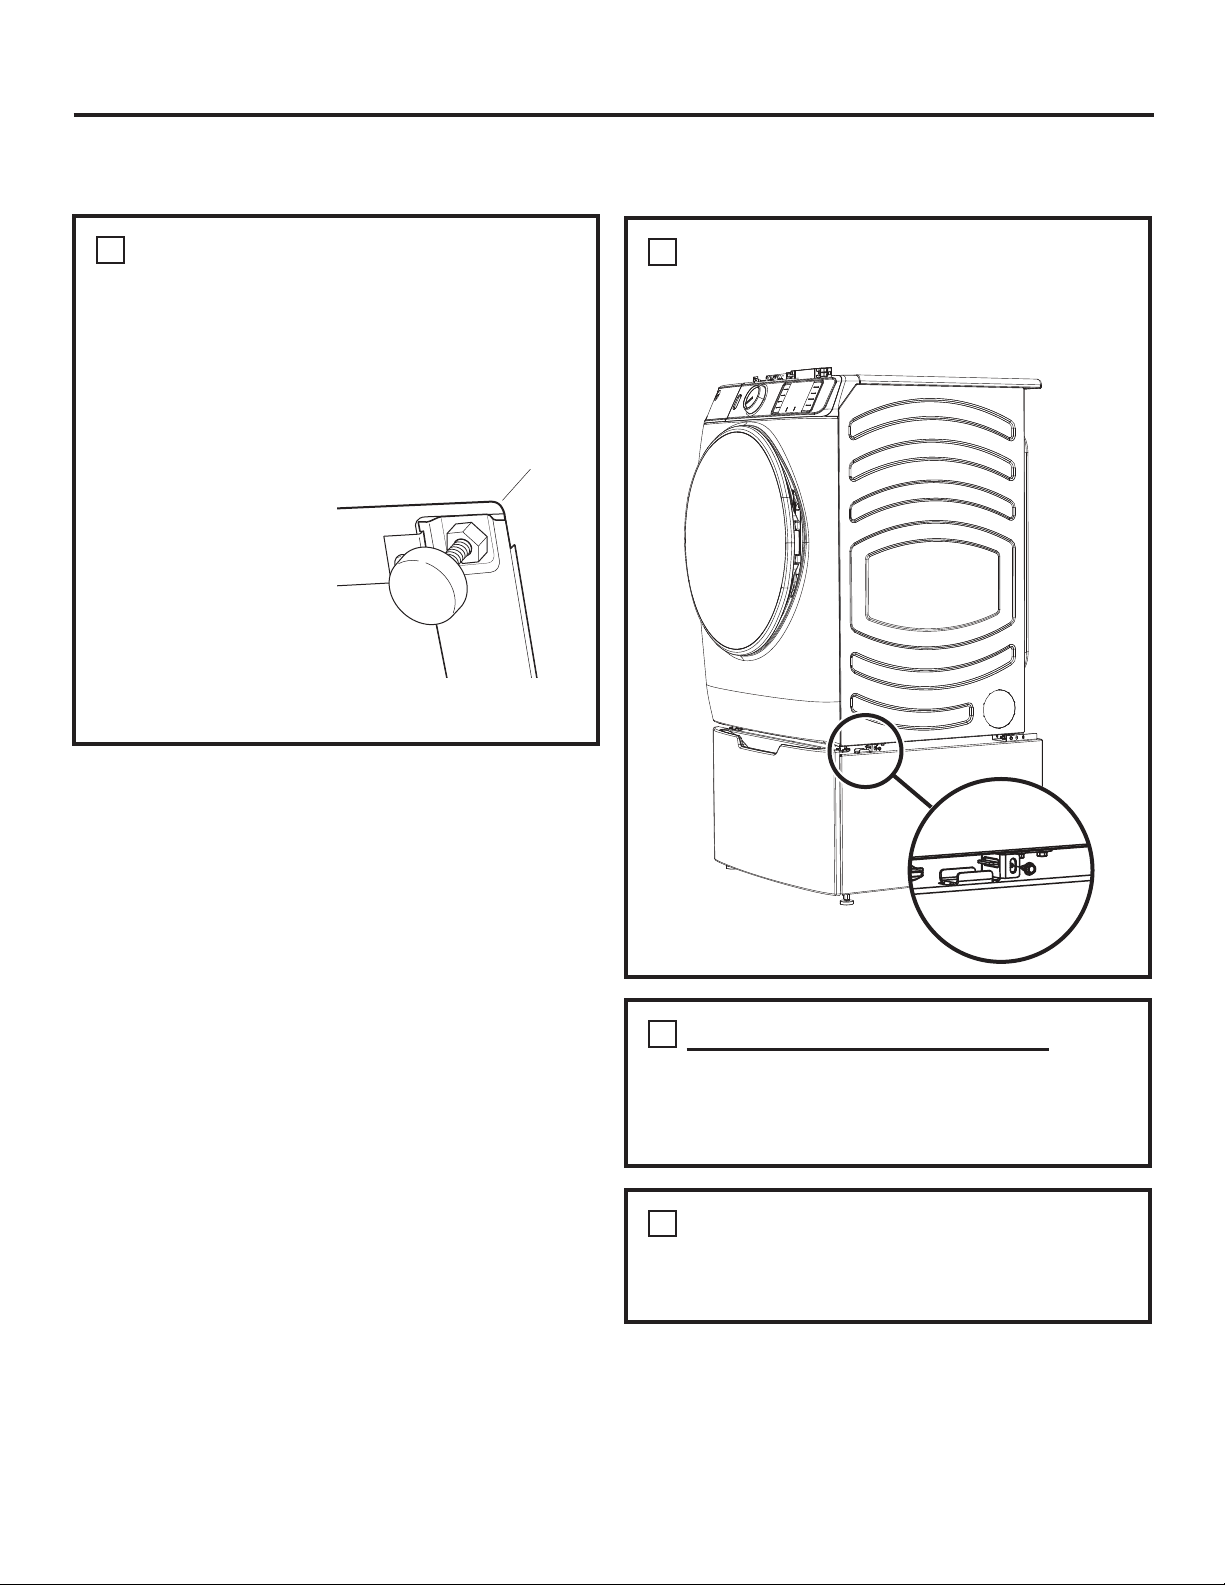
JOIN FRONT BRACKETS
Ŷ)DVWHQVFUHZEHWZHHQIURQWEUDFNHWVIRU
pedestal/riser and washer or dryer on both
sides of unit.
7
WASHING MACHINE ONLY:
REMOVE SHIPPING SCREWS
Remove the 4 shipping bolts on the back side of
the unit.
8
FINALIZE THE INSTALLATION
Refer to the washer or dryer installation
instructions to complete the installation.
ATTACH PEDESTAL/RISER TO UNIT (cont.)
5
LEVEL THE WASHER OR DRYER
Ŷ/RFDWHWKHOHJVIURPWKHSDUWVSDFNDJHDQG
install to minimum height.
Ŷ6WDQGWKHZDVKHURUGU\HUXSULJKW
Ŷ0DNHVXUHWKDWWKHZDVKHURUGU\HULVOHYHOE\
placing a spirit level on top. Check side to side
and front to back.
Ŷ8VHDRSHQ
ended wrench to
adjust the legs in
and out. Tighten
the lock nut
against the bottom
of the pedestal/
riser.
NOTE: To minimize
vibration, the locking
nuts must be tight.
Printed in Taiwan
Loading ...
Loading ...
Loading ...