Loading ...
Loading ...
Loading ...
22 INSTALLATION
Connecting the Water Line
Before Beginning
This water line installation is not covered by the
refrigerator warranty. Follow these instructions
carefully to minimize the risk of expensive water
damage.
,IQHFHVVDU\FDOODTXDOL¿HGSOXPEHUWRFRUUHFWZDWHU
hammer before installing the water supply line to
the refrigerator. Water banging in the pipes, or water
hammer in residential plumbing can cause damage
to refrigerator parts and lead to water leakage or
ÀRRGLQJ
x Turn the icemaker OFF if the refrigerator will be
used before the water line is connected.
x Do not install the icemaker tubing in areas where
the ambient temperatures fall below freezing.
WARNING
x Connect to potable water supply only.
CAUTION
x To prevent burns and product damage, only
connect the refrigerator water line to a cold water
supply.
x Wear eye protection during installation toprevent
injury.
Water Pressure
You will need a cold water supply.
Water Pressure
PRGHOVZLWKZDWHU¿OWHU
20–120 psi
(138 - 827 kPa)
where reverse osmosis
ZDWHU¿OWUDWLRQV\VWHPLV
connected to a cold water
supply
40–60 psi minimum to
reverse osmosis system
(2.8 kgf/cm
2
– 4.2 kgf/
cm
2
,or less than 2–3
VHFRQGVWR¿OODFXSRI
oz capacity)
If the water pressure from the reverse osmosis
system is less than 20 psi or 138 kPa or 1.4 kgf/ cm
2
WDNHVPRUHWKDQVHFRQGVWR¿OODFXSRIR]RU
198 cc capacity):
x &KHFNWRVHHLIWKHVHGLPHQW¿OWHULQWKHUHYHUVH
RVPRVLVV\VWHPLVEORFNHG5HSODFHWKH¿OWHULI
necessary.
x Allow the storage tank on the reverse osmosis
V\VWHPWRUH¿OODIWHUKHDY\XVDJH
x If the water pressure remains low, call a licensed,
TXDOL¿HGSOXPEHU
x All installations must be in accordance with local
plumbing code requirements.
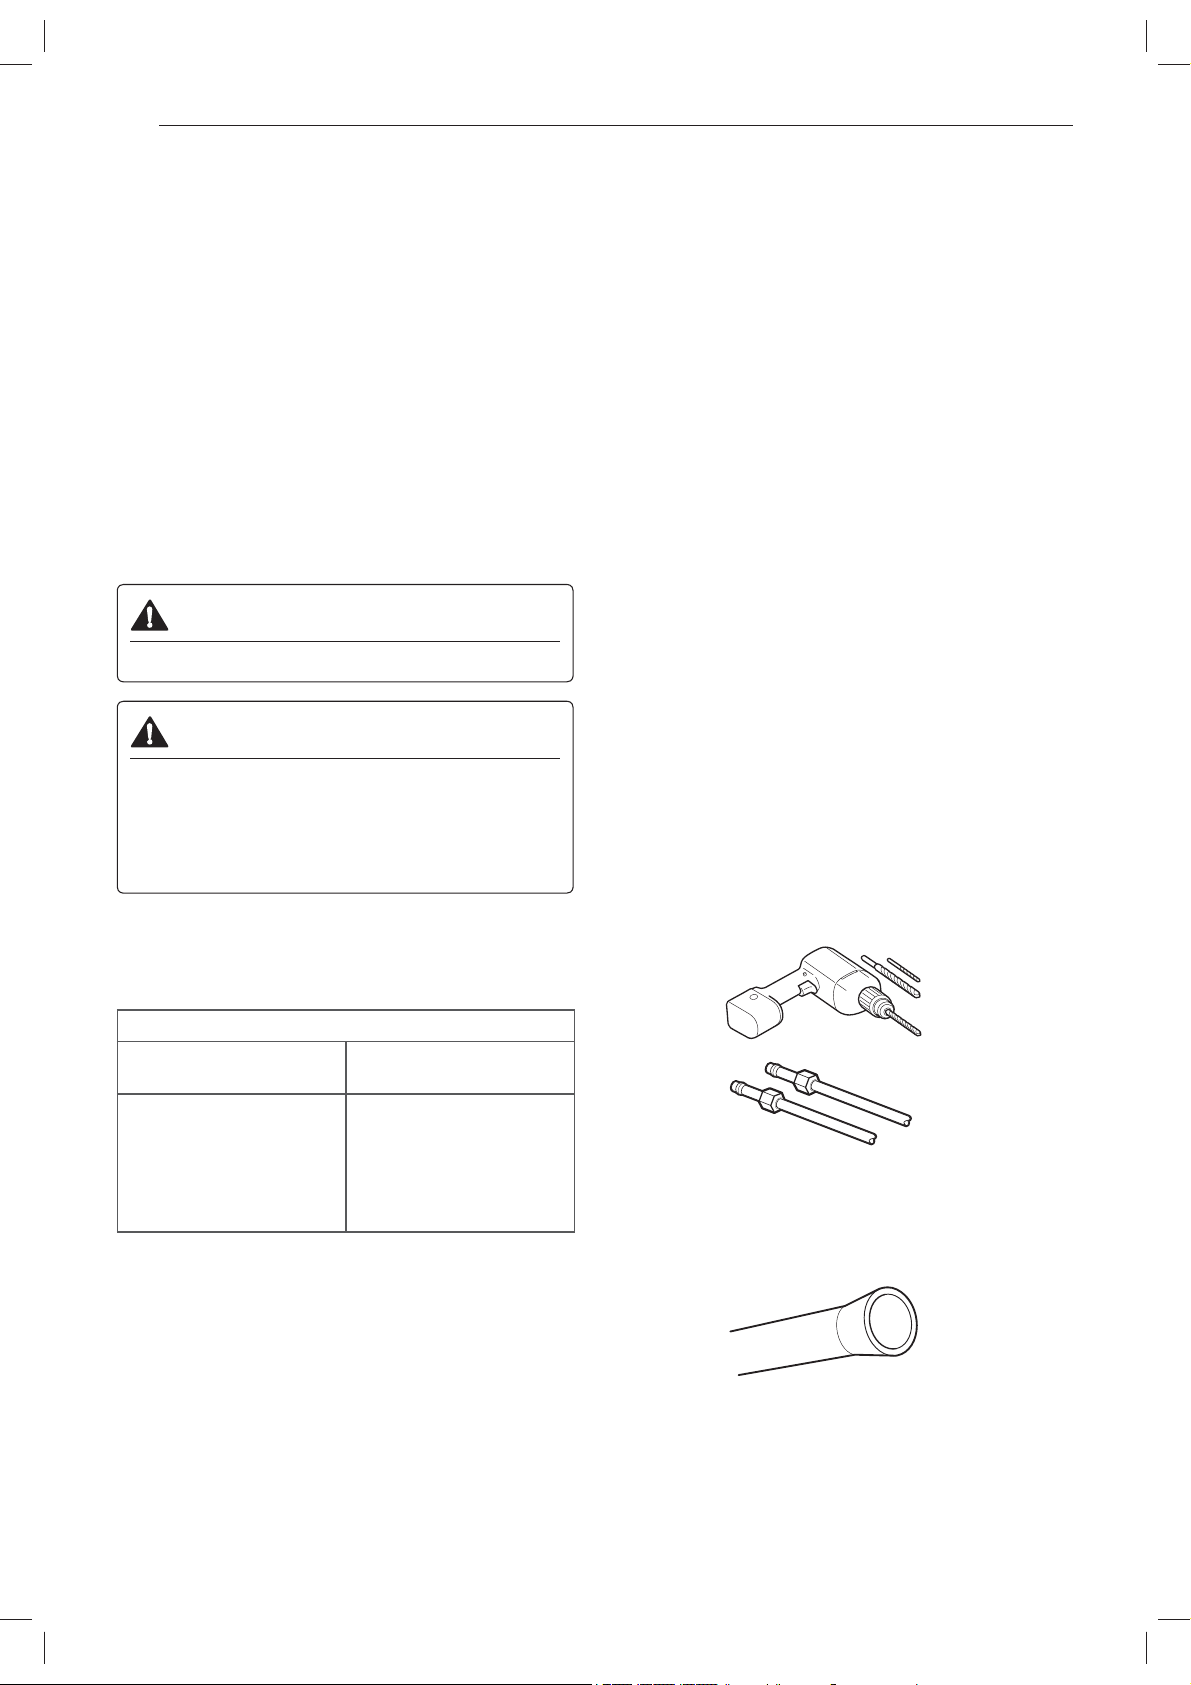
Supplies Needed
x Copper or PEX Tubing, ¼ in. outer diameter, to
connect the refrigerator to the water supply. Be sure
both ends of the tubing are cut square. To determine
how much tubing you need, measure the distance
from the water valve on the back of the refrigerator
to the water supply pipe. Then, add 8 feet (2.4 m).
%HVXUHWKHUHLVVXI¿FLHQWH[WUDWXELQJDERXWIHHW
[2.4 m] coiled into 3 turns of about 10 in. [25 cm]
diameter) to allow the refrigerator to move out from
the wall after installation.
x Power drill.
x òLQRUDGMXVWDEOHZUHQFK
x Flat-blade and Phillips-head screwdrivers.
x Two ¼ in. outer diameter compression nuts and
2 ferrules (sleeves) to connect the copper tubing to
the shutoff valve and the refrigerator water valve.
x ,I\RXUH[LVWLQJFRSSHUZDWHUOLQHKDVDÀDUHG¿WWLQJ
at the end, purchase an adapter (available at
plumbing supply stores) to connect the water line
WRWKHUHIULJHUDWRU25FXWRIIWKHÀDUHG¿WWLQJZLWKD
WXEHFXWWHUDQGWKHQXVHDFRPSUHVVLRQ¿WWLQJ
Loading ...
Loading ...
Loading ...