Loading ...
ON
4
Connect the switch
5
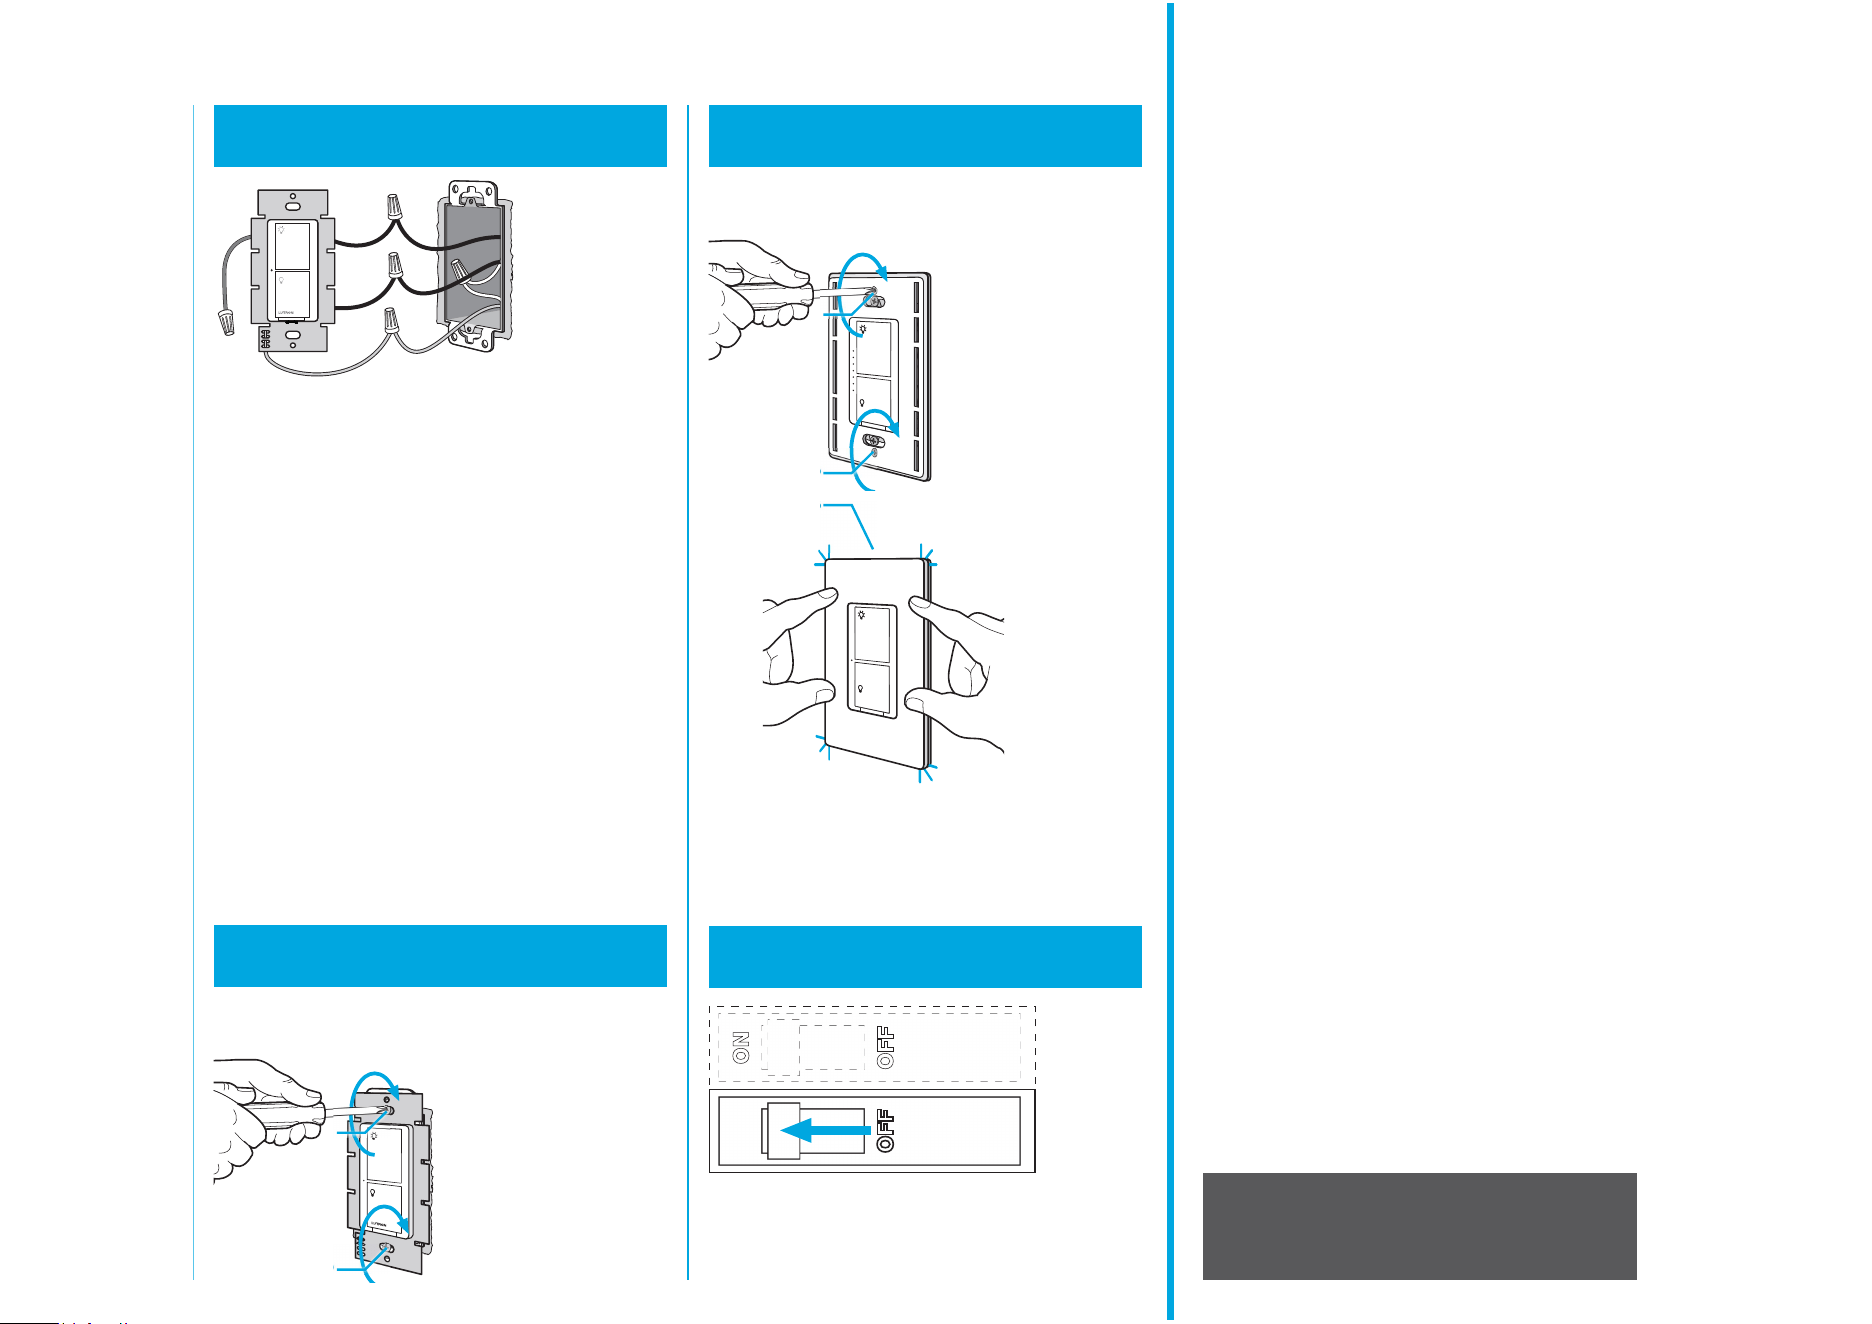
Mount the switch
6
Attach the wallplate
7
Turn power on at circuit breaker
1
2
3
Ground
1 Connect the bare copper (or green) “ground” wire
from the wallbox to the green wire on the switch
using a wire connector.
2 Connect either of the remaining wires from the
wallbox to either of the black wires on the switch
using a second wire connector.
3 Connect the remaining wire from the wall to
the other black wire on the switch using a third
wire connector.
4 Cap off the blue wire on the switch using the small
wire connector. *
* Note: The blue wire is only used in 3-way
installations. See www.casetawireless.com/3way
for more information.
* Note: A LUT-MLC may be required to ensure proper
function with CFL, LED, ELV, and fluorescent lighting.
Please see instructions for installing the LUT-MLC
that can be found on page 2 of this install guide.
The instructions can also be found by visiting
www.casetawireless.com/lutmlc
Attach the adapter to the switch using the
screws provided and snap on the wallplate.
‘snap’
(If you installed the switch next to other switches or
dimmers, you’ll need to install a wallplate with the
correct size / number of openings to accommodate all
the devices.)
Use the screws provided.
CAUTION
Use only with permanently installed lighting loads or
with general purpose fan loads.
Codes
Install in accordance with all national and local
electrical codes.
Grounding
When no “grounding means” exist in wallbox, the
National Electrical Code (NEC
®
) allows a control to
be installed as a replacement if 1) a nonmetallic,
noncombustible faceplate is used with nonmetallic
attachment screws or 2) the circuit is protected by a
ground fault circuit interrupter (GFCI). When installing
a control according to these methods, cap or remove
green wire before screwing control into wallbox.
FCC / IC Information
This device complies with part 15 of the FCC Rules and Industry Canada
license-exempt RSS standard(s). Operation is subject to the following two
conditions: (1) This device may not cause interference, and (2) this device
must accept any interference, including interference that may cause undesired
operation. Modifications not expressly approved by Lutron Electronics Co.,
Inc. could void the user’s authority to operate this equipment.
Note: This equipment has been tested and found to comply with the limits for
a Class B digital device, pursuant to part 15 of the FCC Rules. These limits
are designed to provide reasonable protection against harmful interference
in a residential installation. This equipment generates, uses and can radiate
radio frequency energy and, if not installed and used in accordance with
the instructions, may cause harmful interference to radio communications.
However, there is no guarantee that interference will not occur in a particular
installation. If this equipment does cause harmful interference to radio or
television reception, which can be determined by turning the equipment off
and on, the user is encouraged to try to correct the interference by one or
more of the following measures:
—Reorient or relocate the receiving antenna.
—Increase the separation between the equipment and receiver.
— Connect the equipment into an outlet on a circuit different from that to which
the receiver is connected.
—Consult the dealer or an experienced radio/TV technician for help.
1
2
1
2
Warranty
For warranty information, please visit
www.casetawireless.com/warranty
3
4
Loading ...
Loading ...
Loading ...