Loading ...
Loading ...
Loading ...
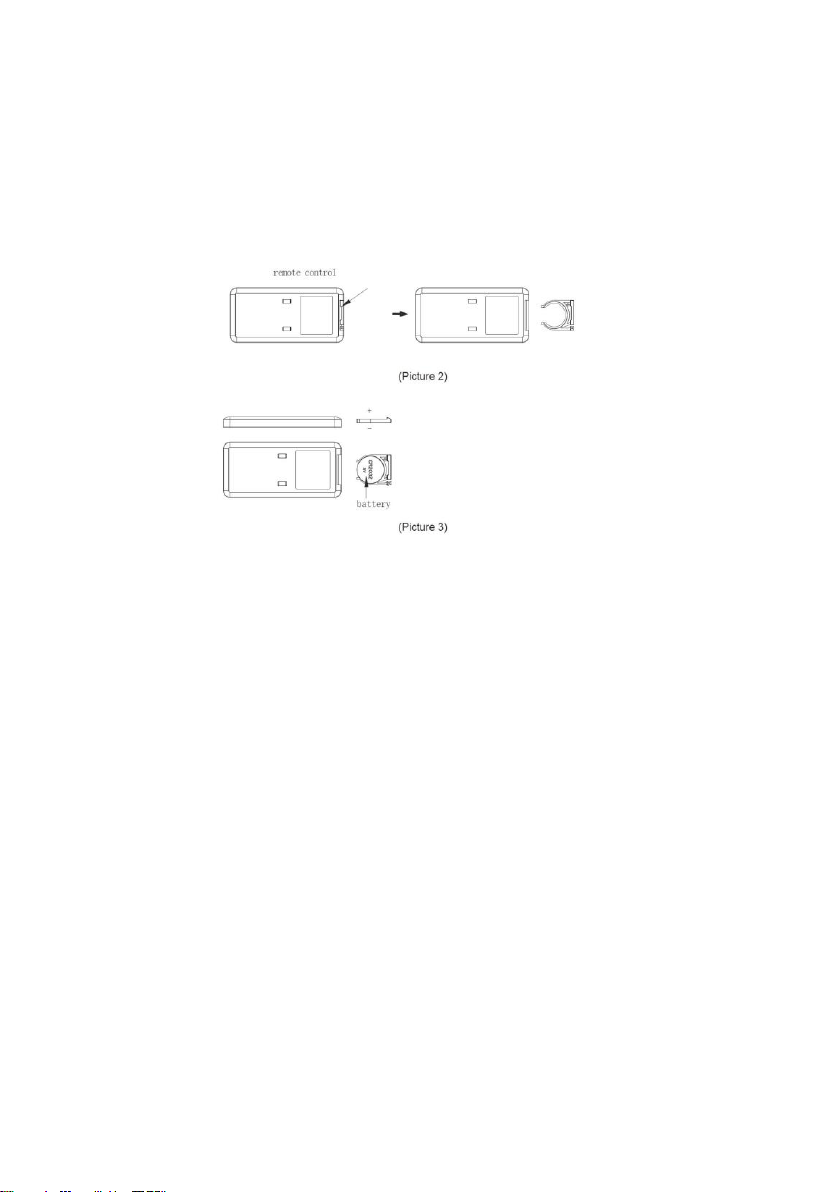
REMOTE CONTROL
The remote control can be used to operate all functions.
1. Remove the battery cover at the back of remote control (Picture
2).
2. Insert the battery (included) [Picture 3].
3. Replace the battery cover.
Operation
1. Connect the unit to a power supply and switch on.
2. The unit will be in standby mode and sound a ‘beep beep’ once
connected to the power supply. The ON/OFF indicator light will
illuminate.
3. Press the ON/OFF button to turn the unit ON.
4. The unit defaults to: Low Power, no swing and a temperature setting
of 25°C.
5. Press the Mode button to change the setting. The mode is changed
in sequence: Low Power, High Power & Eco mode. The respective
indicator light will illuminate to show what mode is selected.
6. Press the Timer/Temperature button once, to set a time for the unit
to turn off automatically. The number will flash on the LED display
when the time is ready to be set. Time is set in 1 hour increments,
and can be set up to 12 hours. Press the ‘+/-’ buttons to set the
desired time.
Loading ...
Loading ...
Loading ...