Loading ...
Loading ...
Loading ...
17
Refrigerator Shelves
The shelves in your refrigerator are adjustable to match
your
individual storage needs.
Glass Shelves
To remove a shelf:
1. Remove items from the shelf.
2. Slide the shelf straight out to the stop.
3. Depending on your model, lift the back or front of the shelf
past
the stop. Pull the shelf out the rest of the way.
To replace a shelf:
1. Slide the back of the shelf into the track in the wall
of
the cabinet.
2. Guide the front of the shelf into the shelf track.
Be
sure to slide the shelf in all the way.
Foldaway Shelf (on some models)
To retract the foldaway shelf:
■ Retract the foldaway section of the shelf by holding the front
of
the shelf with one hand and lifting up on the center front
of
the shelf. Then push back and down on the shelf until it
slides beneath the back section of the shelf.
To replace the foldaway shelf:
■ Replace the foldaway section of the shelf by holding the front
of the shelf with one hand and pulling the center of the shelf
until the foldaway section is returned to its full shelf position.
Pantry Drawer
Pantry Drawer
To remove and replace the pantry drawer:
1. Slide pantry drawer out to the stop.
2. Lift front of pantry drawer with one hand while supporting
bottom of drawer with other hand. Slide drawer out the rest
of the way.
3. Replace the drawer by sliding it back in fully past the
drawer
stop.
Pantry Drawer Cover
To remove and replace the pantry drawer cover:
1. Remove the pantry drawer.
2. From underneath, push up on the glass cover and pull it out.
3. Replace the pantry drawer cover by lowering it into place.
4. Replace the pantry drawer.
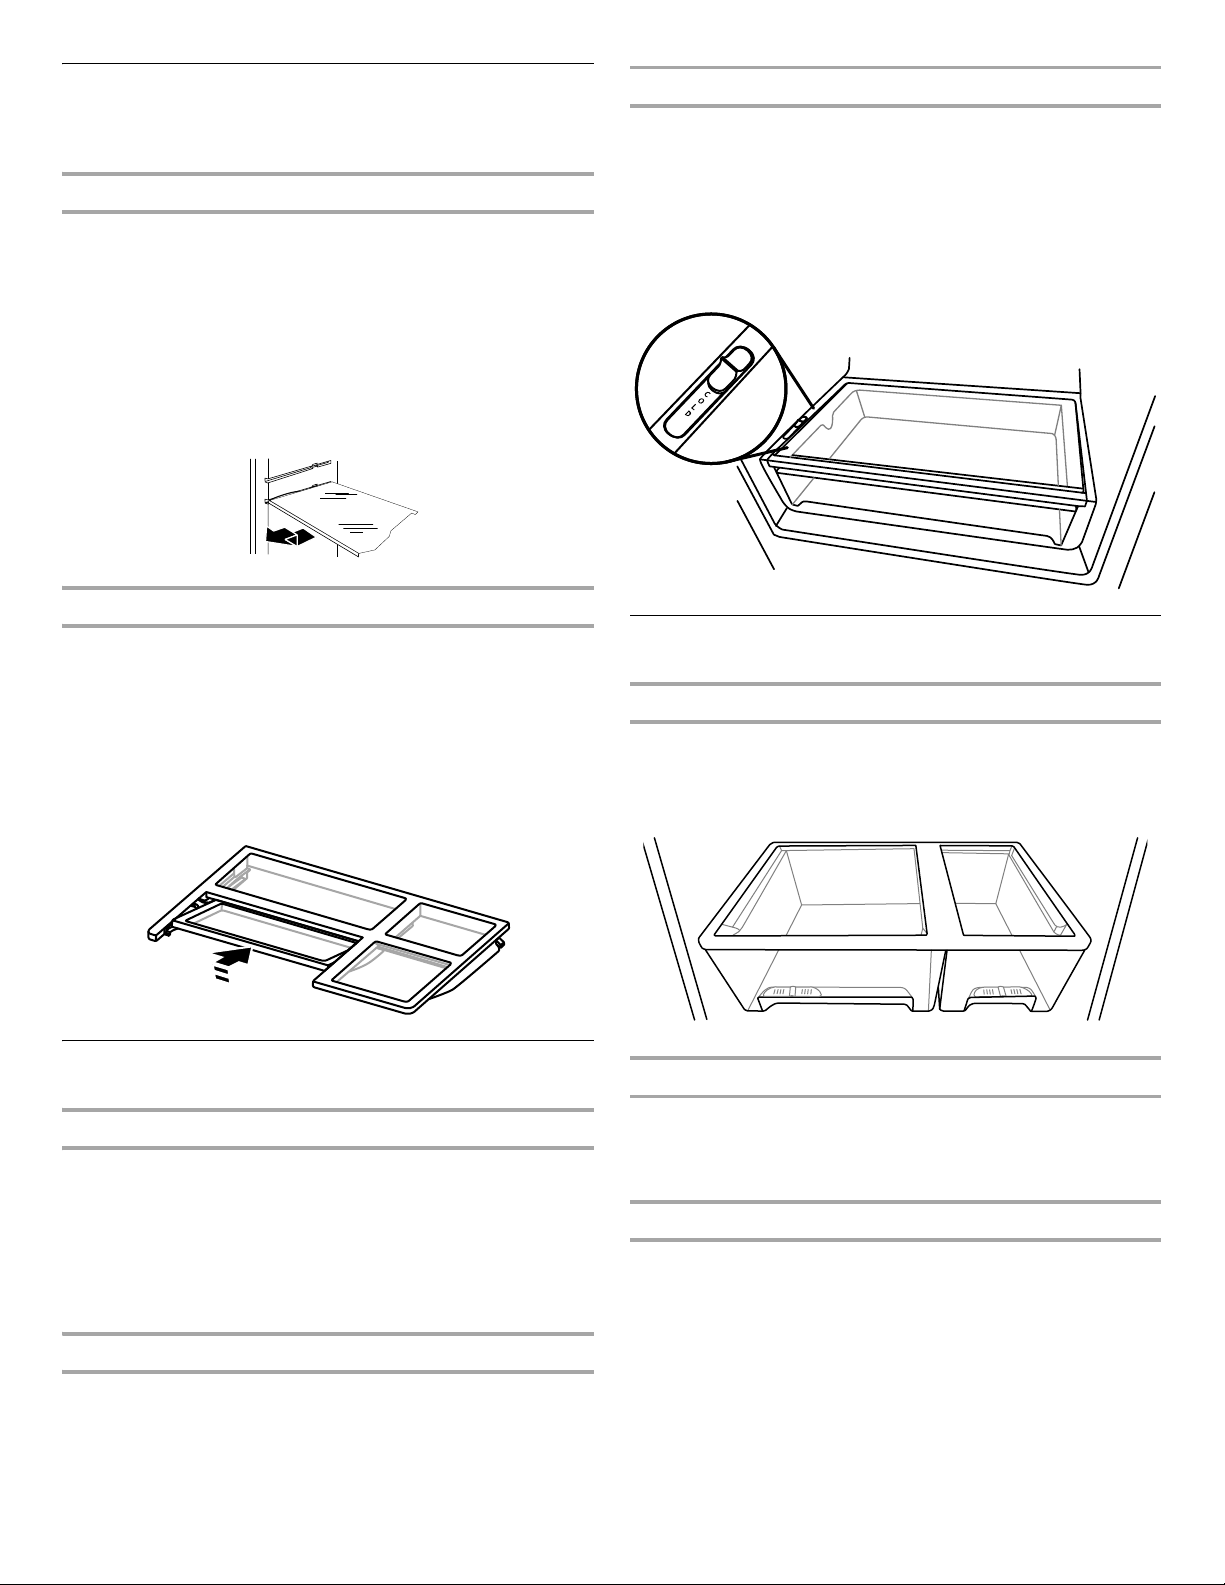
Pantry Drawer Control
The amount of air flowing through the pantry drawer affects
the
temperature inside the drawer.
The airflow control is located on the left side of the pantry drawer.
To adjust the airflow:
■ Colder - Slide the control forward, toward the front
of
the pantry drawer. The airflow is open.
■ Cold - Slide the control all the way toward the rear of
the
pantry drawer. The airflow is closed, as shown.
Crisper
Crisper Drawers
To remove and replace the crisper drawer:
1. Slide the crisper drawer straight out to the stop. Lift the
front
and slide the drawer out the rest of the way.
2. Replace the drawer by sliding the drawer in fully past the stop.
Crisper Cover
To remove and replace the glass crisper cover:
1. Pull the glass straight out.
2. Replace the glass by pushing it straight in.
Crisper Humidity Control (on some models)
You can control the amount of humidity in the moisture-sealed
crisper. Adjust the control to any setting between LOW and HIGH.
LOW (open) lets moist air out of the crisper for best storage of fruits
and vegetables with skins.
■ Fruit: Wash, let dry and store in refrigerator in plastic bag
or
crisper. Do not wash or hull berries until they are ready to
use. Sort and keep berries in original container in crisper, or
store in a loosely closed paper bag on a refrigerator shelf.
■ Vegetables with skins: Place in plastic bag or plastic
container
and store in crisper.
HIGH (closed) keeps moist air in the crisper for best storage
of
fresh, leafy vegetables.
Loading ...
Loading ...
Loading ...