Loading ...
Loading ...
Loading ...
8
Oven Control, Clock & Timer
Wall Oven
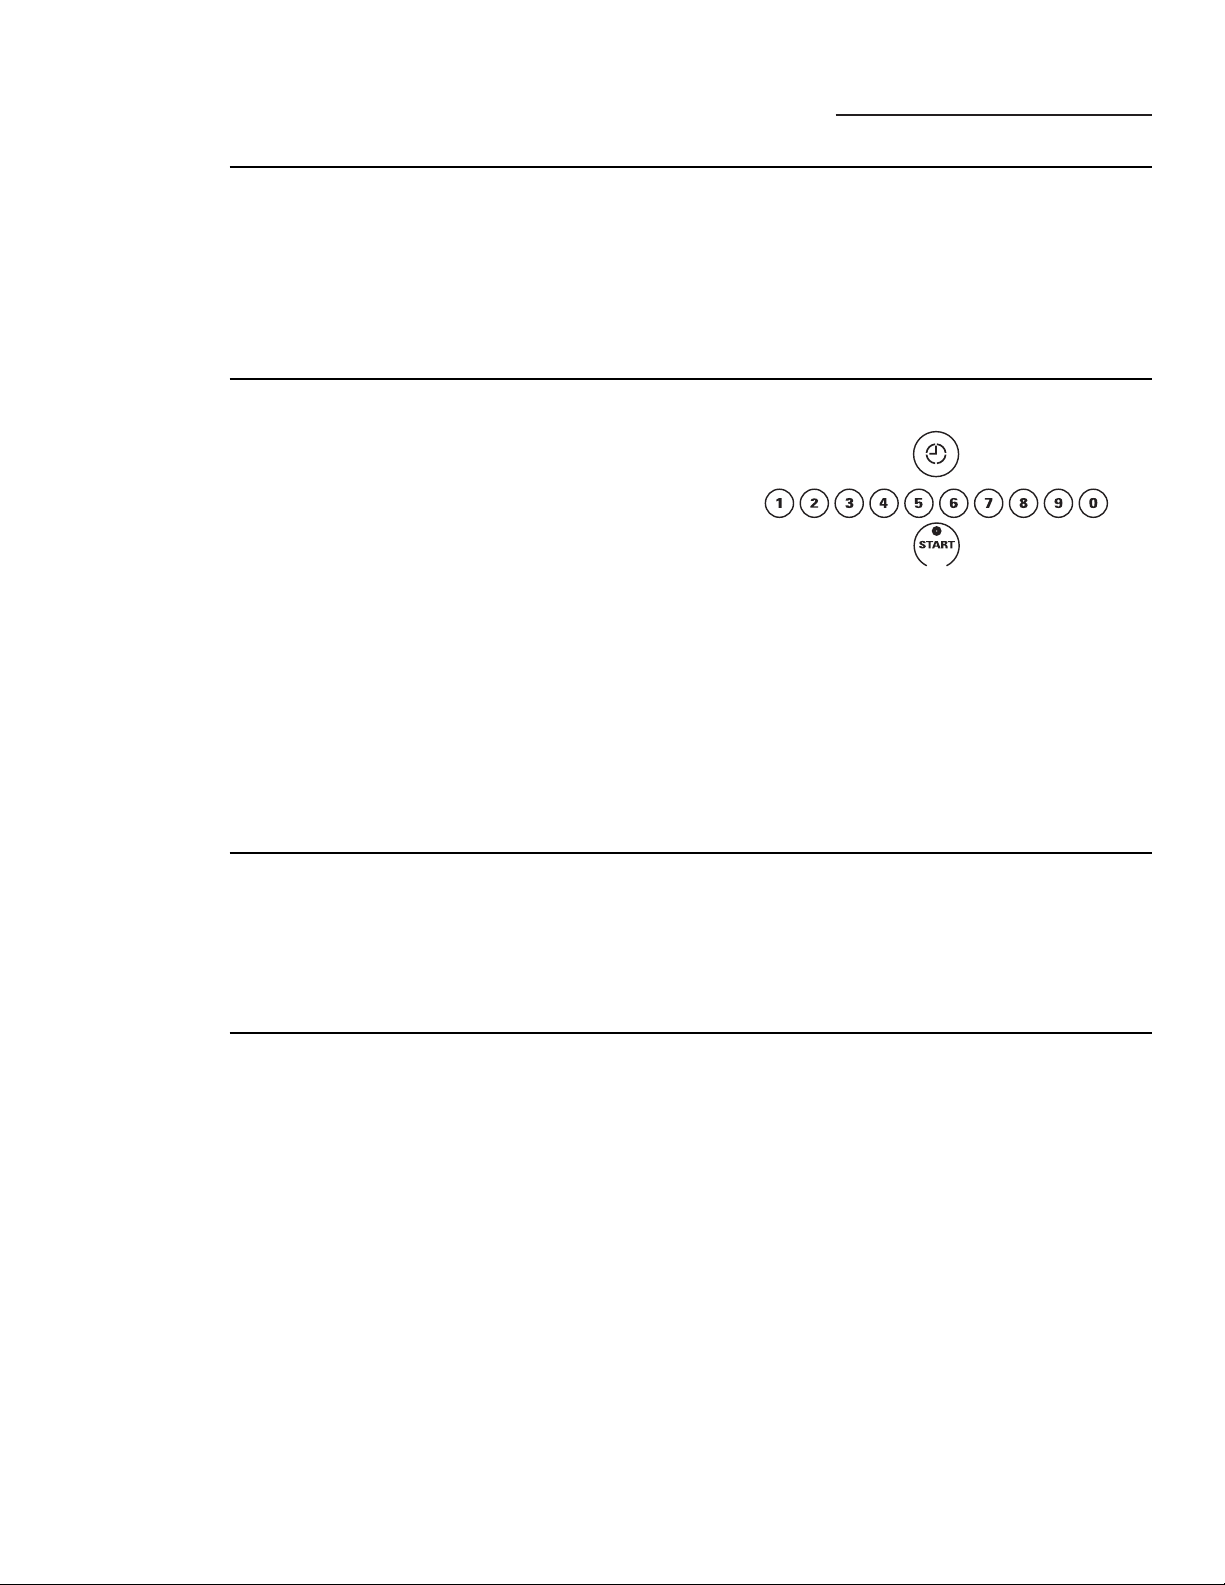
To set
the clock
1 Press the CLOCK pad.
2 Press the number pads the same way you
read them. For example, to set 12:34, press
the number pads 1, 2, 3 and 4 in that order.
If number pads are not pressed within one
minute after you press the CLOCK pad, the
display reverts to the original setting. If this
happens, press the CLOCK pad and reenter
the time of day.
3 Press the START pad. This enters the time
and starts the clock.
To check the time of day when the display is
showing other information, simply press the
CLOCK pad. The time of day shows until
another pad is pressed.
Clock
The clock must be set for the automatic oven timing
functions to work properly.
The time of day clock cannot be changed
during Delay Start. (It can be changed during
a regular bake or broil operation.)
Timer
NOTE: The timer is independent of all the other
functions and it does not control the oven. The
CLEAR/OFF pad does not affect the timer.
You may program the timer to time cooking
or other household activities for up to 9 hours
and 59 minutes.
The timer counts down in minutes, 1 minute
at a time, until the last 60 seconds are reached.
Then the control will beep one time. The
seconds will not be displayed until the last
minute is reached.
When the timer reaches “ :00,” the control
will beep 3 times followed by one beep every
6 seconds until the TIMER ON/OFF pad is
pressed.
The 6-second tone can be canceled by
following the steps in the Special Features
of Your Control under Tones at the End of
a Timed Cycle.
Power
failure
If a flashing time of day is in the display,
you have experienced a power failure.
Reset the clock.
To reset the clock, press the CLOCK pad.
Enter the correct time of day by pressing
the appropriate number pads. Press the
START pad.
Loading ...
Loading ...
Loading ...