Loading ...
Loading ...
Loading ...
6 OPERATION
Before you begin
Before you start to use the freezer:
1. Check that the interior is dry.
2. Clean the interior as recommended under “Cleaning”
on page 6.
3. Insert the plug into the wall socket and switch on the
electricity supply the Red light will now be on. Avoid
accidental disconnection by taping over the switch.
Note: You will hear a noise as the compressor starts
up. The liquid and gases sealed within the
refrigeration system may also give rise to noise,
whether the compressor is running or not, which is
quite normal.
TIPS & INFORMATION
IMPORTANT
Do not load the appliance immediately after it is switched
on. Wait until the correct storage temperature has been
reached.
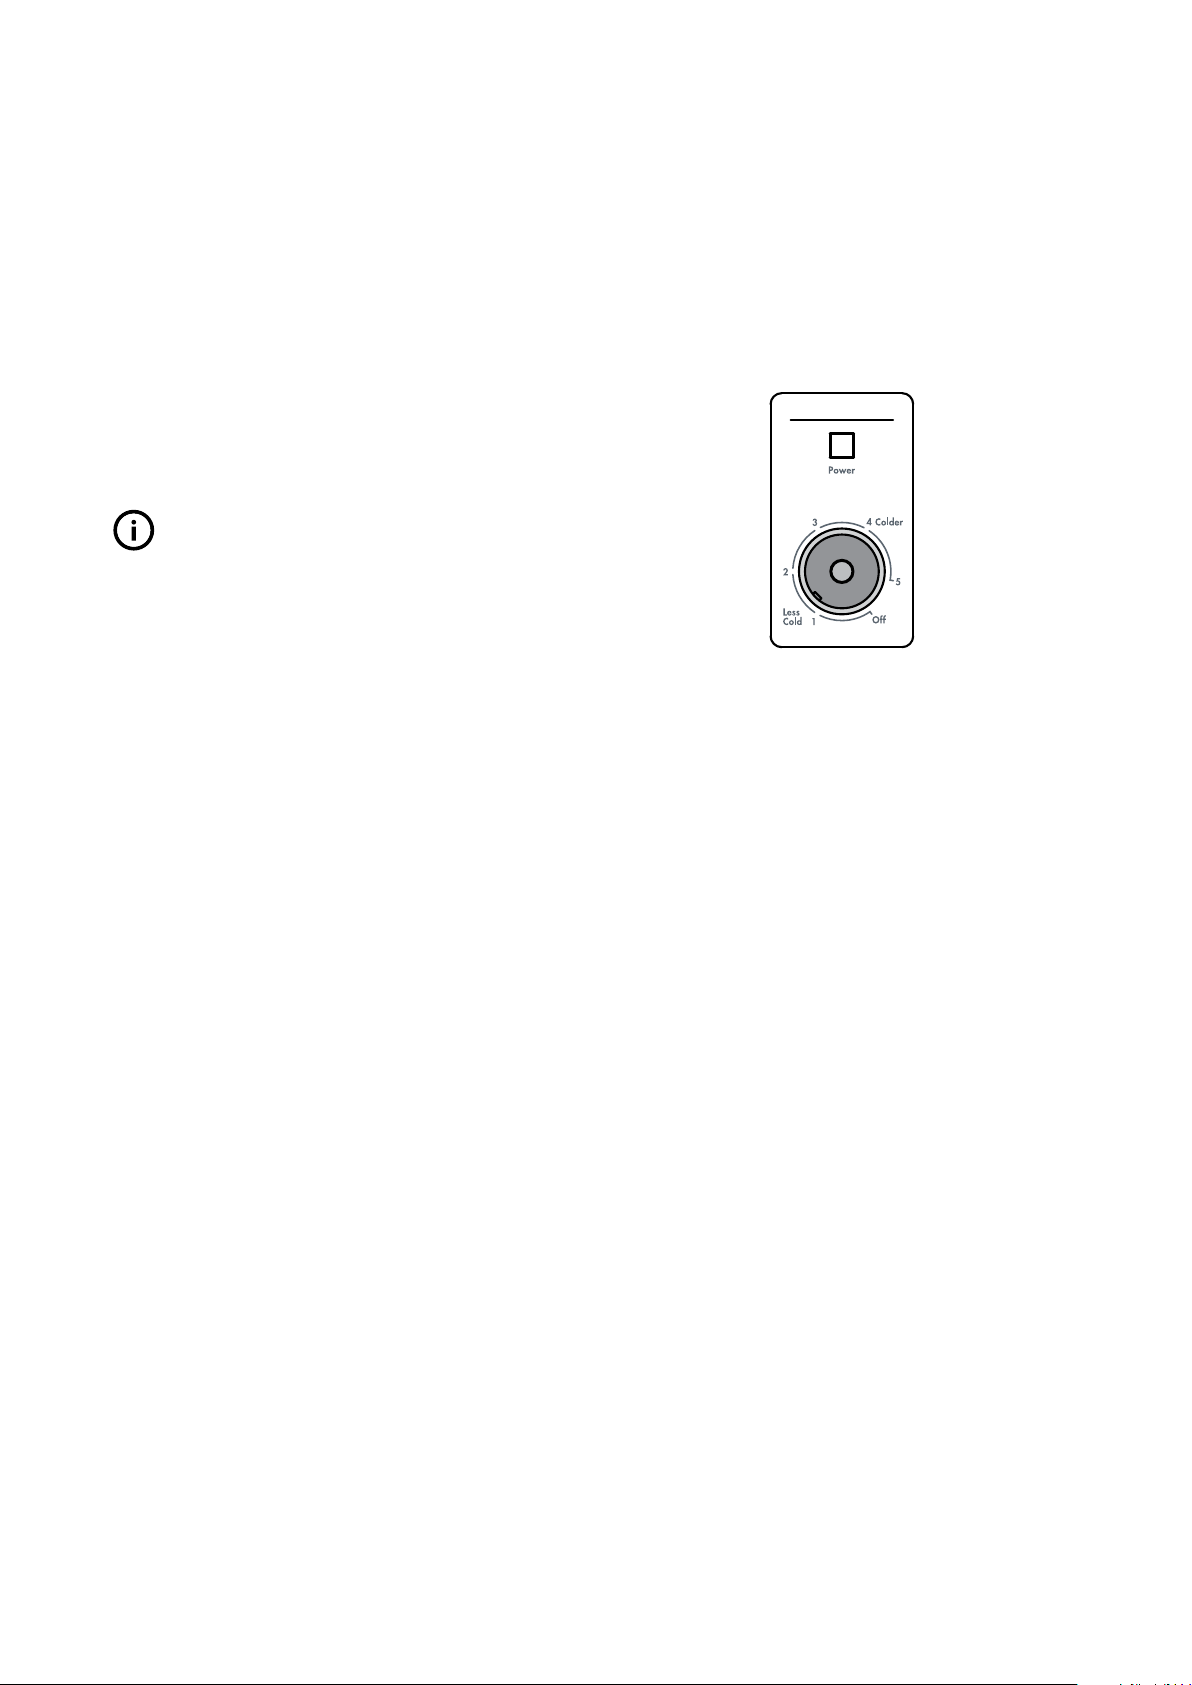
Adjusting the temperature
The temperature of the freezer is adjusted by means of
the knob assembled on the thermostat. ”1, 2, 3, 4 & 5”
do not represent a specific temperature. The smaller the
number the higher the temperature. Position “5” is coldest
temperature setting.
Thermostat adjustment knob
When you first start using your freezer set the control
to 3, this is correct for most freezing and storing needs.
However, the control setting can be adjusted if required.
(Turn clockwise for colder temperatures). You should only
make small adjustments and wait 24 hours to see whether
you need to make further changes.
Please remember each time the lid is opened, cold air
escapes and the internal temperature rises. Therefore
never leave the lid open and ensure it is closed
immediately after food is put in or removed.
Red indicator light
The red indicator light set is on the front side of the
freezer for easy visibility and shows that the appliance
is connected to a power outlet and that power is being
supplied to the freezer. If there is power to the outlet but
the red indicator light is not on, call for service.
USING YOUR NEW APPLIANCE
Loading ...
Loading ...
Loading ...