CONTENTS
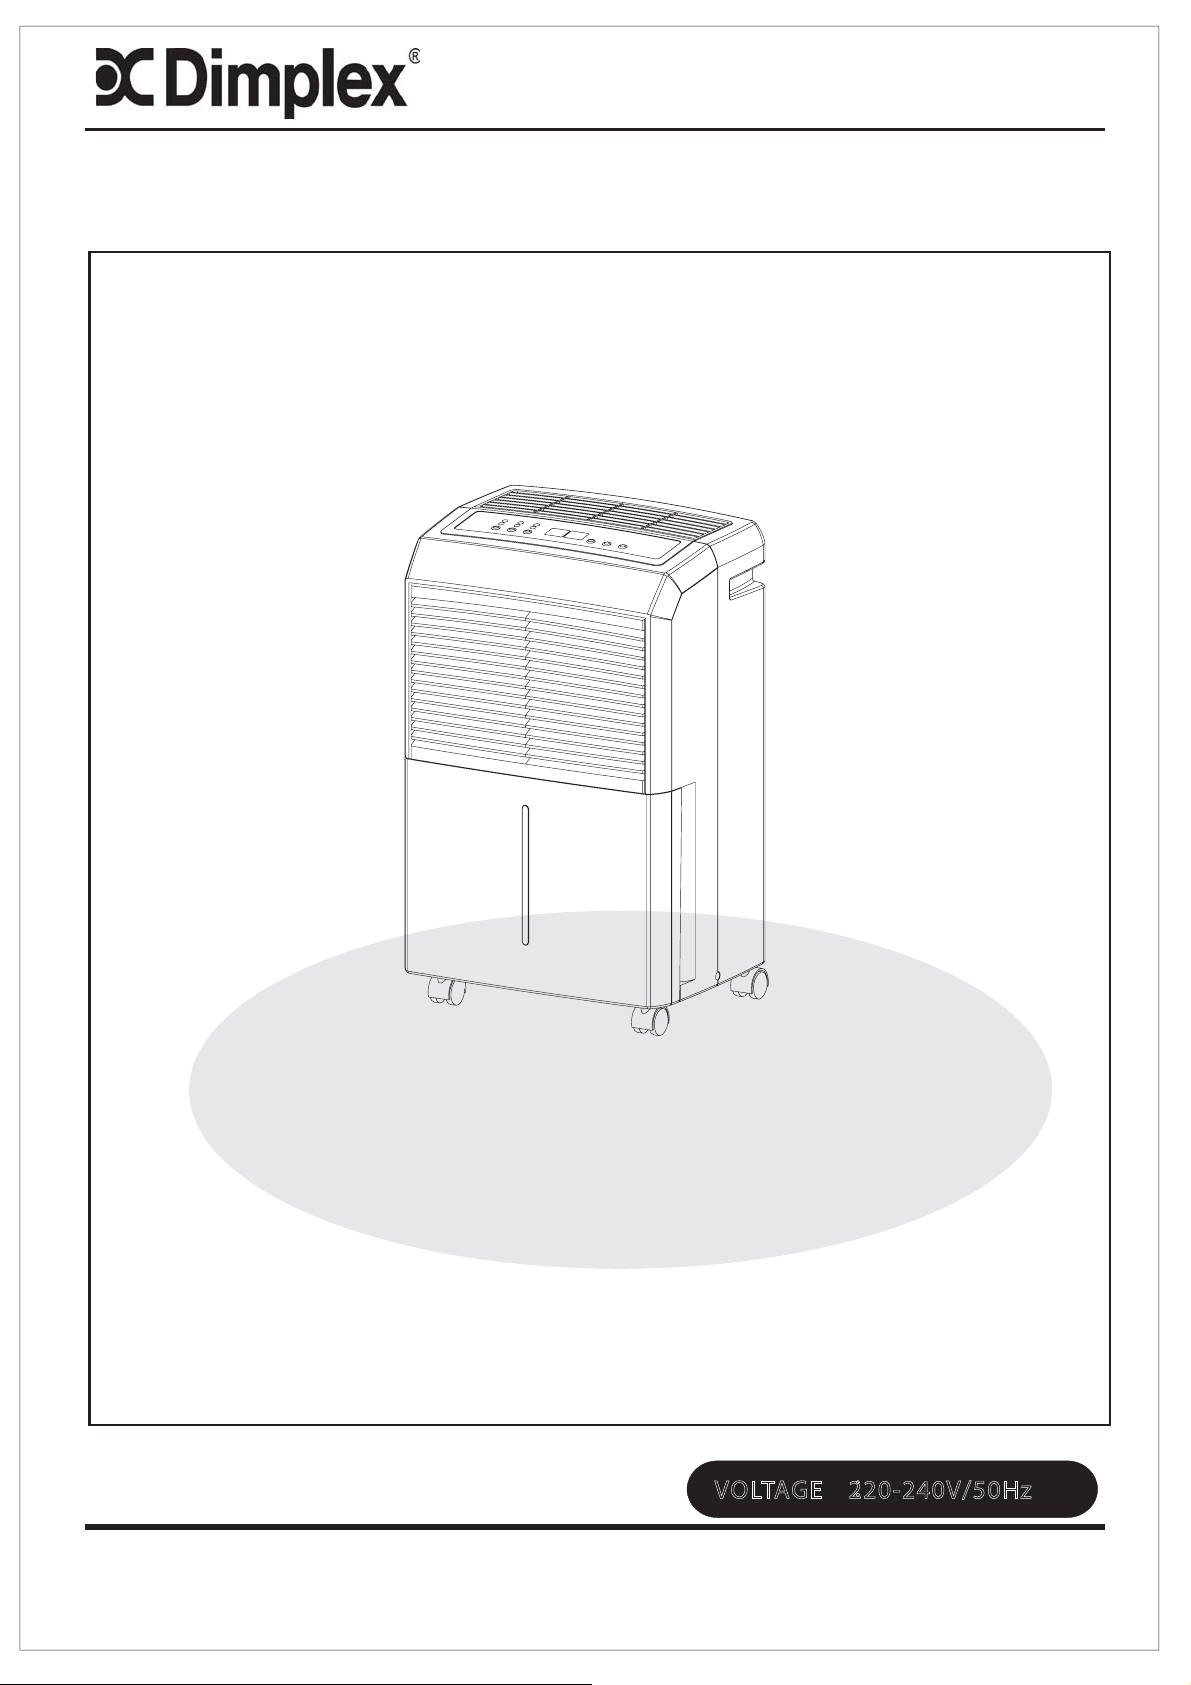
GDH-DEH30E
DEHUMIDIFIER
OWNERSMANUAL
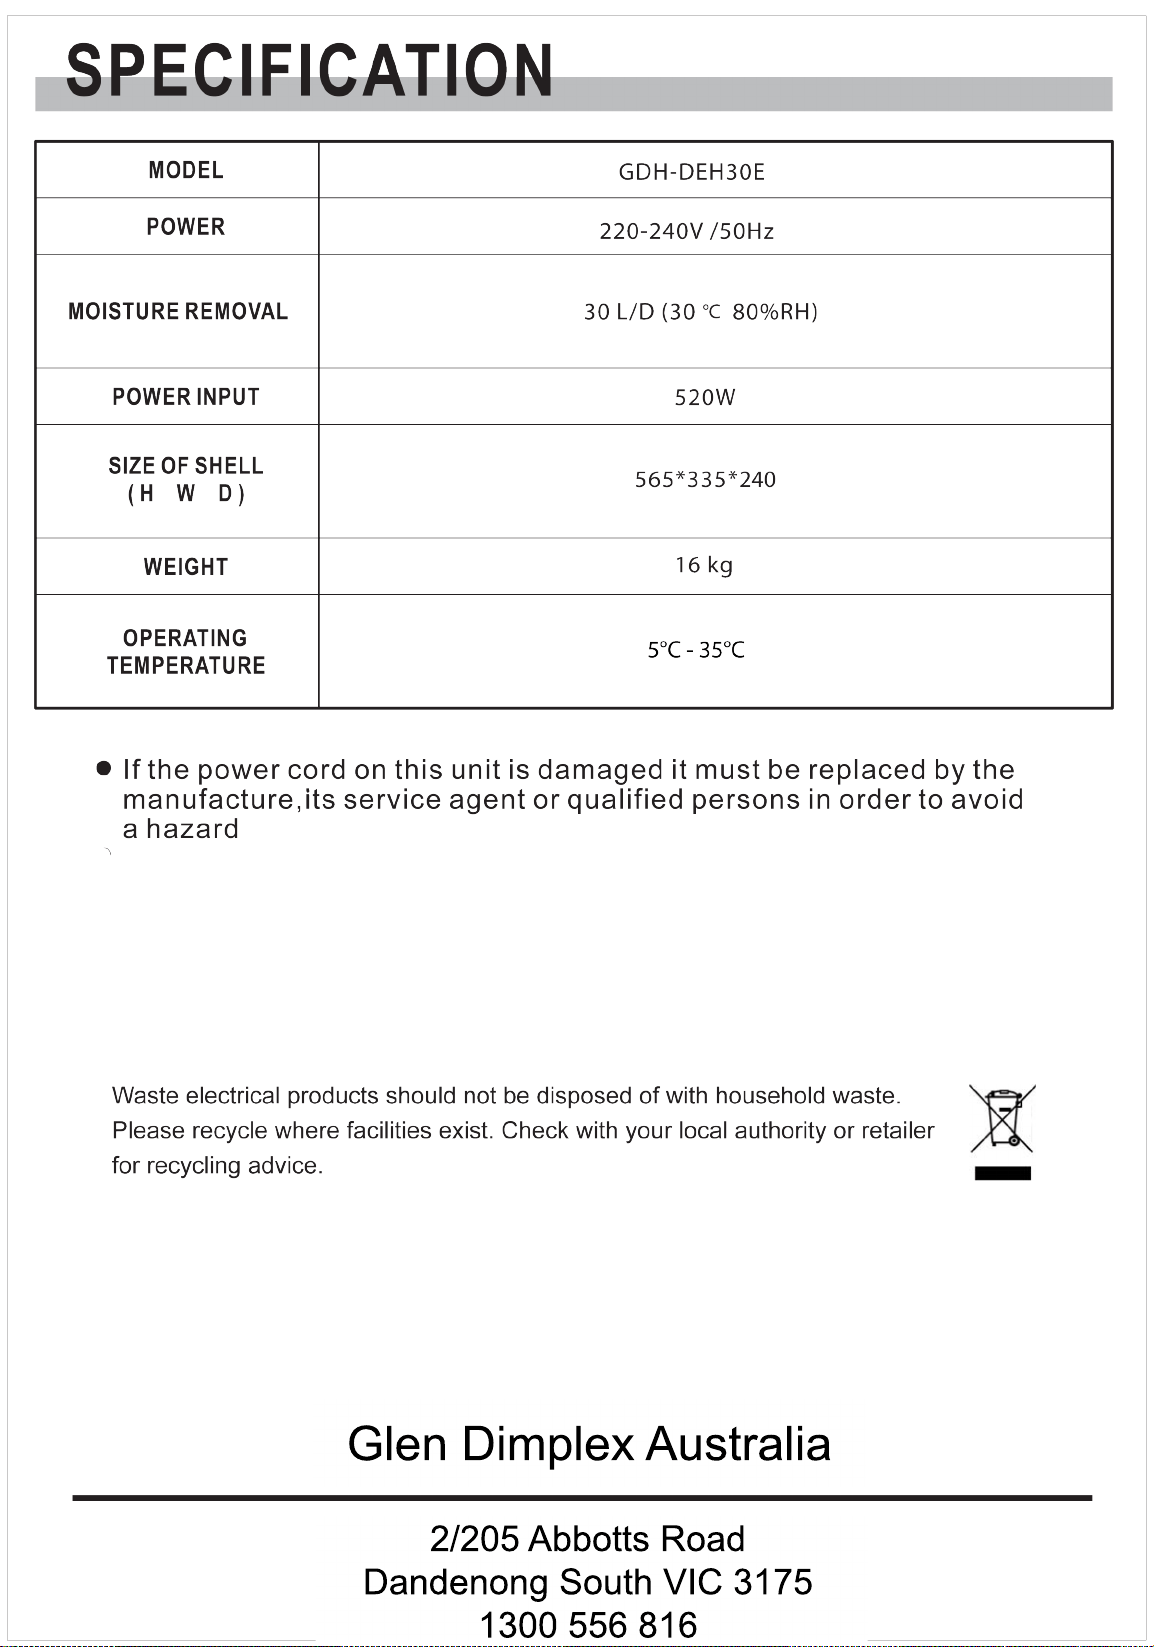
VOLTAGE 220-240V/50Hz:
Comfort. By Design
30L
Description of Components/Function 1
Operating Instructions 2
Continuous Drainage Feature 3
Safety Guide 4
Maintenance 5
Specications Last page
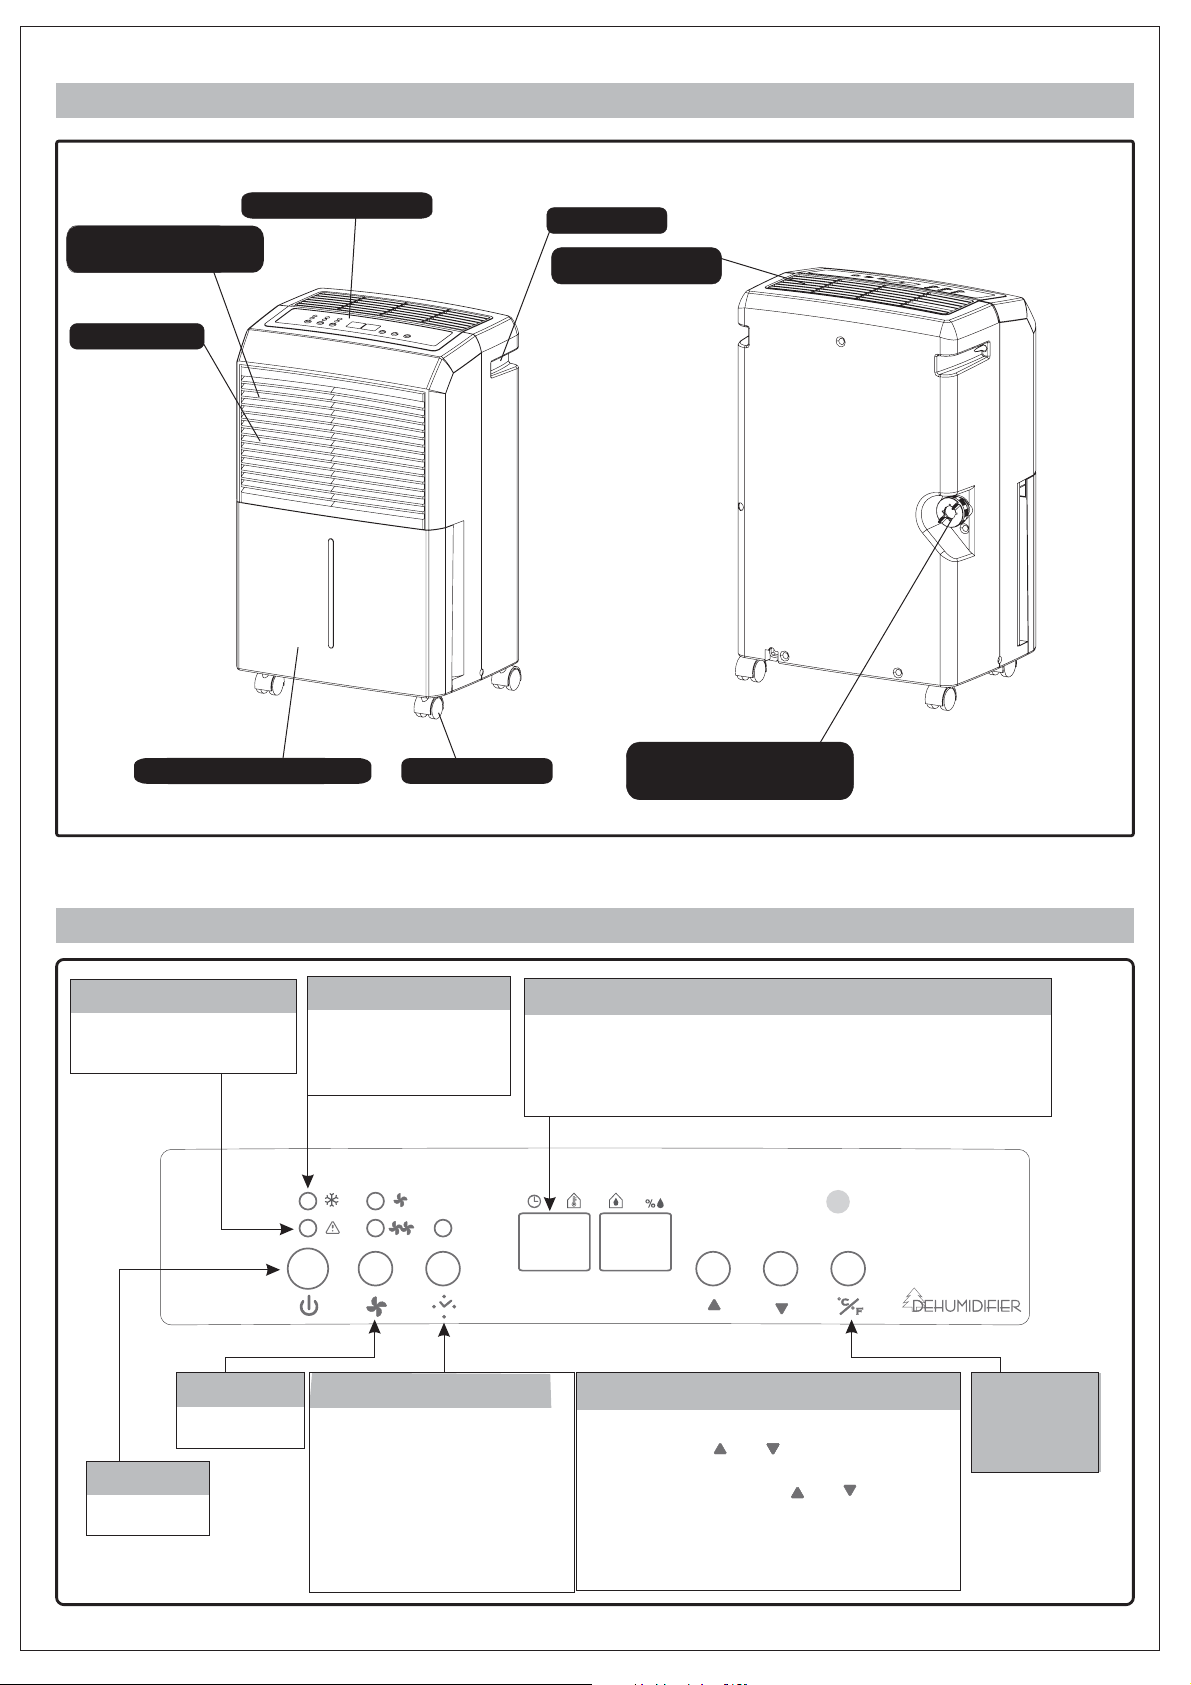
CASTORS
WATER STORAGE TANK
OUTLET FOR
DEHUMIDIFIED AIR
HANDLE
CONTROL PANEL
CONTINUOUS
DRAINAGE OUTLET
AIR INLET
AIR FILTER
- 2 -
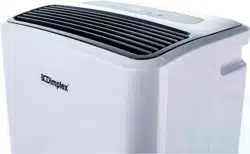
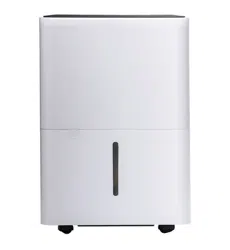
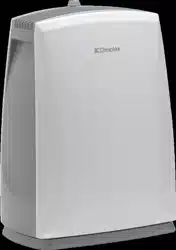
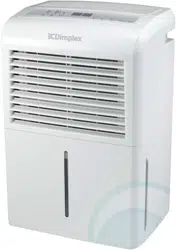
DESCRIPTION OF COMPONENTS
FUNCTION EXPLANATION
DEFROST LAMP
When temperature is low,
unit goes into defrosting
mode
BUCKET FULL INDICATOR
Water tank is full,when
lit
FAN SPEED
High / Low
TIMERS
When unit is on, press
"TIMER"to set hours
the unit will run before shutting off
When unitisonstand-by, press
"TIMER" set hoursuntilunit will
turn on.
Time1~24 hours.
To cancel the timer, proceed
as above but set the "timer off"
to zero hours.
POWER
On / Off
When machine is running, it displays the current temperature. Press
the "Timer" button to set the machine to shut off automatically after a
specified amount of time. 10 seconds after displaying the timer, the
display will change back to current temperature.
CURRENT TEMP / TIMER SET DISPLAY
When machine is running, it displays the current
humidity. Press " " or " " to select humidity
setting. The humidity is adjusted in an increment
of 5% by each pressing of " " or " ". Adjustable
range is within 30%RH to 90%RH. 10seconds
after setting humidity, the display will change
back to the current humidity.
SET HUMIDITY / CURRENT HUMIDITY DISPLAY
Press the
switch buttons,
it will switch at
sequence of
andF.
C/F
C
°
°
60% RH is
recommended
OPERATING INSTRUCTIONS
- 3 -
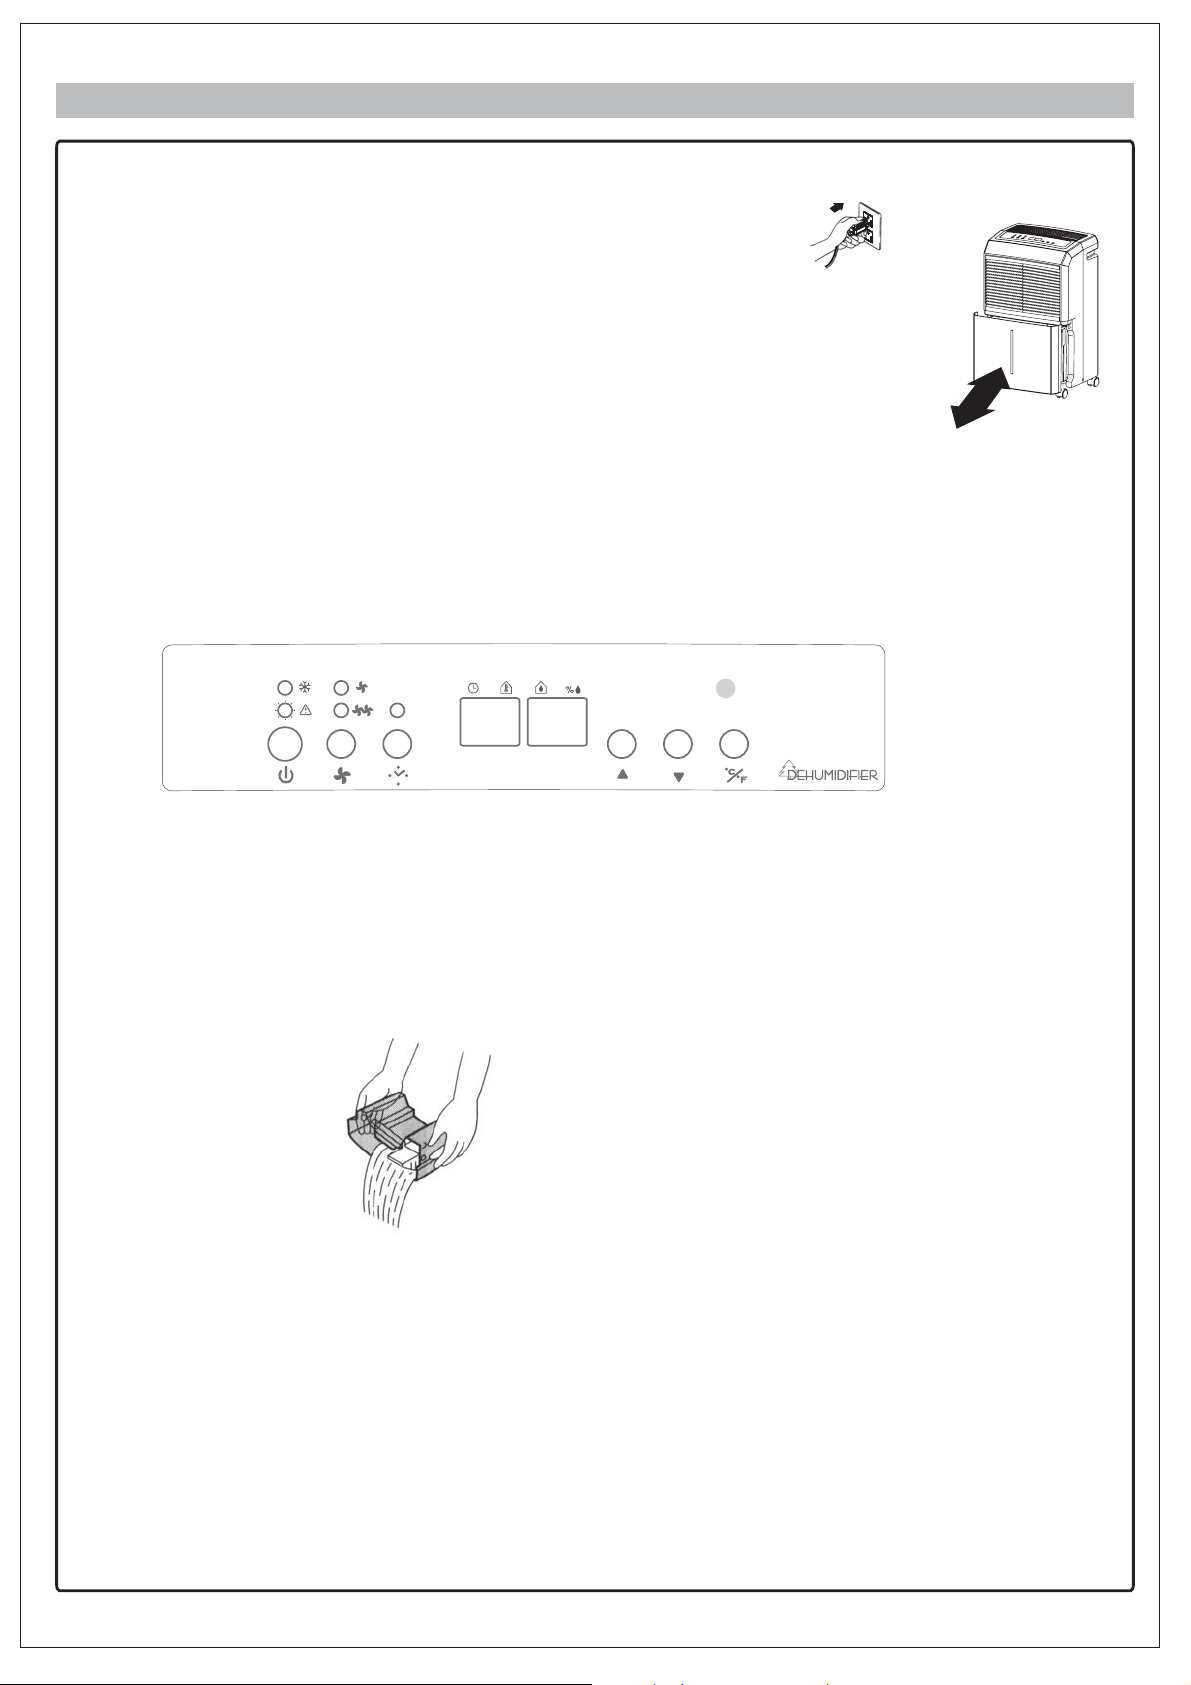
Please use both hands t o
carefully empty the water tank.
● DEFROST
● Operation
1) Place the product in an upright position onaflat, steady,
stable, heat-resistant surface. Make sure there is nothing
flammable or heat sensitive within 100 cm .
Operating the product in any other position could be
hazardous.
2) Insert the plug into a suitable wall socket. The dehumidifier
is suitable for operation on an electricity supply of the
same voltage as that shown on its rating label.
3) Make sure the water tank is correctly located. (After
switching on the machine for the first time, if the "Bucket
Full" lamp illuminates, just pull out the water tank, check
the "float" lever is able to move freely, then ret
urn the water
tank to the correct position.)
● When Bucket Full Lamp Is On
When the water tank is full the machine will stop and the "Bucket Full" light
will illuminate. The water tank should be carefully removed from the
machine by sliding it outwards from the front of the machine and it should be
emptied. When the empty tank is replaced properly into the machine, the
machine will start up and run normally.
When the machine is operated at low temperatures (less than 12°C) the surface of
the evaporator may accumulatealayer of frost which would reduce the efficiency
of the machine. When this happens the machine will go into periodic defrost mode.
The defrost symbol on
the LCD display will come on. The machine will operate
in temperatures down to 5 . The time taken to defrost may vary. If the machine
freezes up, it should be turned off at the power supply and re-started. If the room
temperature remains below 5 the machine should be switched off.
°C.
°C

INSTALLING DRAINAGE PVC HOSE
When using the function of continuous drainage, the PVC hose must be placed horizontally
below the drainage hole. Must avoid uneven ground and folding the hose.
CONTINUOUS DRAINAGE FEATURE
Drain hose
Back of the unit
Drain cover
- 4 -
1. To save having to periodically empty the water
tank, this unit can be configured for continuous
drainage. You can use a PVC drain hose
to connect to the continuous drainage connector.
2. Unscrew and remove the drain cover at the rear
of the unit.
3. Remove the soft rubber stopper. Put it into the
water tank for safe keeping.
4. Insert the drain hose through the hole of the
drain cover.
5. Connect the drain hose to the drain port.
6. Tighten the drain cover in clockwise direction
onto the rear of the unit.
7. Place the bucket on its original location.
Drain cover
Drain cover
Soft rubber
stopper
Drain cover
Drain hose
Drain cover
Drain hose
Drain hose
Bucket
Drainage hose is not included with this unit
20 cm
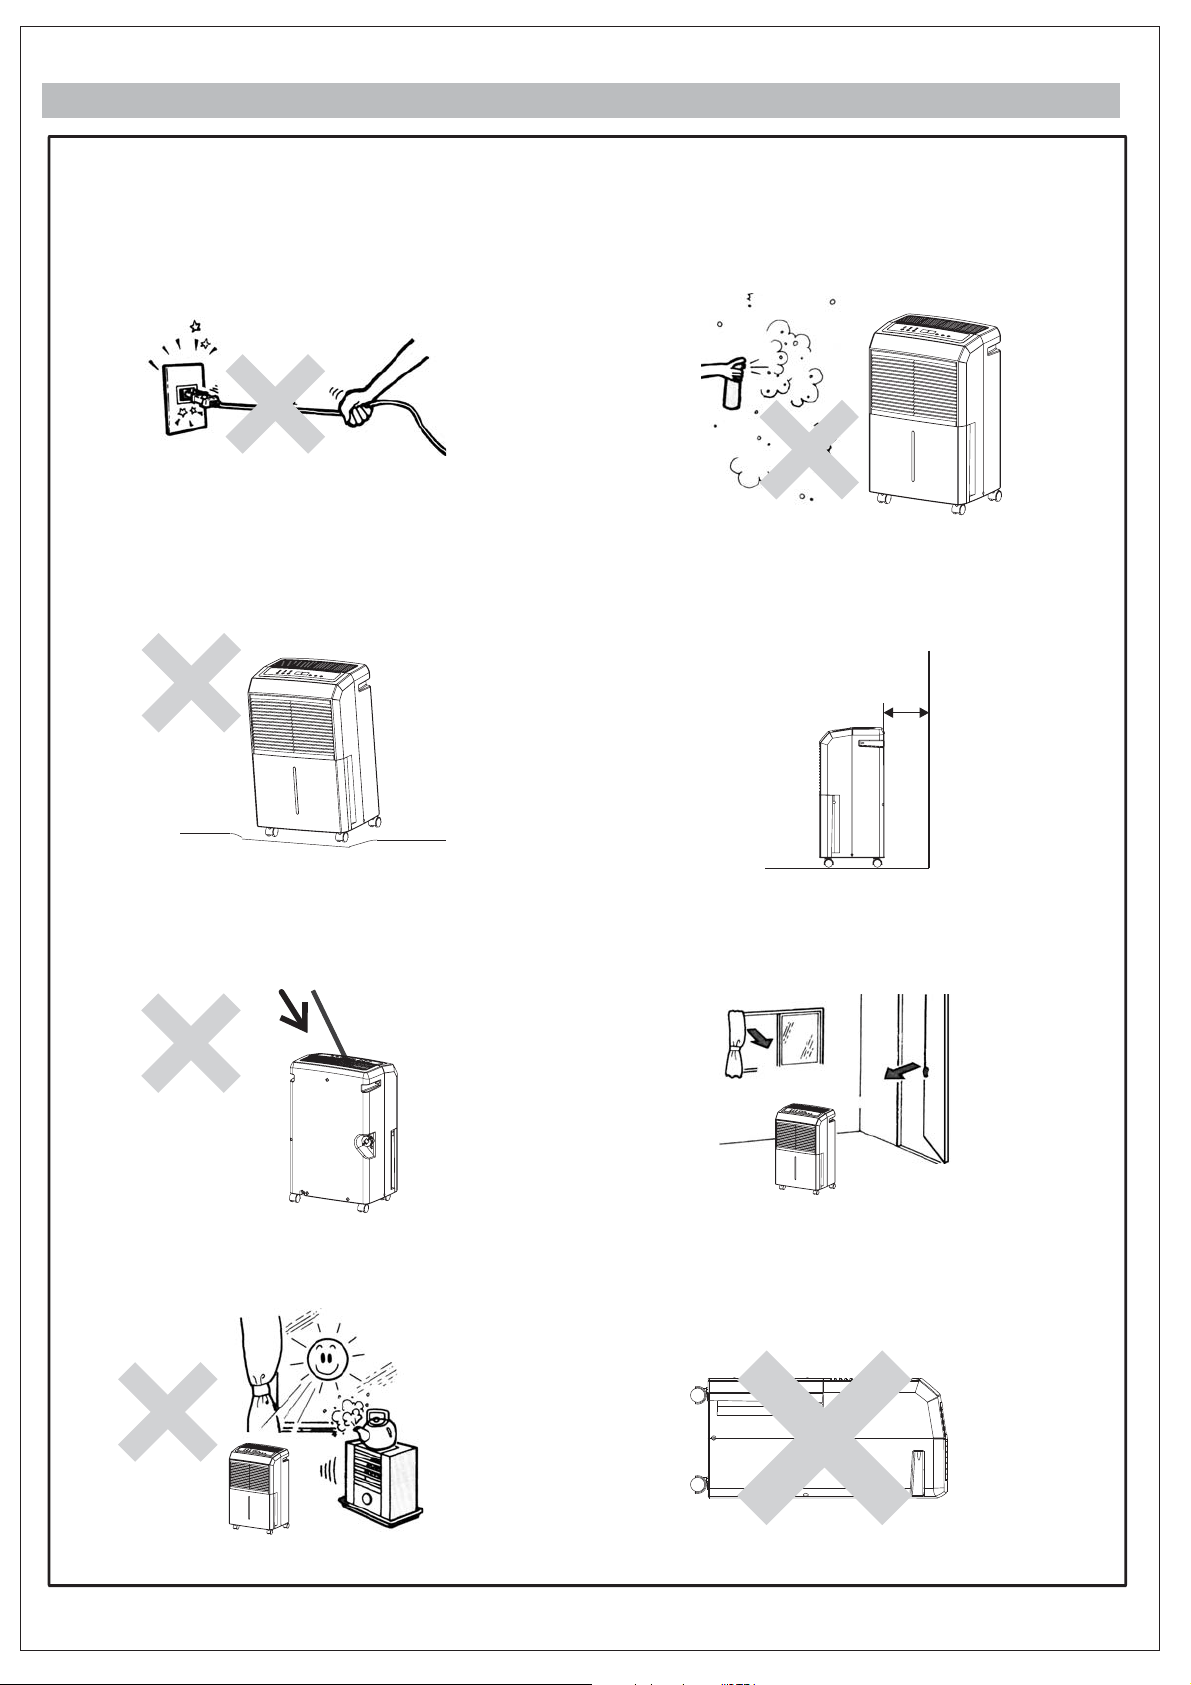
SAFETY GUIDE
- 5 -
●●
●●
●●
●●
Do not pull the plug out by the cord
Do not place the machine on an uneven Please always keep the unit 20 cm away from the
surface
wall to dissipate the heat properly.
Do not put objects in the machine Close all the door and windows when in use
Keep the machine away from any type of heat When moving or put in storage, keep
reifidimuhed.secruos
Do not spray insect repellent , oil or paint
spray near the machine
upright
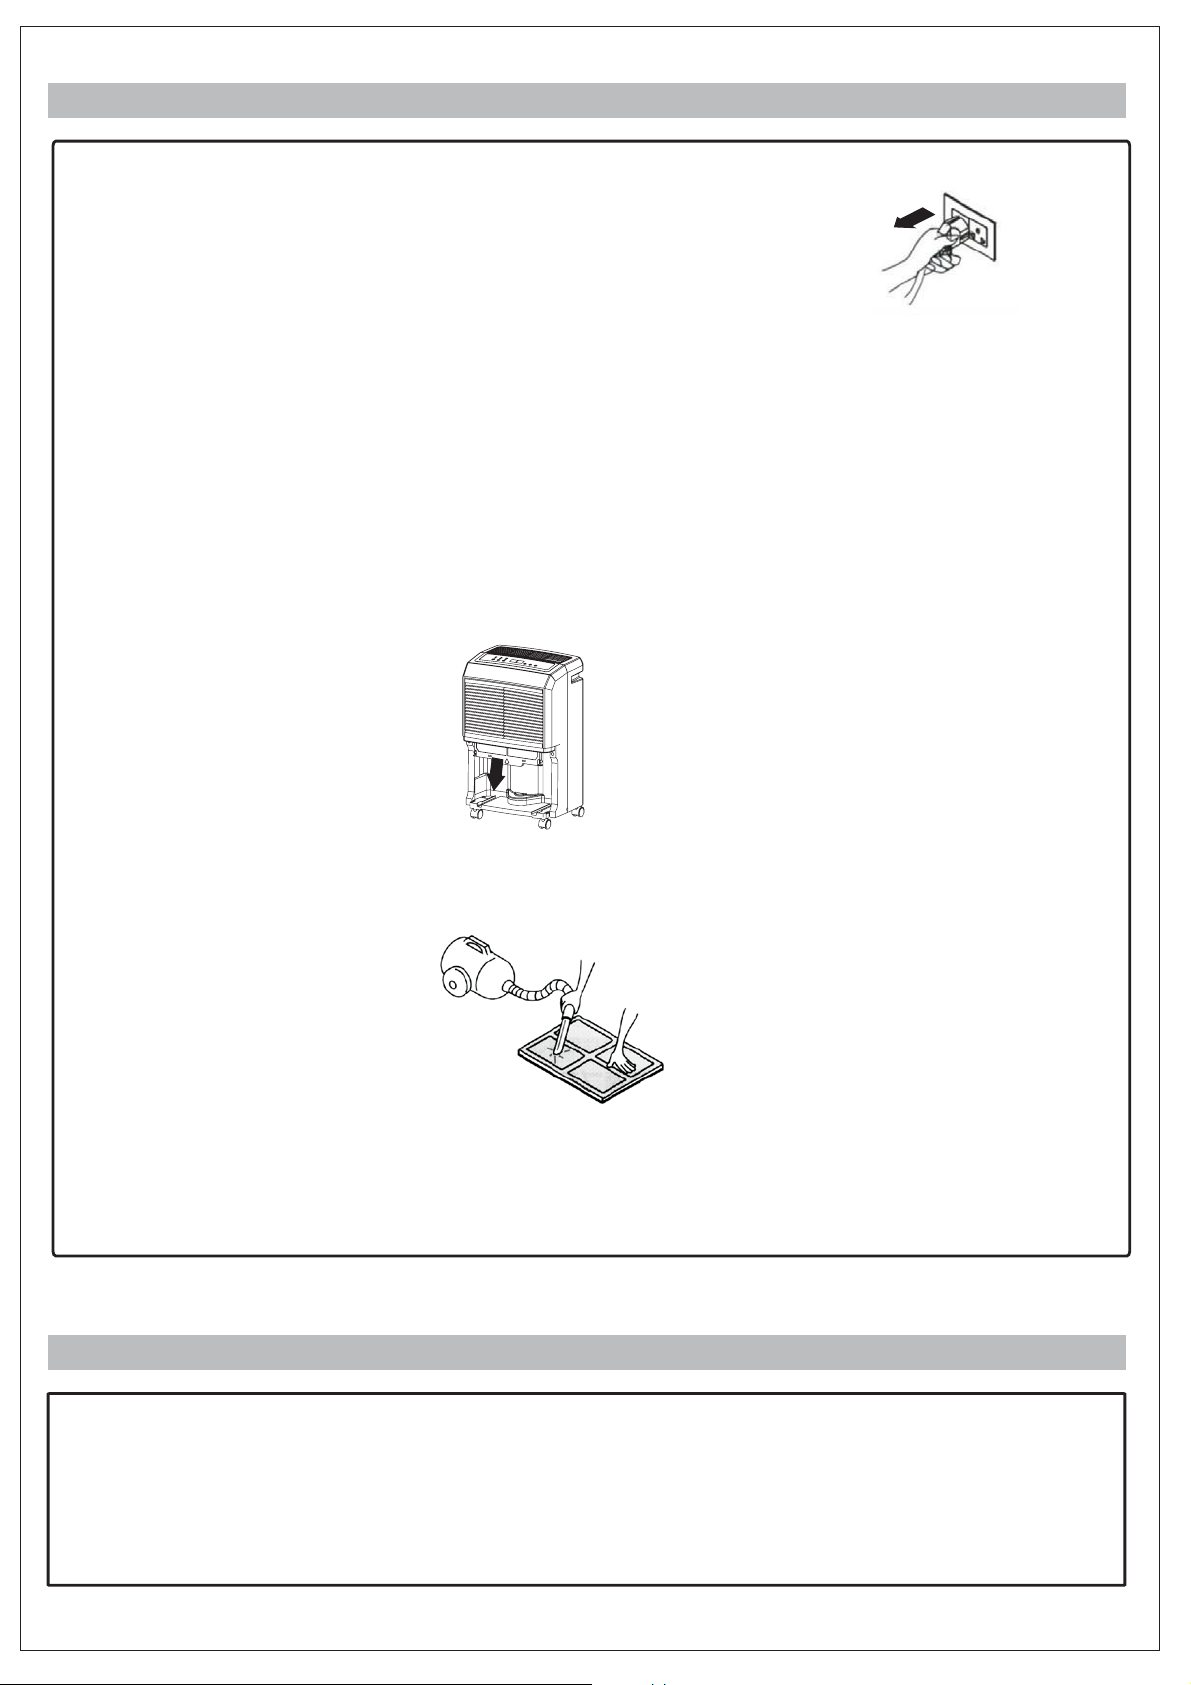
MAINTENANCE
For safety reasons, make sure the dehumidifier is unplugged before
cleaning .
1) Cleaning the casing
A. Wipe the casing with a clean, soft cloth.
B. Use mild detergent then wipe off with a damp cloth
C. Do not immerse dedumidifier in water.
2) Cleaning the air filter
The purpose of the air filter is to filter dust and other materials from the air.
Clean the filter every two weeks.
Cleaning Steps
A. Pull the air filter out gently.
B. Clean the filter with a vacuum cleaner or wash it with clean water and dry with
cloth.
C. Put the clean air filter back in place and continue to operate the dehumidifier.
:
● :
If a problem occurs, unplug the machine and contact the Dimplex Service center
immediately on 0800 666 2824 Do not tamper with the internal workings of the unit.
- 6 -
Glen Dimplex Australia
2/205 Abbotts Road
Dandenong South VIC 3175
1300 556 816