1
Installation and
Operating Instructions
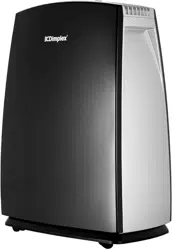
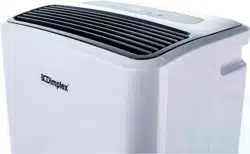
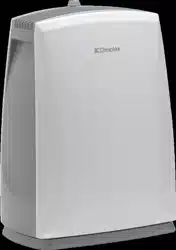
Model: FTE10 10L Dehumidifier
Model: FTE16 16L Dehumidifier
Model: FTE20 20L Dehumidifier
08/52826/0 Issue 2
_________________________________________________________________________________________________________________________________________________
Products comply with the European Safety Standard EN60335-2-40 and the relevant parts of the European Standards for Electromagnetic Compatibility (EMC) EN55014, and
EN61000 along with EN62233 covering Electromagnetic Field (EMF) requirements. These cover the essential requirements of EEC Directives 2006/95/EC and 2004/108/EC.
_________________________________________________________________________________________________________________________________________________

2
SAFETY INFORMATION
1. Please read the operating instructions carefully before
using your dehumidifier for the first time and keep
them in a safe place.
2. Never immerse the appliance in water or other liquids.
3. Never operate the appliance if a cable or connector
has been damaged, after appliance malfunction or if
the appliance was dropped or is otherwise damaged.
4. Please ask a professional service agent to repair the
product. Improper repair may cause danger to users.
5. Never allow children to operate the appliance.
6. Disconnect the appliance from mains power whenever
it is not in use, before relocating it, and before
cleaning.
7. Operate the appliance only at the voltage specified on
the rating label.
8. This appliance is designed for household purposes
(not commercial) only.
9. DO NOT COVER. Never cover or obstruct in any way
the outlet at the top of the dehumidifier or the air inlet
slots at the rear of the dehumidifier.
10. To prevent spillage, empty the water tank before
relocating the appliance.
11. Do not tip the appliance to any side as escaping water
could damage the appliance. Only operate the
product at ground level on an even surface at an
upright position with adequate clearance from fixtures
and fittings to maximise airflow and dehumidification
efficiency
12. This appliance is not intended for use by persons
(including children) with reduced physical, sensory or
mental capabilities, or lack of experience and
knowledge, unless they have been given supervision
or instruction concerning use of the appliance by a
person responsible for their safety. Children should be
supervised to ensure that they do not play with the
appliance.
13. When the supply cord is damaged, it must be
3
replaced by the manufacturer, or a professional
service agent only.
14. Only operate this appliance with a minimum of 50cm
clearance all around i.e. away from walls, furniture
and overhanging objects such as curtains or a shelf.
15. When the unit stops, you have to wait for 3
minutes before you can restart the unit to protect
the compressor from damage
16. Air inlet filter must be cleaned regularly to ensure
correct operation and to avoid damage to the
appliance, please refer to page 6 and 7.
OPERATING INSTRUCTIONS
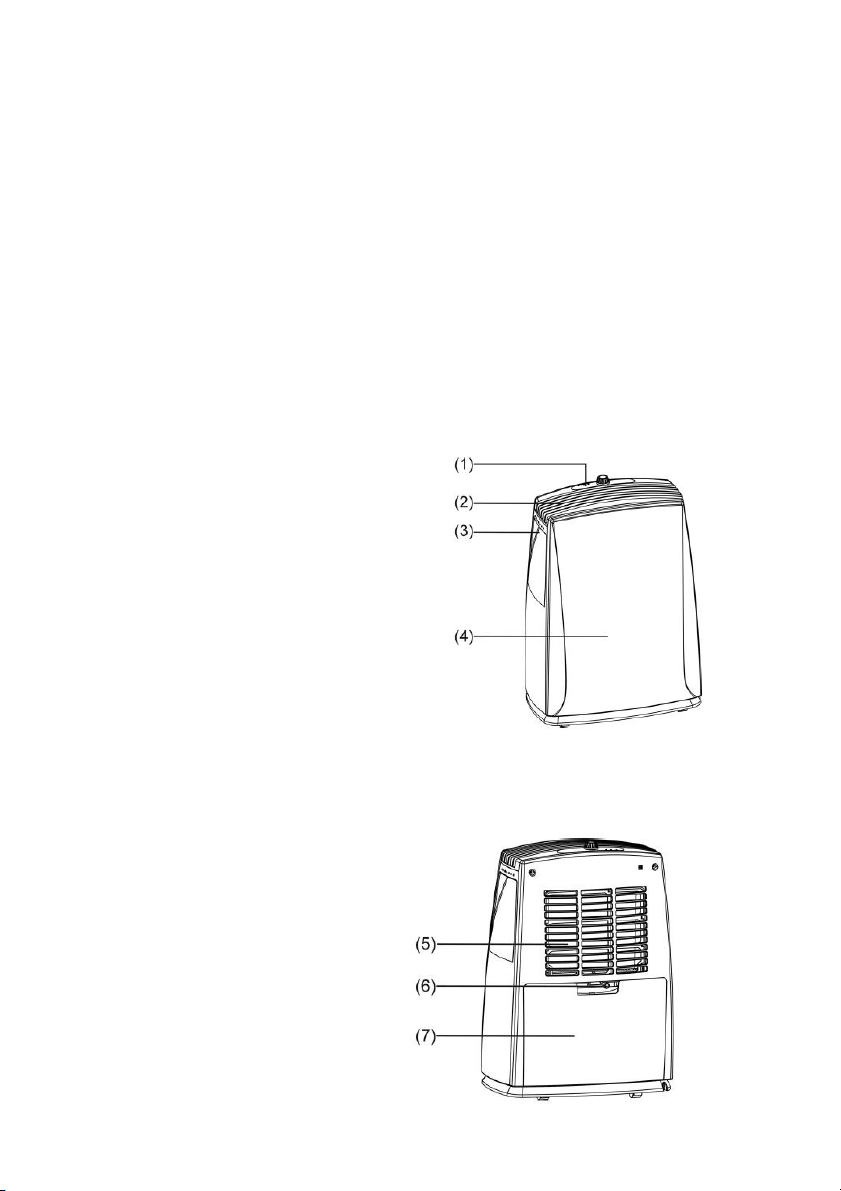
1.
Control panel
2.
Air outlet
3.
Carry handle
4.
Front panel
5.
Air inlet
6.
Water outlet tube
(continuous use)
7.
Water tank
4
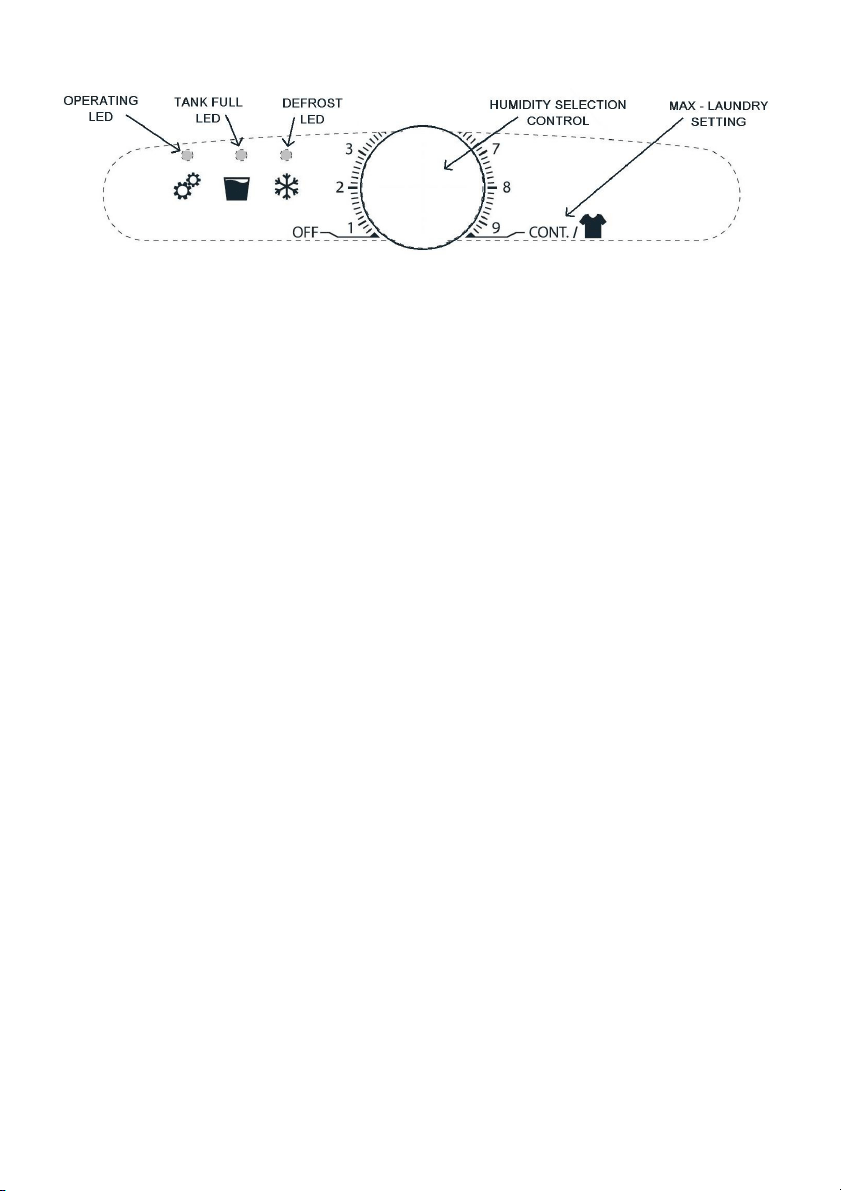
CONTROL PLATE DESCRIPTION
OPERATION INSTRUCTION
Starting the unit
Allow the unit to stand upright for 24hrs to let the compressor stabilize
before first use or when transported.
1. Firstly, turn the humidity control switch to the “OFF” position.
2. Plug in the dehumidifier.
3. Turn on the humidity control switch (clockwise) and set it at the desired
humidity level, please refer to table in point 4 below (e.g. position”4 = 60%).
4. For assistance in drying clothes in a laundry/ utility room, please select
maximum dial position for continuous operation and maximum moisture
removal.
Turning off the unit
1. Turn the humidity control switch fully anticlockwise to the “OFF” position
and the power supply is cut off and the unit stops operating.
2. If the dehumidifier is not in use for a long time, please disconnect the power
cord plug from the supply outlet.
NOTES AND PRECAUTIONS
1. The dehumidifier will not operate if the humidity dial is set lower than the
ambient humidity e.g. room humidity 40% and dial setting 2 or 4. In other
words the higher the humidistat dial setting e.g. position 8 the dehumidifier
will attempt to dry the ambient humidity to 20% (RH) relative humidity.
2. When the water tank is full an automatic float switch shuts down the
product and the tank full LED illuminates. Remove the water storage tank
and empty its contents, carefully replace the empty water tank back in
position, the unit will now automatically restart operating.
5
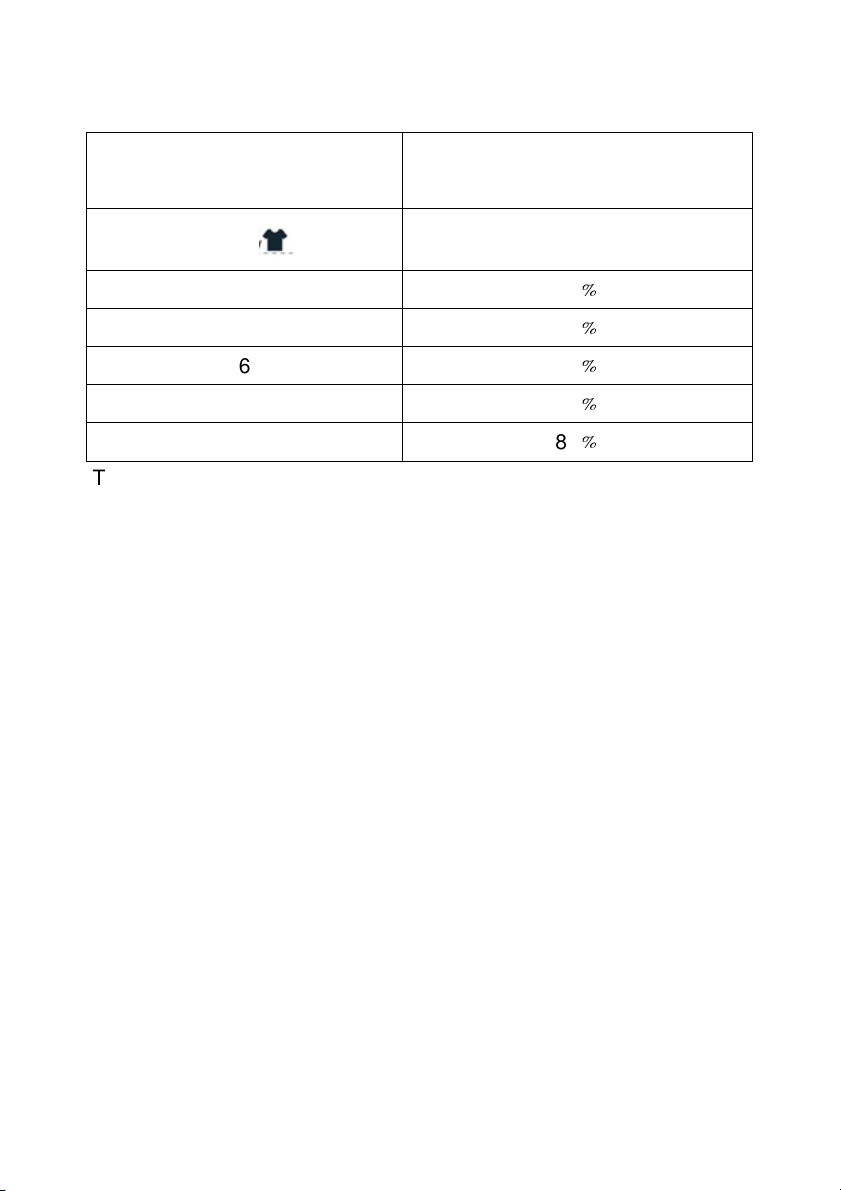
3. The following table indicates the approximate relative humidity settings
against its related position number on the humidity control switch:
CONTROL SWITCH POSITION
NO.
APPROXIMATE HUMIDITY
SETTING
Cont.
Continuous running
8
20
﹪
7
30
﹪
6
40
﹪
4
60
﹪
2
80
﹪
4. The ideal position is around position 6- approximately 40% relative
humidity
5. The operational temperature range for this unit is 5-35°C. Please note the
effectiveness of the product reduces as the ambient temperature reduces.
For example in a room of 6
o
C- little if any moisture will be removed. The
product works on the principal that it requires a high ambient temperature
with warm air drawing over a very cold compressor creating water
droplets.
6. Other than on the case of note 2 above, where the dehumidifier does not
start, the operational light does not illuminate or the dehumidifier
intermittently stops for unknown reasons, please check the plug and
power supply for poor connection. If the plug and power supply are in
good condition, wait for 10 minutes and restart the unit (it can take about
10 minutes for the unit to reset). If the unit still does not start after 10
minutes, please contact your retailer or the manufacturer for repair.
7. When the dehumidifier is in operation, the running compressor will
produce heat. This is normal and may potentially raise the room
temperature.
8. When the product is defrosting, the defrost LED will illuminate. The
reason this happens is because the compressor gets very cold to
maximize moisture removal. The defrost function protects the compressor
from freezing up and avoid damage to the product.
6
DRAINAGE INSTRUCTION
Switch off before carrying out any of these
operations and leave for 3 minutes before switching
on again. The extracted water is collected by the
water tank (set up as supplied), or can be set up to
drain continuously using a PVC hose (not included)
connected to a drain outlet, the drain point must
be lower than the unit outlet (see details below).
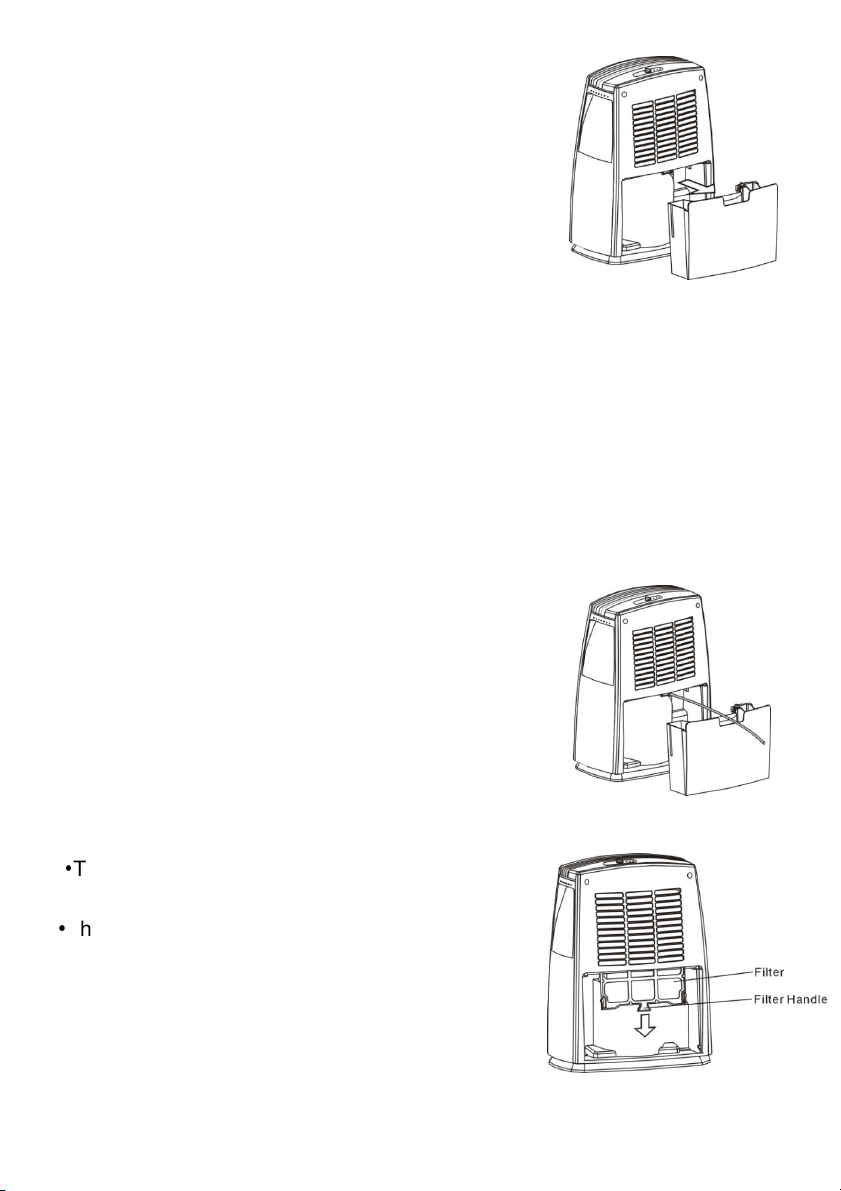
USE OF WATER TANK:
When the tank full LED illuminates the tank is full, the compressor and the
fan will stop operation, please empty the water tank. Remove the water tank
as per Fig 01 and empty it. Gently refit the water tank into the unit in its
original position. Note, if the tank full LED remains on when the tank is
emptied please remove and re-fit the tank to reset the light.
CONTINUOUS DRAINAGE
If you want to use this function, please pull out the water tank and plug a 9mm
internal diameter water pipe onto the “Water out tube”
(See Fig.02). Replace the water tank into the unit, the
unit will now operate while discharging the extracted
water through the free end of the fitted pipe, Note,
you must ensure that the free end of the pipe is
below the product outlet connection and that the
drain point is likewise lower than the unit outlet.
Filter Removal
•
To remove the filter you must first remove the
water tank as instructed above.
•
The filter can then be removed from its slot by
gripping the filter handle and sliding it down and
out of the back of the appliance as indicated
below.
• Every 2 weeks, remove the filter and clean it with
warm water, below 40°C. Allow it to dry naturally
and then replace by reversing the removal instruction above.
Fig 02
Fig 01
7
Care and Maintenance Instruction
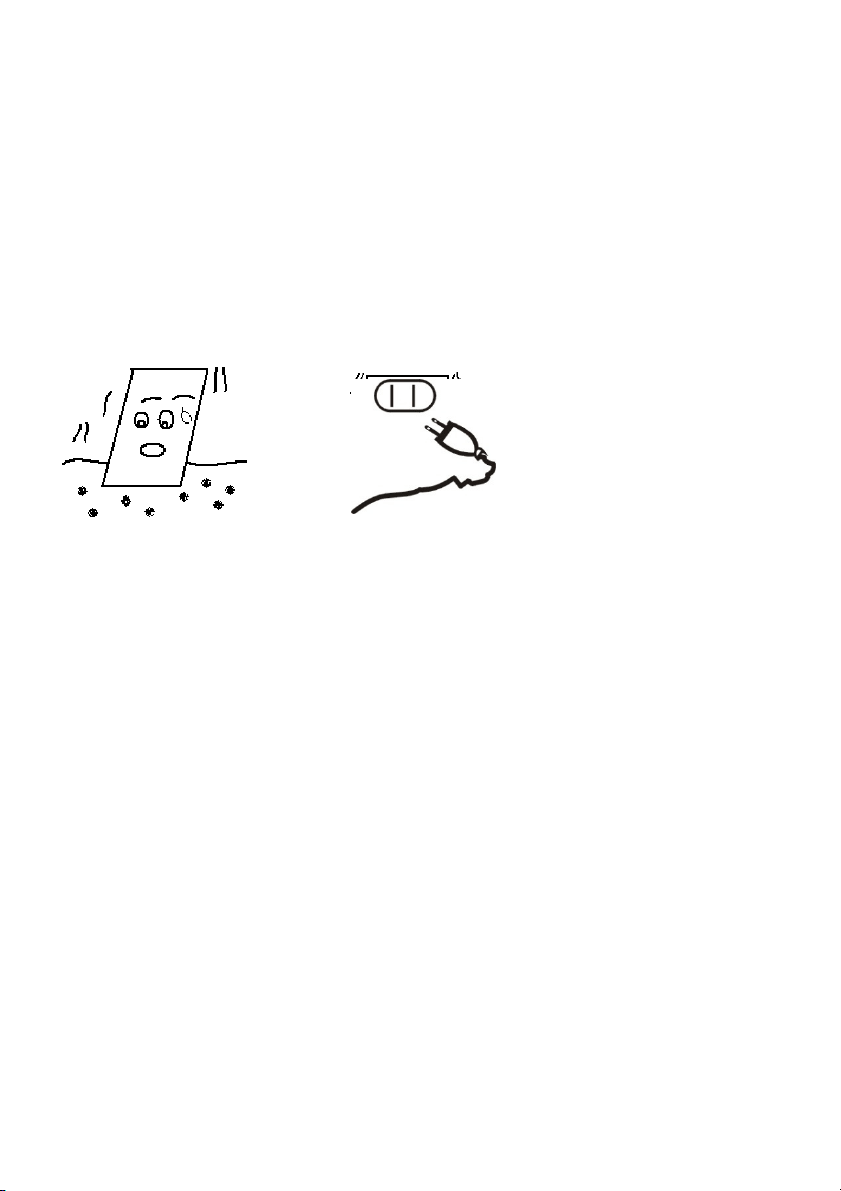
1. To avoid the occurrence of vibration and noise the unit should not be
operated while located on any soft or uneven surface.
2. Never insert any foreign objects into the unit through its air inlet or outlet
to avoid hazard or unit failure.
3. During power off or when not in use for a long time, please disconnect
the product from the mains.
4. For a better dehumidifying effect, the areas to the front, rear and above
the unit should be clear and free from any obstacles which will block the
air flow of the unit. Do not block any air inlet or outlet grilles – keep clear
of hanging drapes, curtains and furnishings – DO NOT COVER, as
specified under safety information section a clearance of 50cm
should be maintained all around the appliance when it is in use.
5. Every 2 weeks, remove the air filter and clean it with warm water,
below 40°C. Allow it to dry naturally and then replace by reversing
the removal instruction above.

8
SPECIFICATIONS
MODEL
SPECIFICATION
FTE10
FTE16 FTE20
POWER SUPPLY 220-240V~50Hz
POWER INPUT 250W 410W 480W
RUNNING CURRENT 1.2A 2.1A 2.2A
WEIGHT 10.6Kg 13.3Kg 13.7Kg
MOISTURE REMOVAL
(@ 30
℃
℃℃
℃
& RH 80%
)
))
)
10 litre/day
16 litre/day 20 litre/day
DIMEMSIONS
(WxDxH)mm
W:365 x D:220 x H:500
APPLICABLE
TEMPERATURE
5
℃
℃℃
℃
- 32
℃
℃℃
℃
WATER TANK CAPACITY 2.3L
(CE) N 842/2006:
R134A is a kind of fluorinated greenhouse gas covered by
the Kyoto Protocol.
Its total global warming potential (GWP) is 1430
Recycling: For electrical products sold within the European
Community. At the end of the electrical products useful life it
should not be disposed of with household waste.
Please recycle where facilities exist.
Check with your Local Authority or retailer for recycling advice in
your country.

9

10
After Sales Service:
Your product is guaranteed for one year from the date of purchase. Within this
period, we undertake to repair or exchange this product free of charge
provided it has been installed and operated in accordance with these
instructions.
After sales information or assistance for this product can be found on our
website:
www.dimplex.co.uk/support
Your rights under this guarantee are additional to your statutory rights, which
in turn are not affected by this guarantee.
Please do not return any faulty product to us in the first instance as this may
result in loss or damage and delay in providing you with a satisfactory service.
If after following these steps your product still does not operate you should
return it to your point of purchase.
Please retain your receipt as proof of purchase.
____________________________________________________________
CE This appliance complies with European Safety Standard EN60335-2-40, and
European Electromagnetic Capability (EMC) EN55014-1, EN55014-2, EN61000-
3-2 and EN61000-3-3. These cover the essential requirements of EEC Directives
2006/95/EC and 2004/108/EC.
© Glen Dimplex UK Limited.
All rights reserved. Material contained in this publication may not be reproduced in whole
or in part without prior permission in writing from Glen Dimplex UK Limited.