Loading ...
Loading ...
Loading ...
17
Crisper
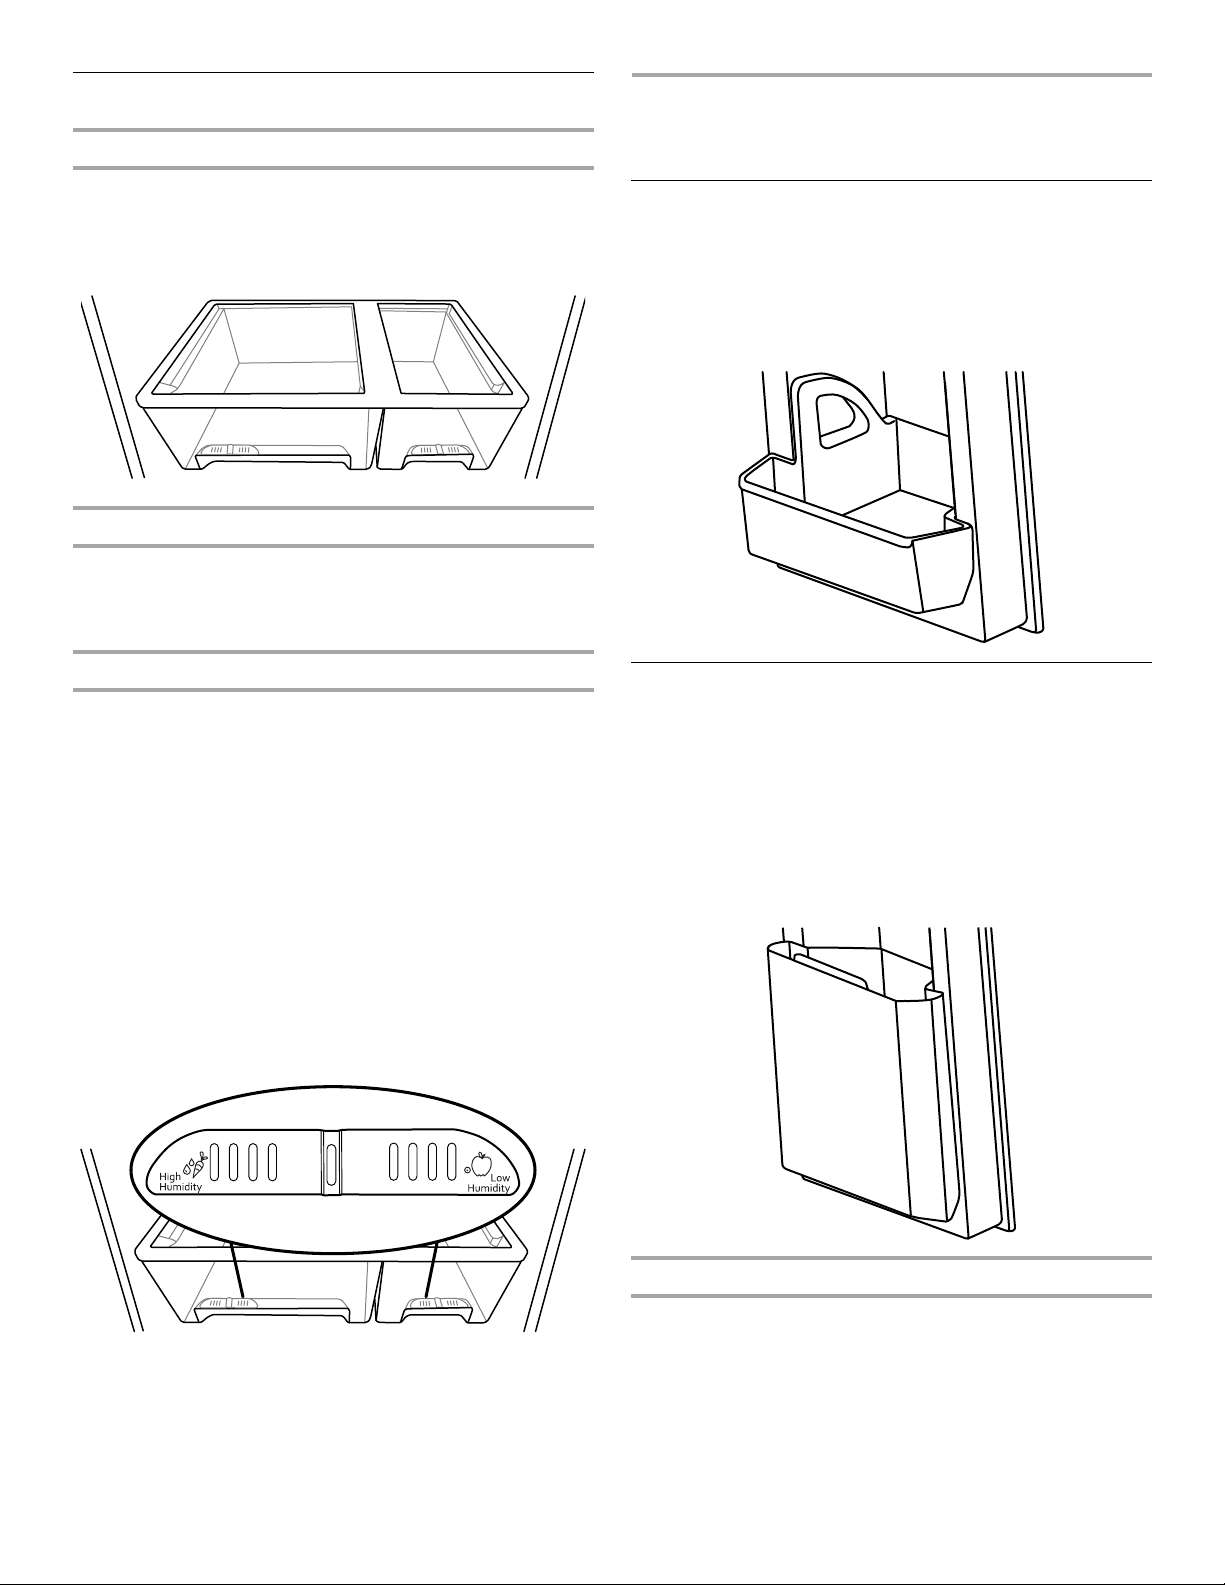
Crisper Drawers
To remove and replace the crisper drawer:
1. Slide the crisper drawer straight out to the stop. Lift the front
and slide the drawer out the rest of the way.
2. Replace the drawer by sliding the drawer in fully past the stop.
Crisper Cover
To remove and replace the glass crisper cover:
1. Pull the glass straight out.
2. Replace the glass by pushing it straight in.
Crisper Humidity Control (on some models)
You can control the amount of humidity in the moisture-sealed
crisper. Adjust the control to any setting between LOW and HIGH.
LOW (open) lets moist air out of the crisper for best storage of
fruits and vegetables with skins.
■ Fruit: Wash, let dry and store in refrigerator in plastic bag or
crisper. Do not wash or hull berries until they are ready to use.
Sort and keep berries in original container in crisper, or store in
a loosely closed paper bag on a refrigerator shelf.
■ Vegetables with skins: Place in plastic bag or plastic container
and store in crisper.
HIGH (closed) keeps moist air in the crisper for best storage of
fresh, leafy vegetables.
■ Leafy vegetables: Wash in cold water, drain and trim or tear
off bruised and discolored areas. Place in plastic bag or plastic
container and store in crisper.
DOOR FEATURES
NOTE: Your model may have some or all of these features.
Condiment Bins
To remove and replace the condiment bins:
1. Tilt the bin by pulling it outward.
2. Remove the bin by lifting it upward off the glides.
3. Replace the bin by sliding it back onto the glides and then push
it closed.
Fresh Bin
(on some models)
To remove and replace the fresh bin:
1. Open the bin by grasping the top center lip of the bin and
tilting the bin outward.
2. Remove the bin by grasping both sides of the bin and lifting the
bin upward off the glides.
3. Replace the bin by sliding it back into its tilted position on the
glides and then push it closed.
Ice Storage Bin
1. Wash the ice storage bin with mild soap and warm water.
2. Slide the ice storage bin under the ice maker, and push it
toward the back as far as it will go.
3. Lower the arm on the ice maker to the ON position.
NOTE: It usually takes approximately 24 hours for the ice
maker to begin producing ice. You may notice the ice has an
“off-taste.” If so, discard the first three batches of ice
produced. After that the “off-taste” should be gone.
Loading ...
Loading ...
Loading ...