Loading ...
Loading ...
Loading ...
8
TROUBLESHOOTING GUIDE
Symptom Cause Possible Solution
Gas leaking from cracked, cut or burned hose Damaged hose Turn o gas at LP cylinder.
Replace hose.
Contact Masterbuilt at 1.800.489.1581.
Gas leaking from LP cylinder Failure due to rust or mishandled equipment Replace LP cylinder.
Gas leaking from gas cylinder valve Failure of valve due to rust, mechanical failure or mishandled
equipment
Turn o gas cylinder valve and return cylinder to gas provider/supplier.
Gas leaking between LP cylinder and regulator connection Improper installation, connection not tight enough, damaged
threads or bad rubber seal
Turn o gas cylinder valve, then re-attach regulator to cylinder.
Turn o gas cylinder valve and return cylinder to gas provider/supplier.
Visually inspect rubber seal for damage.
Fire under control panel Fire in tube of burner due to burner blockage Turn o both smoker control knob and gas cylinder valve. Once the re is
out and burner has cooled, remove and inspect burner for spiders, nests,
rust or other debris.
Grease re or excessive/continuous ame Grease build up on or around burner area Turn o both smoker control knob and gas cylinder valve. Allow ames
to extinguish and time for unit to cool down. Clean grease/food particles
from/around burner or burner area and surrounding surfaces.
Flame does not remain lit after igniting* Flame sensor wire is loose Turn o gas. Disconnect LP cylinder. Tighten ame sensor wire to valve.
Low ame output* Out of fuel Rell or replace with full LP cylinder.
Flames blow out* Low on LP gas Rell LP cylinder.
Flare-up Excessive grease buildup Clean burner and inside unit.
Excessive fat on meat Trim fat o of meat.
Cooking temperature too high Adjust or lower temperature accordingly.
Persistent grease re Grease trapped by food buildup around burner system Turn smoker control knob and gas cylinder valve o. Allow re to
extinguish and the unit to cool down. Once cool, remove and clean parts.
Flashback (re in burner tube) Burner and/or burner tube has blockage Turn smoker control knob and gas cylinder valve o. Clean burner and/
or burner tube.
Slower than expected cooking times* Valve not properly aligned to burner Check to see if valve is centered in burner tube.
WARNING
In the event of a gas leak that cannot be stopped, or if a
re occurs due to a gas leak, contact the re department.
*
Also seeTroubleshooting solutions: “Causes” Low or No Flow/Vapor lock/Excess on the next page.
MATCH LIGHT INSTRUCTIONS
1. Read all instructions and warnings before lighting.
2. Check control knob and gas cylinder valve to be certain it is in OFF position before connecting to
gas cylinder.
3. Perform soapy water test before each use.
4. Open door(s) during lighting and/or remove all accessories and cooking vessels from in/or on unit.
5. Turn gas cylinder valve ON, push control knob in, hold and and turn counter-clockwise to desired
temperature setting, after ignition continue holding control knob in for 5 seconds to activate the
ame sensor.
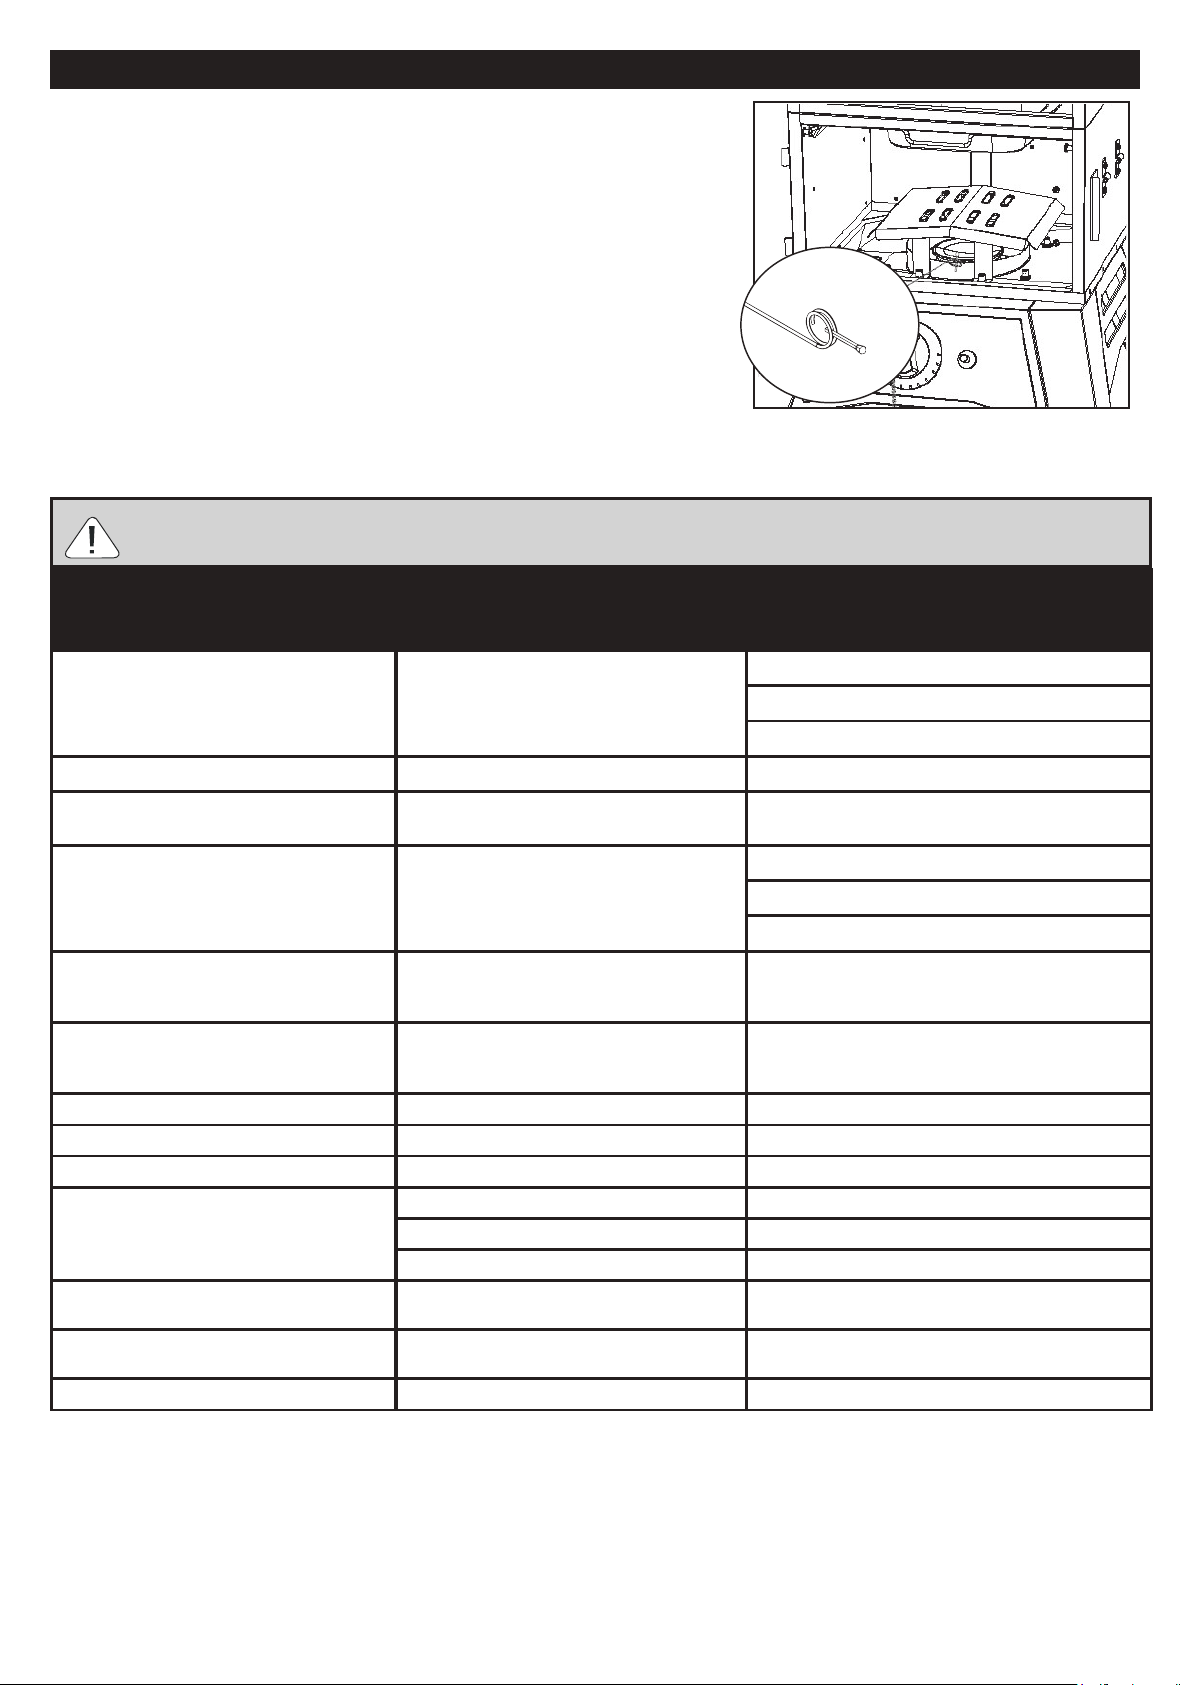
6. Place a long, lit replace match stick close enough to burner to ignite.
7. If ignition does not take place within ve seconds, turn control knob to OFF position and wait ve
minutes and repeat match light instructions.
8. After each use, rst turn control knob o, then gas cylinder valve o. Always allow unit to cool
completely before touching, moving or storing.
Loading ...
Loading ...
Loading ...