USER MANUAL Iron


1. Thermostat pilot light
2. Auto off indicator light*
3. Burst of steam button
4. Spray button
5. Steam lever
6. Filling inlet
7. Precision tip
8. Self clean
9. Anti calc valve
10. Anti drip
11. Temperature control dial
![]() |
Remove the soleplate cover. |
![]() |
Set the steam lever on |
![]() |
Open the filling inlet door (the iron is unplugged). |
![]() |
Fill in the water tank. |
![]() |
Stop filling water when MAX level is reached. |
![]() |
Close the filling inlet door. |
![]() |
Place the iron on the heel and plug the iron. |
![]() |
Set the thermostat knob on the desired setting. |
![]() |
The pilot light is switched on when the iron is heating up. |
![]() |
Once the pilot light is switched off the iron is ready to be used and steam can be activated. |
![]() |
When plugged, the iron will automatically switch off after: 30 seconds when left on the soleplate or side; 8 minutes when left on its heel. |
![]() |
When Auto Off function is on the Auto Off indicator light blinks and the iron starts to cool down. |
![]() |
Move the iron back and forth to reactivate it. |
![]() |
When Auto Off function is off the Auto Off indicator light stops blinking and the iron heats up again. |

![]() |
Set the steam lever on |
![]() |
Press the spray button. |
![]() |
Set the thermostat knob on MAX position. |
![]() |
Press the burst of steam button for 1 second. |
![]() |
Wait for 2 seconds and repeat the operation if necessary. |
![]() |
Set the thermostat knob on MAX position |
![]() |
Hold the iron vertically and press the shot of steam button for 1 second. |
![]() |
Wait for 2 seconds before repeating the operation if necessary. |
![]() |
The iron has to be held 8 inches/20cm away from the garment. |
![]() |
Do not do vertical steaming on yourself or on others. |
![]() |
Let the iron cool down for 1 hour after unplugging it. |
![]() |
Once the soleplate has cooled down you can wipe it with a damp cloth or sponge. |
![]() |
Do not use detergent to clean the soleplate. We recommend the Rowenta soleplate cleaning kit. Do not use sharp or abrasive cleaning accessories to clean the soleplate. |
![]() |
Do not pour water onto the iron. |
![]() |
Unplug the iron. |
![]() |
Switch the steam lever / STORE or iron may leak if some water remains in the iron. |
![]() |
Let the iron cool down for 1 hour after unplugging it. |
![]() |
Empty the water tank over a sink (the iron is unplugged). |
![]() |
Wrap the cord around the iron’s heel and store it in vertical position. |
![]() |
Do not store the iron in horizontal position. |
![]() |
We recommend to clean the calc collector every 2 months. |
![]() |
Unplug the iron. |
![]() |
Let the iron cool down for 1 hour after unplugging it. |
![]() |
Empty the water tank over a sink. |
![]() |
Push the 2 buttons on the left & right side of the valve pin to unlock to a mid position. |
![]() |
Remove the anti calc valve. |
![]() |
Soak the anti calc valve in a cup of plain lemon juice or a cup of white vinegar for 4 hours. WARNING: never touch the end of the valve. |
![]() |
Rinse the anti calc valve under running water. |
![]() |
Replace the anti calc valve. WARNING: the iron will not function without the anti calc valve. |
![]() |
We recommend to clean the calc collector every 2 weeks. |
![]() |
Set the steam lever on |
![]() |
Fill in the water tank until MAX level is reached. |
![]() |
Plug the iron. |
![]() |
Set the thermostat knob on MAX position. |
![]() |
The pilot light is switched on when the iron is heating up. |
![]() |
Once the pilot light is switched off the iron is ready to be used. |
![]() |
Unplug the iron. |
![]() |
Hold the iron over a sink. |
![]() |
Push the 2 buttons on the left & right side of the valve pin to relaese valve pin to the self clean position. |
![]() |
Keep the valve pin in the raised position. |
![]() |
Gently shake the iron over the sink for 1 minute. |
![]() |
Replace the anti calc valve into position. |
![]() |
Plug the iron. |
![]() |
Let the iron heat up for 2 minutes to dry the soleplate. |
![]() |
Unplug the iron. |
![]() |
Let the iron cool down for 1 hour after unplugging it. |
![]() |
Once the soleplate has cooled down you can wipe it with a damp cloth or sponge. |
![]() |
Do not use detergent to clean the soleplate. We recommend the Rowenta soleplate cleaning kit. Do not use sharp or abrasive cleaning accessories to clean the soleplate. |
| PROBLEM | POSSIBLE CAUSE | SOLUTION |
|---|---|---|
| Water drips from the holes in the soleplate. | 
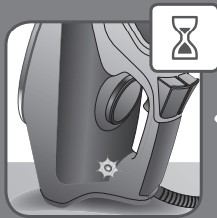
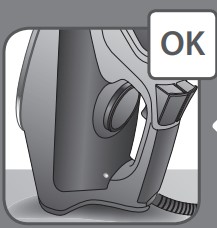
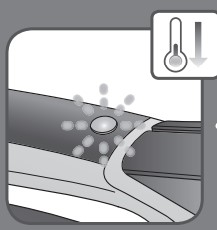
You are using steam while the iron is not hot enough. | 
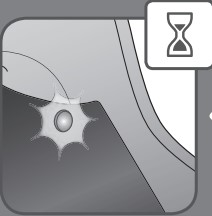
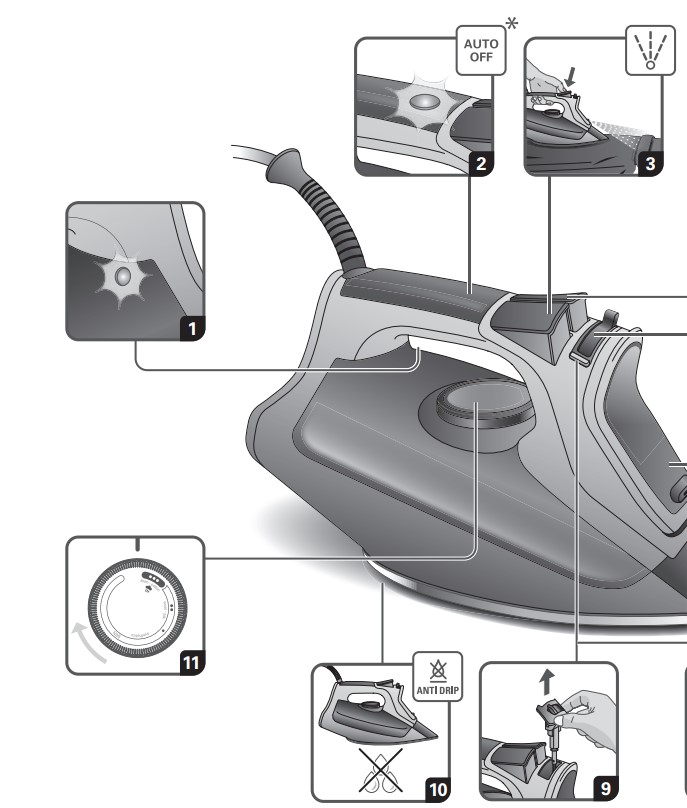
Wait until the thermostat light goes out. |
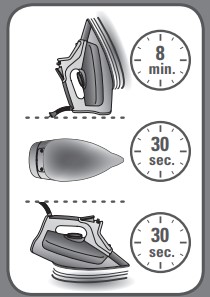
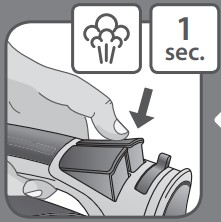
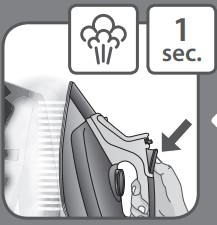
| You are using the shot of steam button too often. | Wait a few seconds between each use of the button. | |
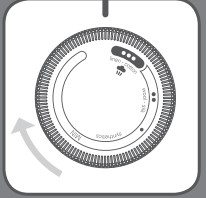
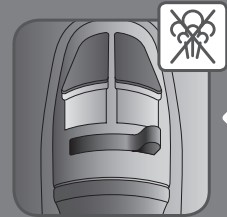
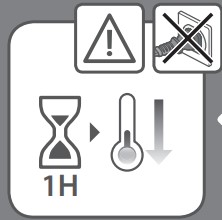
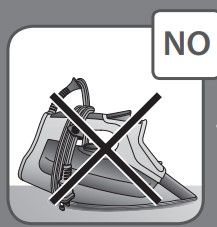
You have stored the iron horizontally, without emptying it and without setting it to . |
See the section “Iron storage”. | |
| Brown streaks come through the holes in the soleplate and stain the linen. | 
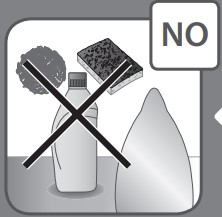
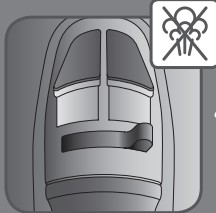
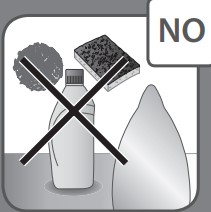
You are using ironing water additives (i.e. scented water, starch). | Never use ironing water additives; these will permanently damage your steam iron. |
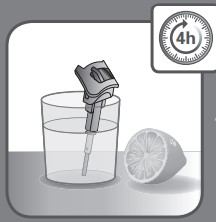
| You are not using the right type of water. | Perform a Self cleaning operation and consult the chapter “What water to use?”. | |
| Your linen has not been rinsed sufficiently or you have ironed a new garment before washing it. | Make sure that your laundry is rinsed sufficiently in order to remove any deposits of soap or chemical products on new clothes. | |
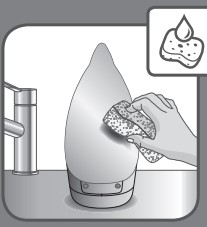
| The soleplate is dirty or brown and can stain the linen. | 
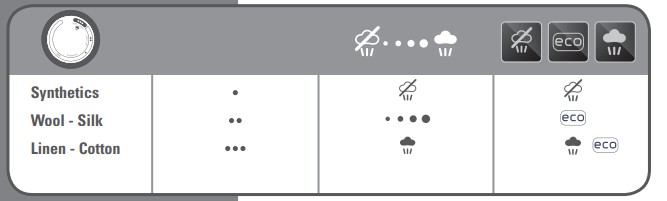
Your are ironing with an inappropriate temperature selection (temperature too high). | Clean the soleplate (refer to chapter 9). Select the appropriate program. |
| You have ironed over a printed area of a garment. | Never iron over printed areas or applications – always iron the reverse side of such a garment. | |
| There is little or no steam. | 
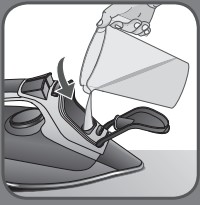
The water tank is empty. | Fill the water tank. |
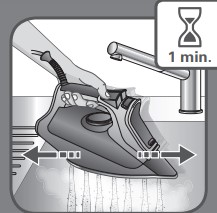
| Your iron has been used dry for too long. | Carry out a Self clean. | |
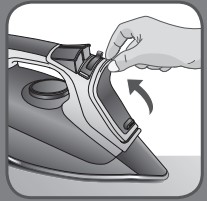
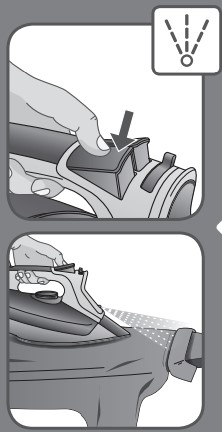
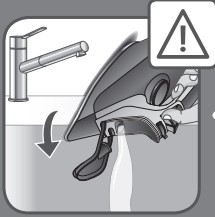
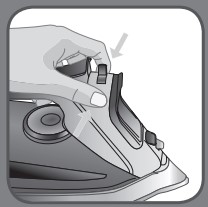
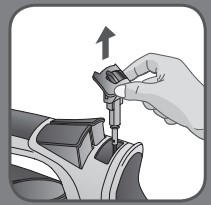
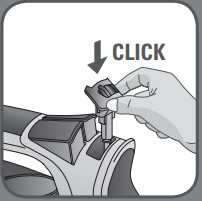
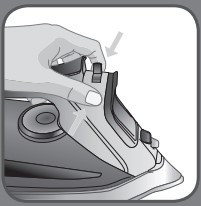
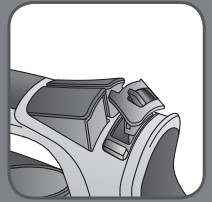
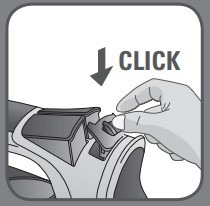
| Valve pin is not correctly in place. | Make sure valve pin is in correct position. | |
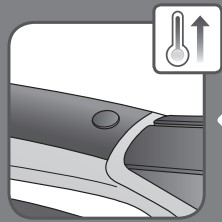
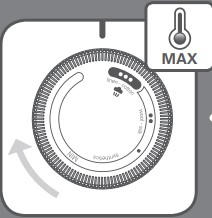
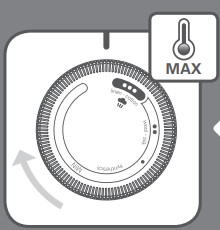
| Thermodial is not set to steaming area. | Set thermodial between 2dot and Max. | |
| The soleplate is scratched or damaged. | You have placed your iron flat on a metallic rest-plate or ironed over a zip. | Refrain from ironing over metallic buttons or zippers. |
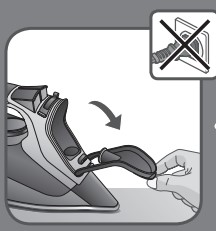
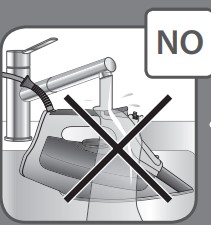
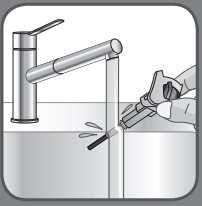
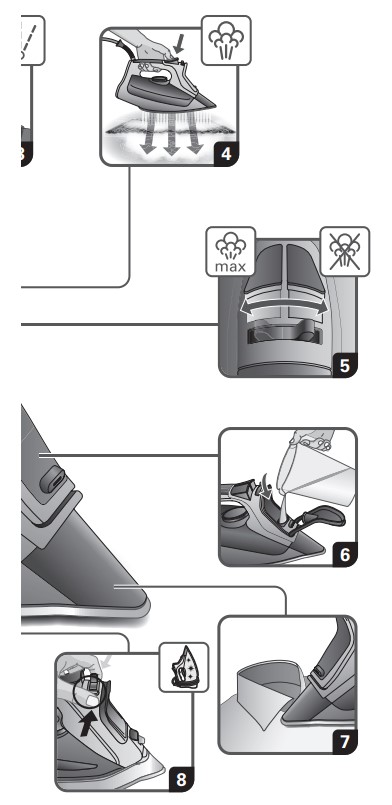
| Steam or water come from the iron as you finish filling the tank. | The steam control is not set to the DRY position. |
Check that the steam control is set to the DRY position. |
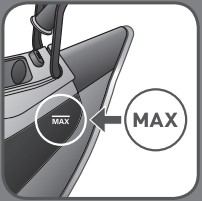
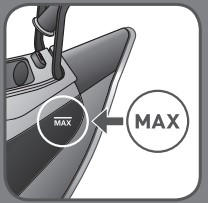
| The water tank is overfilled. | Never exceed the Max level | |
| The spray does not spray | The water tank is not filled enough. | Fill up the water tank. |
Reference file: Rowenta DW8270 Pro Master Xcel Steam Iron
Additionally, the document applies to other Rowenta models: DW82XX