Loading ...
Loading ...
Loading ...
21INSTALLATION
ENGLISH
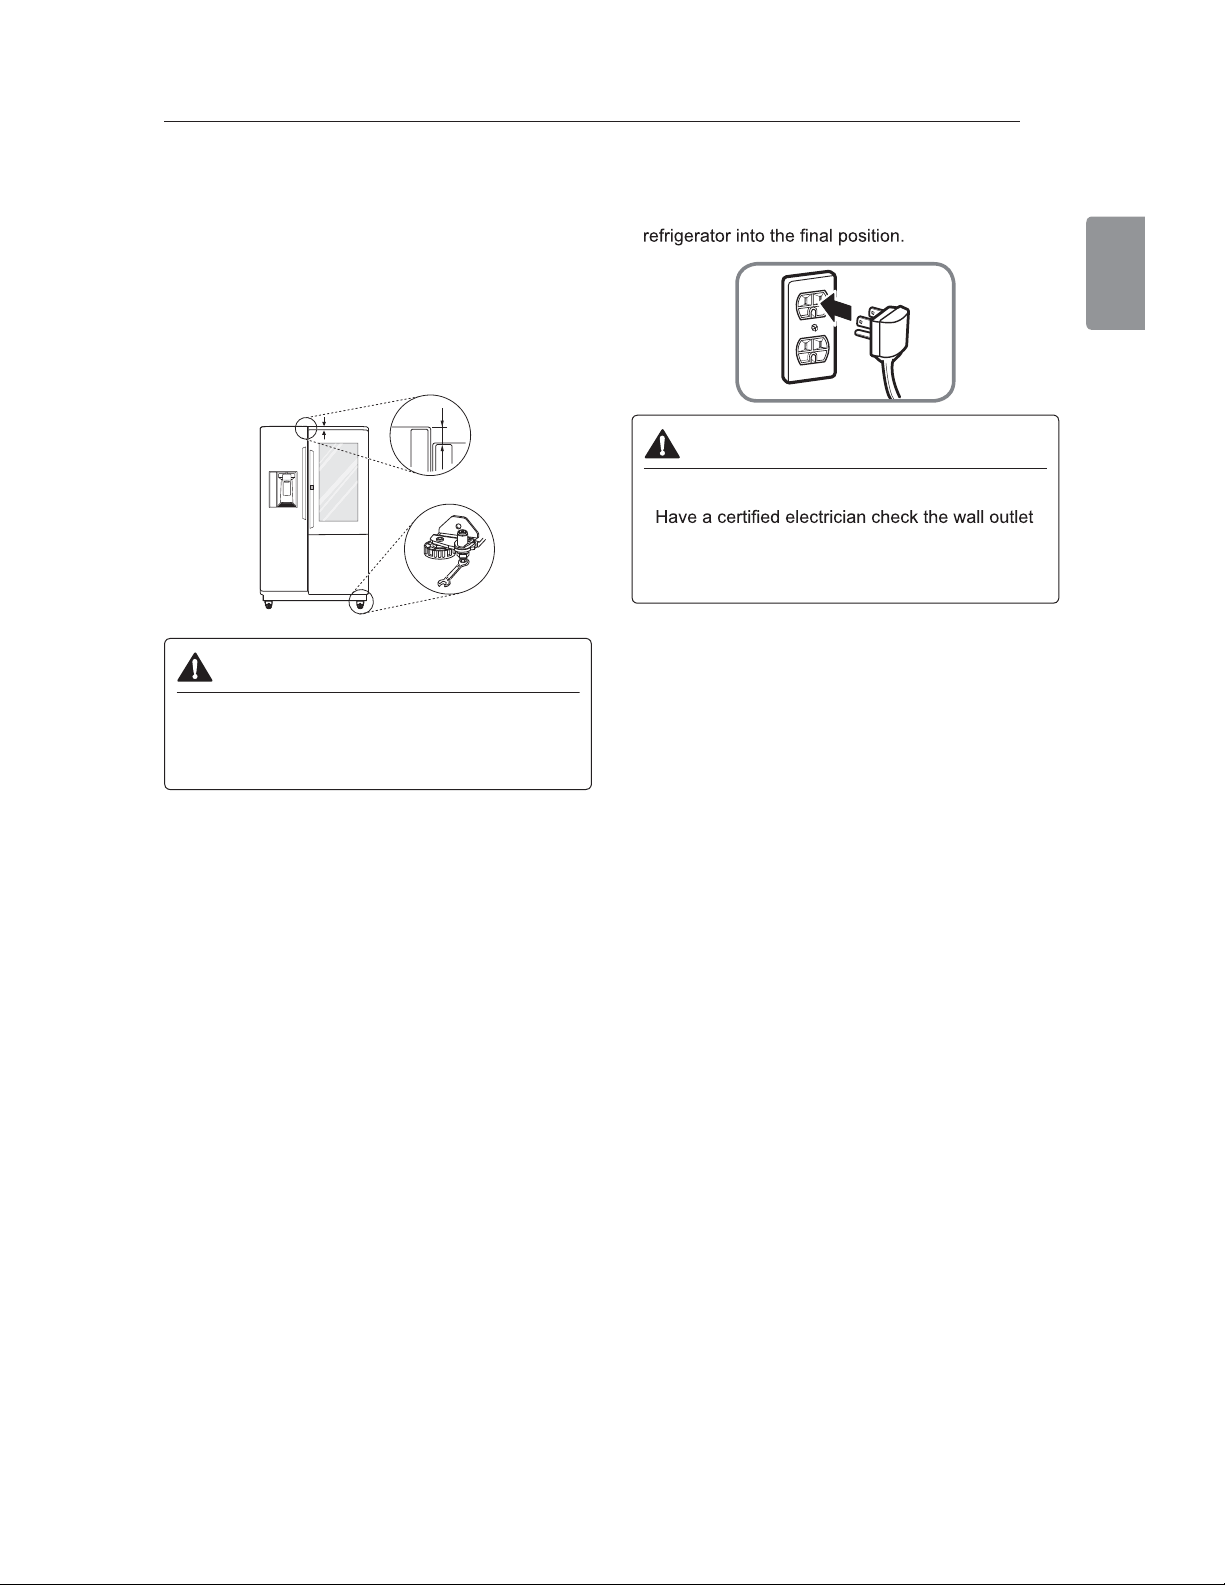
Door Alignment
Both the left and right refrigerator doors have an
adjustable nut, located on the bottom hinge, to raise
and lower them to align properly.
If the space between the doors is uneven, follow the
instructions below to align the doors evenly:
Use the wrench (included with the owner's manual)
to turn the nut in the door hinge to adjust the height.
Turn the nut to the right to raise the door or to the left
to lower it.
CAUTION
x Do not overtighten the door adjustment screw.
The hinge pin can be pulled out and the
adjustable range of height is a maximum of 2 in.
(5 cm).
Turning on the Power
x After installing, plug the refrigerator’s power cord
into a 3-prong grounded outlet and push the
CAUTION
x Connect to a rated power outlet.
x
and wiring for proper grounding.
x Do not damage or cut off the ground terminal of
the power plug.
Position the Rrigerator
x Arrange the coil of tubing so that it does not vibrate
against the back of the refrigerator or against the
wall. Push the refrigerator back to the wall.
Start the Icemaker
Note
x If the water line is connected, set the icemaker
power switch to the ON position.
x The icemaker will not begin to operate until it
reaches its operating temperature of 15 °F (–9 °C)
or below. It will then begin operation automatically if
the icemaker power switch is in the ON (I) position.
x
Parts, functions, and options vary by model. Your model
may not include all the Options, appears with a different
name and / or different position.
Loading ...
Loading ...
Loading ...