1. Overview

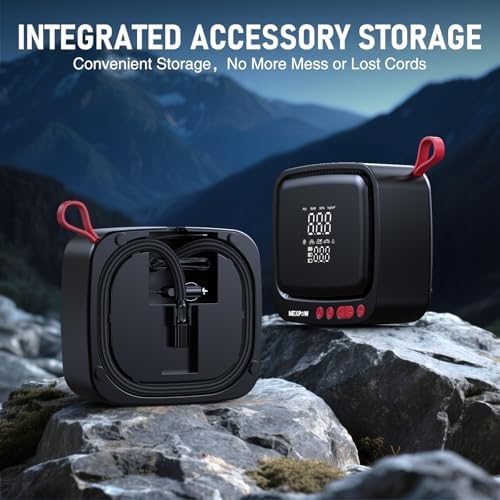
The NEXPOW NP19PRO is a portable, cordless tire inflator designed for inflating car tires, motorcycle tires, bicycle tires, and sports balls. It features a rechargeable battery, a 12V DC car power adapter for backup power, a digital pressure gauge, and an automatic shut-off function.
Model: N19 PRO
2. Package Contents
Before use, verify all components are present:
- NP19PRO Tire Inflator (Main Unit)
- Presta Valve Adapter*1
- Ball Needle*1
- Nozzle*2
- Quick-Connect Inflator Adapter*2
- 30cm Type-C Charging Cable*1
- 3M (9.8ft) Cigarette Lighter Cable*1
- Fuse*1 (spare)
- Anti-Scald Silicone*1
- Storage Bag*1

3. Key Features & Parts Identification
3.1 Control Panel and Display
- Large Digital LCD Display: Shows preset target pressure and real-time pressure during inflation.
- Unit Button: Cycles between pressure units: PSI, KPA, BAR, KG/CM².
- Mode Button: Selects between five preset inflation modes (e.g., Car, Motorcycle, Bicycle, Ball, Custom).
- + / - Buttons: Adjust the target pressure value up or down.
- Power/LED Light Button: Press to turn the unit on/off. Press and hold to cycle through the LED light modes (Flashlight, SOS, Strobe).
- Start/Stop Button: Initiates or halts the inflation process.
3.2 Ports and Connections
- Type-C Charging Port: For recharging the internal battery using the provided cable.
- 12V DC Power Input: For connecting the 3M car power cable.
- Air Hose Nozzle: Connect the desired nozzle or adapter here.
3.3 Other Features
- Cooling Vents: Located on the sides to prevent overheating.
- Built-in LED Light: For emergency illumination.
- Carrying Handle: Integrated for portability.
4. Power and Charging
4.1 Initial Charge
Before first use, fully charge the internal battery.
- Connect the provided Type-C charging cable to the inflator's charging port.
- Connect the other end to a standard USB power adapter (not included) or a computer USB port.
- The unit's display may illuminate to indicate charging. A full charge typically takes several hours.
4.2 Dual Power Modes
The inflator can operate in two ways:
- Cordless (Battery) Mode: Use the internal rechargeable battery for complete portability.
- 12V DC Car Power Mode: If the battery is low, plug the 3M cigarette lighter cable into your vehicle's 12V outlet (cigarette lighter socket) and into the inflator's DC input. This allows for continuous operation.
Note: The 12V car cable also contains a spare fuse. Do not use the inflator while the vehicle's engine is off for extended periods to avoid draining the car battery.
5. Basic Operation Guide
5.1 Preparing for Inflation
- Select the Correct Nozzle/Adapter:
- For standard car, SUV, and motorcycle tires (Schrader valve): Use the default quick-connect nozzle.
- For most bicycle tires (Presta valve): Screw the Presta valve adapter onto the valve stem, then attach the nozzle.
- For sports balls: Attach the ball needle to the nozzle.
- Connect the Nozzle: Firmly push the nozzle onto the inflator's air hose outlet until it clicks or is secure.
- Connect to the Valve: Remove the valve cap from the tire or ball. Press the nozzle firmly onto the valve stem to create a seal.

5.2 Setting the Target Pressure
- Press the Power button to turn on the unit. The display will light up.
- Press the Unit button to select your preferred pressure unit (e.g., PSI).
- Press the Mode button to cycle to the appropriate preset (Car, Motorcycle, etc.) or the "Custom" mode.
- Use the + and - buttons to adjust the target pressure value to match the recommended pressure for your tire or ball. Consult your vehicle's manual or the tire sidewall for the correct PSI.
5.3 Starting Inflation and Auto Shut-Off
- Once the target pressure is set, press the Start/Stop button. The motor will start, and the display will show the real-time pressure increasing.
- Hold the nozzle firmly on the valve stem during inflation.
- The inflator will automatically stop when the preset target pressure is reached.
- After the motor stops, quickly remove the nozzle from the valve stem to prevent air from escaping. Replace the valve cap.
- Press the Power button to turn off the unit.
Warning: Do not run the inflator continuously for more than 10-15 minutes. Allow it to cool down between uses to prevent overheating and motor damage.
6. Using the LED Light
The built-in LED light has three modes for emergency use:
- With the unit on or off, press and hold the Power/LED button for 2 seconds.
- Each subsequent press and hold will cycle through the modes: Flashlight (steady) -> SOS (flashing pattern) -> Strobe (rapid flash) -> Off.
7. Care and Maintenance
- Storage: Store the inflator and all accessories in the provided storage bag in a cool, dry place.
- Cleaning: Wipe the exterior with a dry, soft cloth. Do not use liquids or submerge any part of the unit.
- Hose and Nozzles: Keep the air hose and nozzles clean and free of debris to ensure a proper seal.
- Battery: For long-term storage, charge the battery to approximately 50% and recharge it every 3 months.
- Fuse Replacement: If the 12V car cable stops working, the fuse may be blown. Replace it with the provided spare fuse.
8. Troubleshooting
| Problem | Possible Cause | Solution |
|---|---|---|
| Unit does not turn on. | Battery is completely depleted. Faulty power connection. | Recharge the battery via Type-C cable. If using car power, ensure the vehicle is on and the cable is firmly connected. |
| Motor runs but inflates slowly or not at all. | Nozzle not sealed properly on valve. Clogged nozzle or hose. Low battery. | Re-seat the nozzle on the valve stem. Check for blockages. Recharge battery or switch to 12V car power. |
| Inflator does not auto-stop. | Target pressure not set correctly. Unit in continuous mode. | Ensure you are in a preset mode (Car, Bike, etc.) or Custom mode and have set a target pressure. The unit should stop automatically. |
| Unit becomes very hot. | Extended continuous use. | Turn off the inflator immediately and allow it to cool down for at least 30 minutes. Do not exceed recommended run times. |
| 12V car cable does not work. | Blown fuse. Loose connection. | Replace the fuse in the cable's plug using the provided spare. Ensure connections are secure. |
9. Specifications
- Brand: NEXPOW
- Model: N19 PRO (NP19PRO)
- Max Pressure: 180 PSI
- Power Source: Rechargeable Lithium Battery & 12V DC Car Outlet
- Air Flow: 22 LPM (Liters Per Minute)
- Hose Length: 50 cm
- Display: Digital LCD with Dual Readout
- Special Features: Automatic Shut-Off, 5 Preset Modes, LED Light (Flashlight/SOS/Strobe), Cooling Vents
- Included Components: As listed in Section 2.