Overview
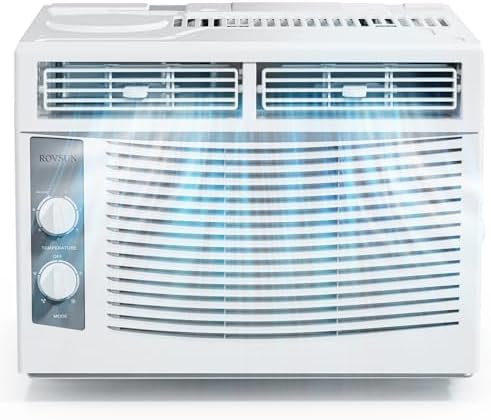
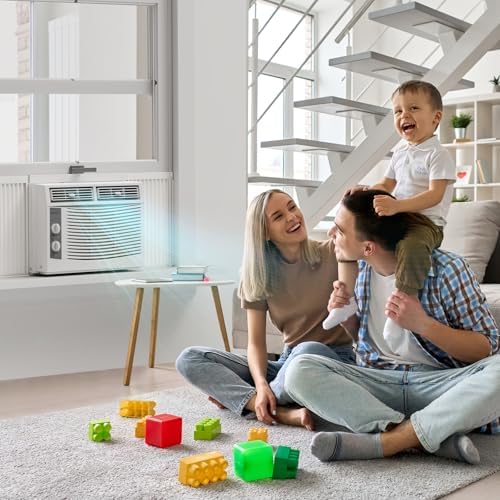
The ROVSUN 5000 BTU Window Air Conditioner is a compact cooling unit designed for rooms up to 150 square feet. It features mechanical controls and includes an installation kit for window mounting.

Features and Specifications
Key Features
- Cooling Capacity: 5000 BTU (British Thermal Units).
- Coverage Area: Recommended for 100 sq. ft., maximum of 150 sq. ft.
- Controls: Mechanical knob controls on the front panel.
- Operating Modes: 4 modes (Cool, Fan, etc.) and 7 temperature settings (61°F - 88°F).
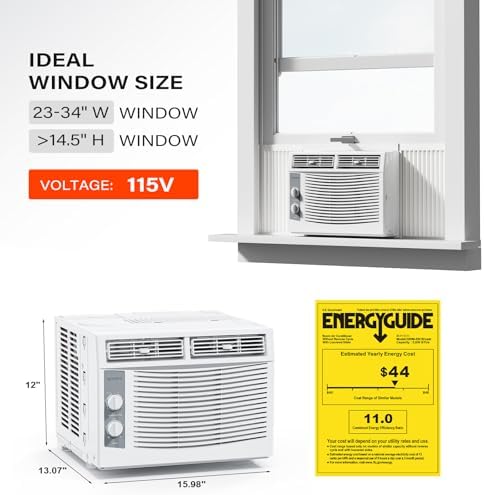
- Energy Efficiency: 115V/60Hz, SEER 12, eco-friendly design.
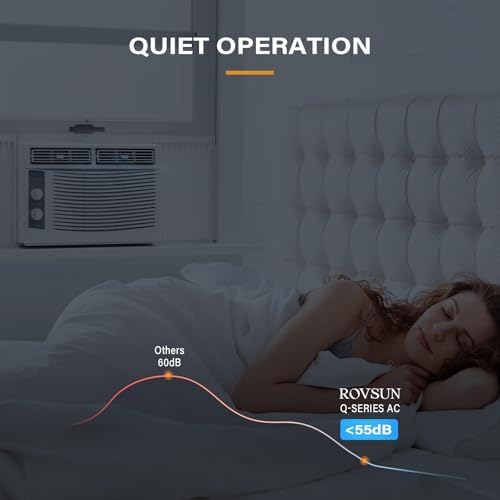
- Noise Level: 52 - 59 decibels.
- Installation: Includes side panels and window installation kit.
- Filter: Slide-out, washable air filter.
Physical Specifications
- Product Dimensions (L x W x H): 15.98" x 13.07" x 12"
- Weight: 36.4 lbs (16.5 kg)
- Color: White
- Window Requirements: Opening width: 23" - 34". Opening height: 14.5".
- Refrigerant: R-32
Installation Guide
Before You Begin
Important: Confirm your window dimensions are compatible before installation. The unit requires a double-hung or sliding window with a minimum opening height of 14.5 inches and a width between 23 and 34 inches.
Ensure you have a nearby, properly grounded 115V electrical outlet.
Installation Steps
- Prepare the Window Area: Clear the window sill and surrounding area. Have a helper assist you as the unit is heavy.
- Assemble the Mounting Kit: Attach the provided side panels to the air conditioner chassis according to the included manual. Extend them to fit your window width.
- Position the Unit: Carefully lift the air conditioner and place it centrally on the window sill. The interior side should be inside the room, and the exterior side with the vents should face outside.
- Secure the Unit: Lower the window sash so it rests on top of the air conditioner frame. Use the provided locking bracket or screws to secure the window sash and prevent it from being raised.
- Seal Gaps: Use the included foam weather stripping to seal any gaps between the window frame, the side panels, and the unit to prevent air leaks and reduce noise.
- Secure Side Panels: Fully extend the side panels to fill the window opening on each side and lock them in place.
- Final Check: Ensure the unit is level (tilting slightly to the outside for condensation drainage is typical) and securely supported. Plug the power cord into the dedicated outlet.

Use Guide
Control Panel Overview
The front panel features mechanical knobs for operation.
- Mode Selector Knob: Choose between different operating modes (e.g., Cool, Fan, Dehumidify).
- Temperature Control Knob: Set the desired room temperature between 61°F and 88°F.
- Fan Speed Knob: Adjust the fan to High or Low speed.

Operating Instructions
- Power On: Ensure the unit is plugged in.
- Select Mode: Turn the Mode knob to your desired setting (Cool for air conditioning).
- Set Temperature: Turn the Temperature knob to your preferred setting.
- Adjust Fan Speed: Turn the Fan Speed knob to High for faster cooling or Low for quieter operation.
- To Turn Off: Turn all knobs to the "OFF" position.
Maintenance and Care
Cleaning the Air Filter
A clean filter ensures efficient operation and air quality.
- Unplug the Unit: Always disconnect power before maintenance.
- Access the Filter: Open the front grille (usually by pulling it forward from the bottom). The slide-out filter is located behind it.
- Remove and Clean: Slide the filter out. Wash it with lukewarm water and a mild detergent. Rinse thoroughly.
- Dry and Reinstall: Allow the filter to air dry completely before sliding it back into place. Close the front grille.
Frequency: Clean the filter every two weeks during regular use, or more often in dusty environments.
Seasonal Storage
- Unplug the unit and remove it from the window according to the installation steps in reverse.
- Clean the filter and the unit's exterior with a soft, damp cloth.
- Store the unit and all accessories in a dry, covered location.
Troubleshooting
- Unit does not start: Check if the power cord is plugged in. Ensure the electrical outlet is working.
- Insufficient cooling: Ensure the air filter is clean. Verify that windows and doors are closed. Check that the temperature setting is low enough. Ensure the exterior vents are not blocked.
- Water dripping inside the room: Ensure the unit is tilted slightly to the outside (rear) for proper condensation drainage. Check that the drainage path is not blocked.
- Unusual noise: Ensure the unit is installed securely and is not vibrating against the window frame. Check that no foreign objects are inside the vents.
Warranty and Support
This product is covered by a 1-year limited warranty from the date of purchase.
For warranty service, technical support, or to purchase replacement parts, contact the seller through your Amazon order details or the ROVSUN store page.