Loading ...
Loading ...
Loading ...
Your Life ...
Getting Started
Use - The Cooktop
Care and CleaningSelf Help
English • 10
All igniters spark when any single burner is turned
ON. Do not touch any of the burners when the
cooktop is in use.
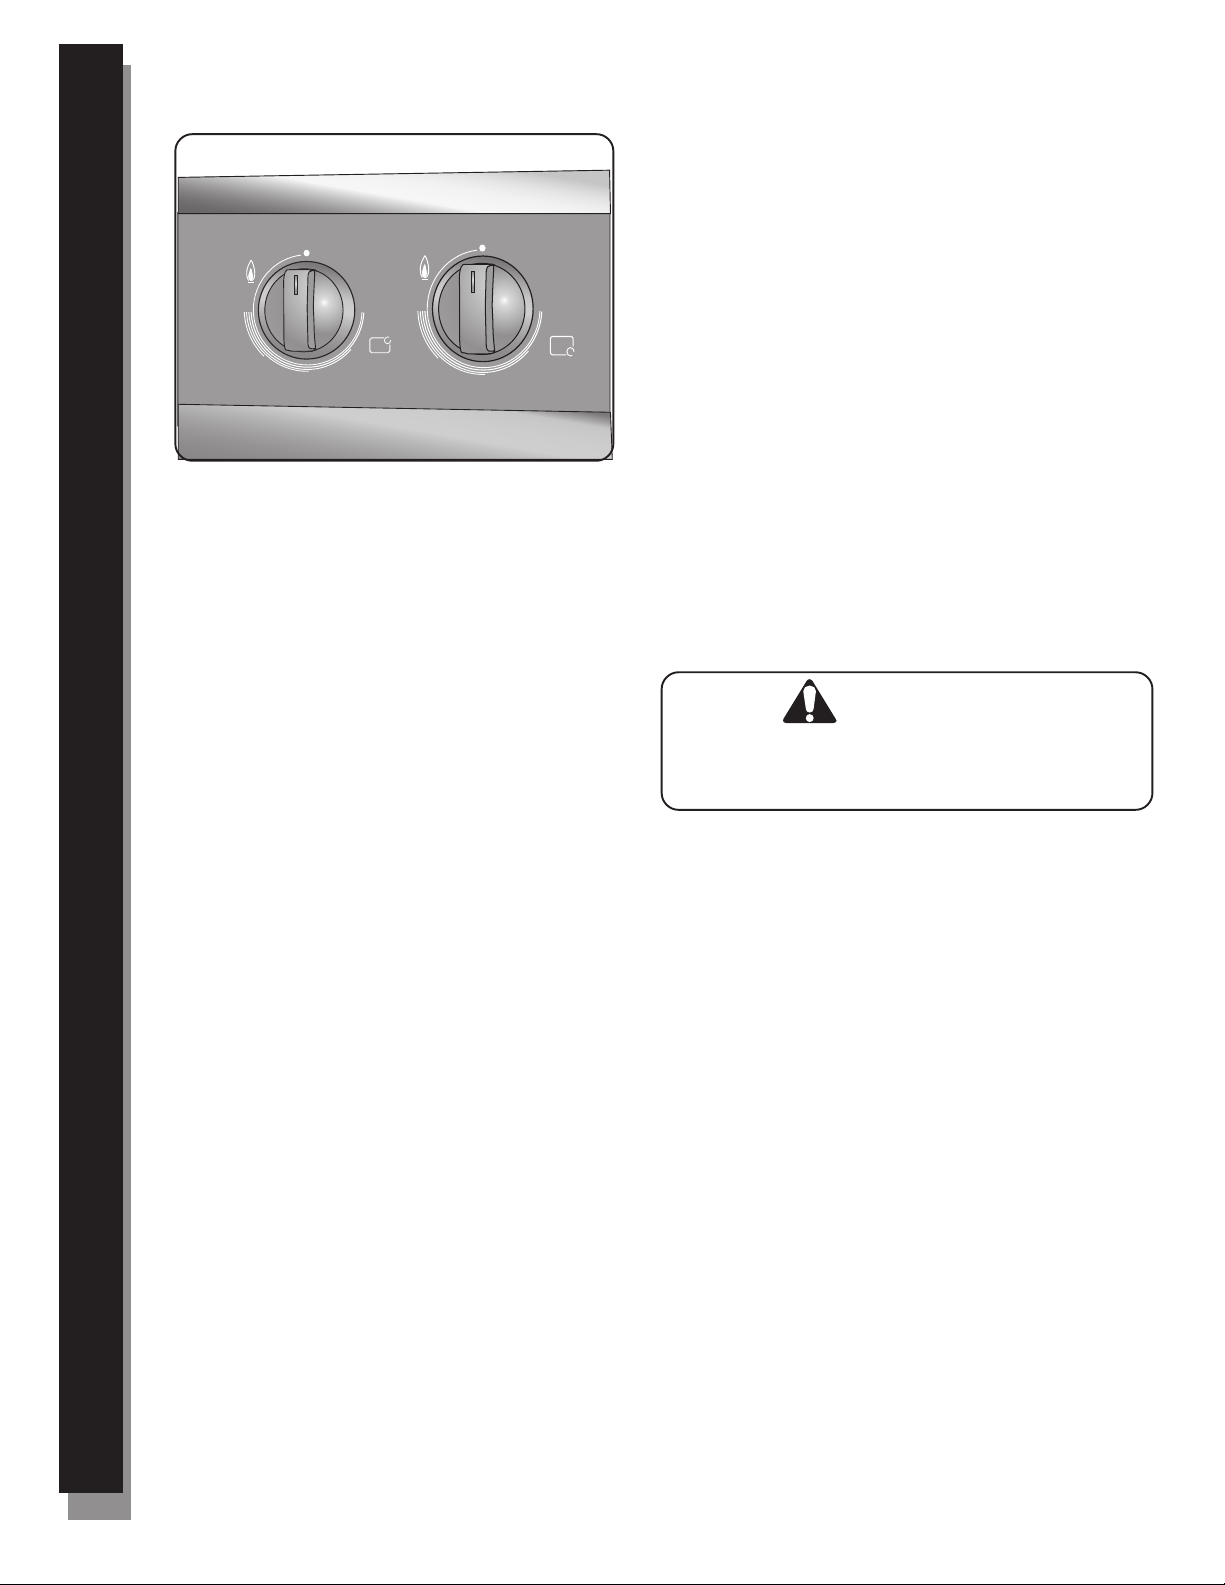
Burner Control Knobs
Cooktop Operation
Power Failure
In the event of a power failure, the burners can be
ignited manually. Hold a match at the port and turn the
control knob to the HI position. Wait until the flame is
burning all the way around the burner before adjusting
the flame to the desired height.
Typical Flame Characteristics
Foreign particles in the gas line may cause an orange
flame during initial use. This should disappear with use.
Check burner cap to make sure port holes are not
obstructed. If the ports are clogged, see “Cleaning the
Cooktop”, page 23. For natural gas use, the burner
flame should be blue in color and stable with no yellow
tips, excessive noise or fluttering. It should burn
completely around the burner cap. For Propane (LP)
use, some yellow tips are normal.
Note: An audible “pop” may be heard when the burner
is turned off manually. The “popping” may be louder
with LP gas than with natural gas. This is normal.
Refer to the Cooking Guide (previous page) for flame
settings.
Control Knobs - Front View
The burner controls have an infinite number of heat
settings with no fixed positions. A plastic bezel is
located under each control knob.
To LIGHT: Select the appropriate control knob, push in
and turn counterclockwise to the flame symbol. The
ignitor will click.
To SET FLAME SIZE: After lighting, turn
counterclockwise to the desired flame size.
Turn OFF by turning the control knob clockwise to OFF.
To remove knob, spring and bezel: Place knob in the
OFF position. Pull straight out and off. Spring and bezel
will be loose and can be pulled straight off after the
knob is removed.
To replace knob, spring and bezel: Place spring and
knob on top of bezel being careful to line up center
holes. Push down on knob so that spring is tense. With
knob in off position, place center hole around shaft on
range and push bezel, spring and knob in toward range.
Release knob.
Electronic Ignition
The cooktop uses electronic igniters to light the burners.
There is no pilot light. Each burner has its own igniter.
For best results, center the pan over the burner before
ignition.
The ignitor should be clean and dry for proper
operation.
• Avoid getting water or food on the igniter.
• If the igniter is wet or soiled, it may spark without
igniting the burner.
Note: If the burner does not light within 4 seconds, turn
the burner off. Check to see that the cap is positioned
correctly on the burner base and the igniter is clean and
dry. If a burner still fails to ignite, see Self “Help -
Cooktop”, page 29.
Burner Performance
For best cooking results, observe the following burner
characteristics:
PowerSim™ Burner (Right Front): The PowerSim™
burner is the most verstile of the burners. The cap
retains heat longer than normal burner caps and, at low
settings, prohibits the flame from touching the
cookware. This results in a gentle, more predictable
heat. It can be set low enough to simmer sauces
without scorching. However, the flame can also be set
high enough to stir-fry and boil quickly. The large size of
the burner cap allows the burner to accomodate large
pots, so it is also well suited for cooking large quantities
of food.
Right Rear: The right rear burner is the smallest
burner. It is well suited for delicate cooking such as
melting chocolate and butter.
HI
LO
OFF
HI
LO
OFF
SIM
CAUTION:
Loading ...
Loading ...
Loading ...