Loading ...
Loading ...
Loading ...
needed to make the corresponding desired number of
cups. Do not fill past the “MAX line” or water will flow out
of the overfill hole in the back of the water reservoir.
The amount of coffee brewed will always be slightly less
than the amount of water poured in the water reservoir.
This is due to the minimum absorption of water by the
coffee grounds.
7. Pour the water into the water reservoir. Close the lid and
place the empty decanter onto the warming plate.
NOTE: Make sure the decanter is fully placed on the
warming plate or the water and the grounds will overflow
from the filter basket. An overflow may cause personal
injury or damage to property.
CAUTION! To reduce the risk of damaging the
decanter and/or the risk of personal injury, do not
add cold water to the decanter if the decanter is
already hot. Allow the decanter to cool before using.
BREWING COFFEE NOW
1. After completing the steps in the “Adding Water and
Coffee” section and with the decanter and the filter
basket securely in place, turn the coffeemaker on.
For Programmable models: Press the ON Button to begin
the brewing cycle. The green indicator light will turn on to
signal that the coffeemaker is brewing. When the brewing
cycle is complete the coffeemaker switches over to the
warming mode.
Your coffeemaker will keep your coffee hot for 2 hours,
then automatically shut off. Thermal units will shut off
immediately after the brewing cycle is complete.
While the coffee is brewing, the Pause ’n Serve feature
allows you to sneak a cup of coffee from the decanter.
REPLACE THE DECANTER ON THE WARMING PLATE WITHIN
30 SECONDS TO PREVENT OVERFLOW AND POSSIBLE INJURY.
5. When you are done brewing your coffee, rinse the water
filter with fresh water. Do not put your water filter in the
dishwasher.
To replace the water filter disks: twist the gray disk cover
from your water filtration system. Remove the used disk.
Insert the new disk into the frame and
twist the cover back into place.
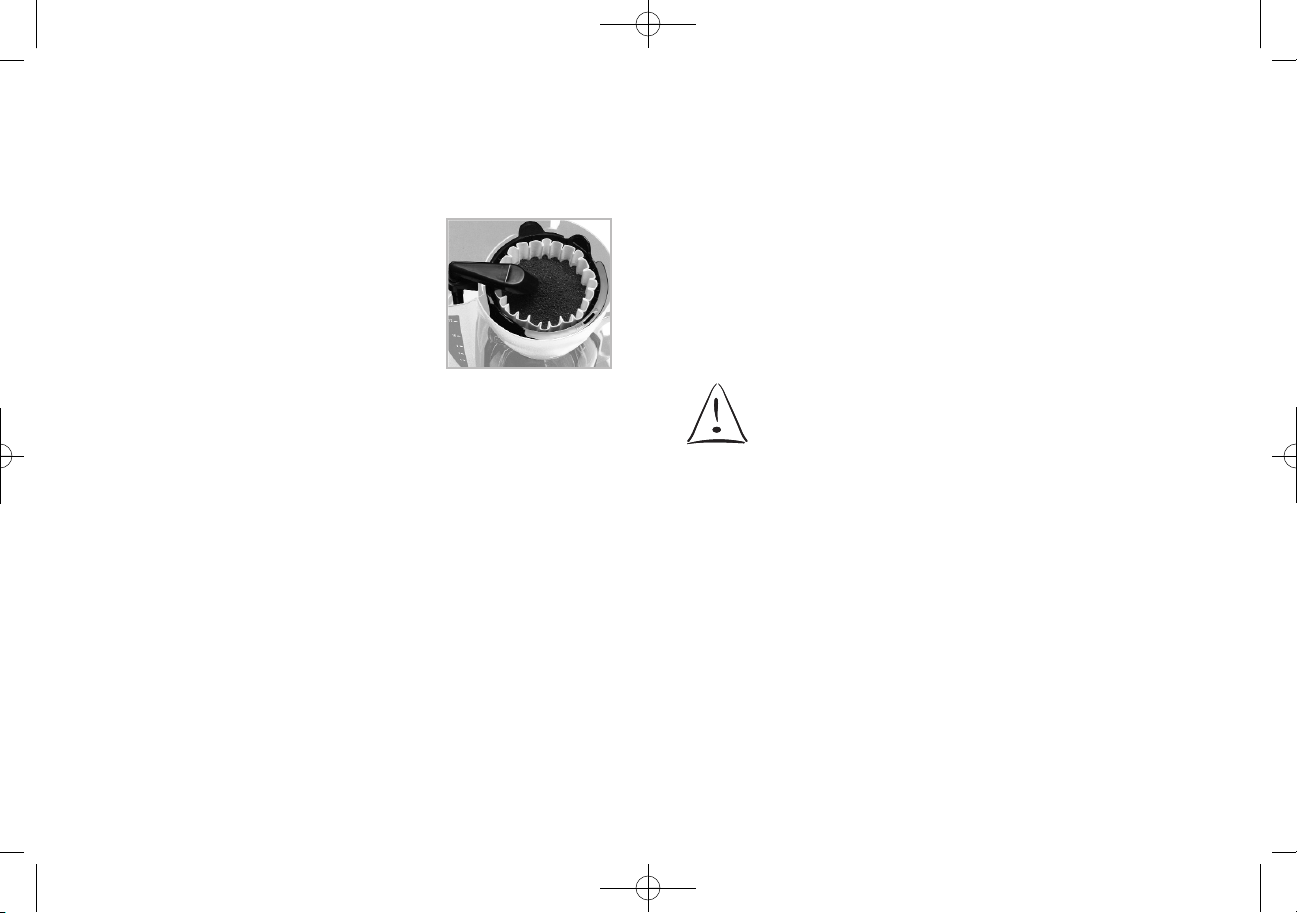
Adding Water and Ground Coffee
1. Lift and open the filter basket lid. For
your convenience, you can lift out
the removable filter basket.
2. Place a MR. COFFEE
®
brand 10-12
cup paper basket-style filter or a
MR. COFFEE
®
permanent filter
into the removable filter basket.
(Figure 2)
NOTE: If using paper filters, it is important that the sides of
the filter fit flush against the side of the filter basket. If
filter collapse occurs, dampen the filter before placing in
the filter basket and adding ground coffee and water.
3. Add the desired amount of coffee and gently shake to
level the coffee. See the Suggested Coffee Measurement
Chart.
4. If using the Mr. Coffee
®
Water Filtration System: after
following instructions in the Water Filtration System
section, place the Mr. Coffee
®
water filter in the filter
basket, making sure that the side marked “this side up”
faces you and that the water filter is level.
5. Be sure the filter is properly centered and all the way
down in the filter basket.
6. Fill the decanter with cold, fresh water to the desired
capacity (1 cup equals 5 ounces). For easy and accurate
filling, the water markings on the glass decanter and on
the dual water windows show the amount of water
12
13
(Figure 2 – Adding water
and ground coffee)
BVMC-VB_11ESM1.qxd:133834 9/27/11 1:51 PM Page 12
Loading ...
Loading ...
Loading ...