Loading ...
Loading ...
Loading ...
49-90583-1 17
Installation Instructions
UNPACKING THE WASHER
1. Cut and remove the top and bottom packaging straps.
2. While it is in the carton, carefully lay the washer on its
side. DO NOT lay the washer on its front or back.
3. Turn down the bottom flaps—remove all base packaging,
including the cardboard, styrofoam base and styrofoam
tub support (inserted in center of base).
NOTE: If you are installing a pedestal, proceed to the
installation instructions that come with the pedestal.
4. Carefully return the washer to an upright position and
remove the carton.
5. Carefully move the washer to within 4 feet (122 cm)
of the final location.
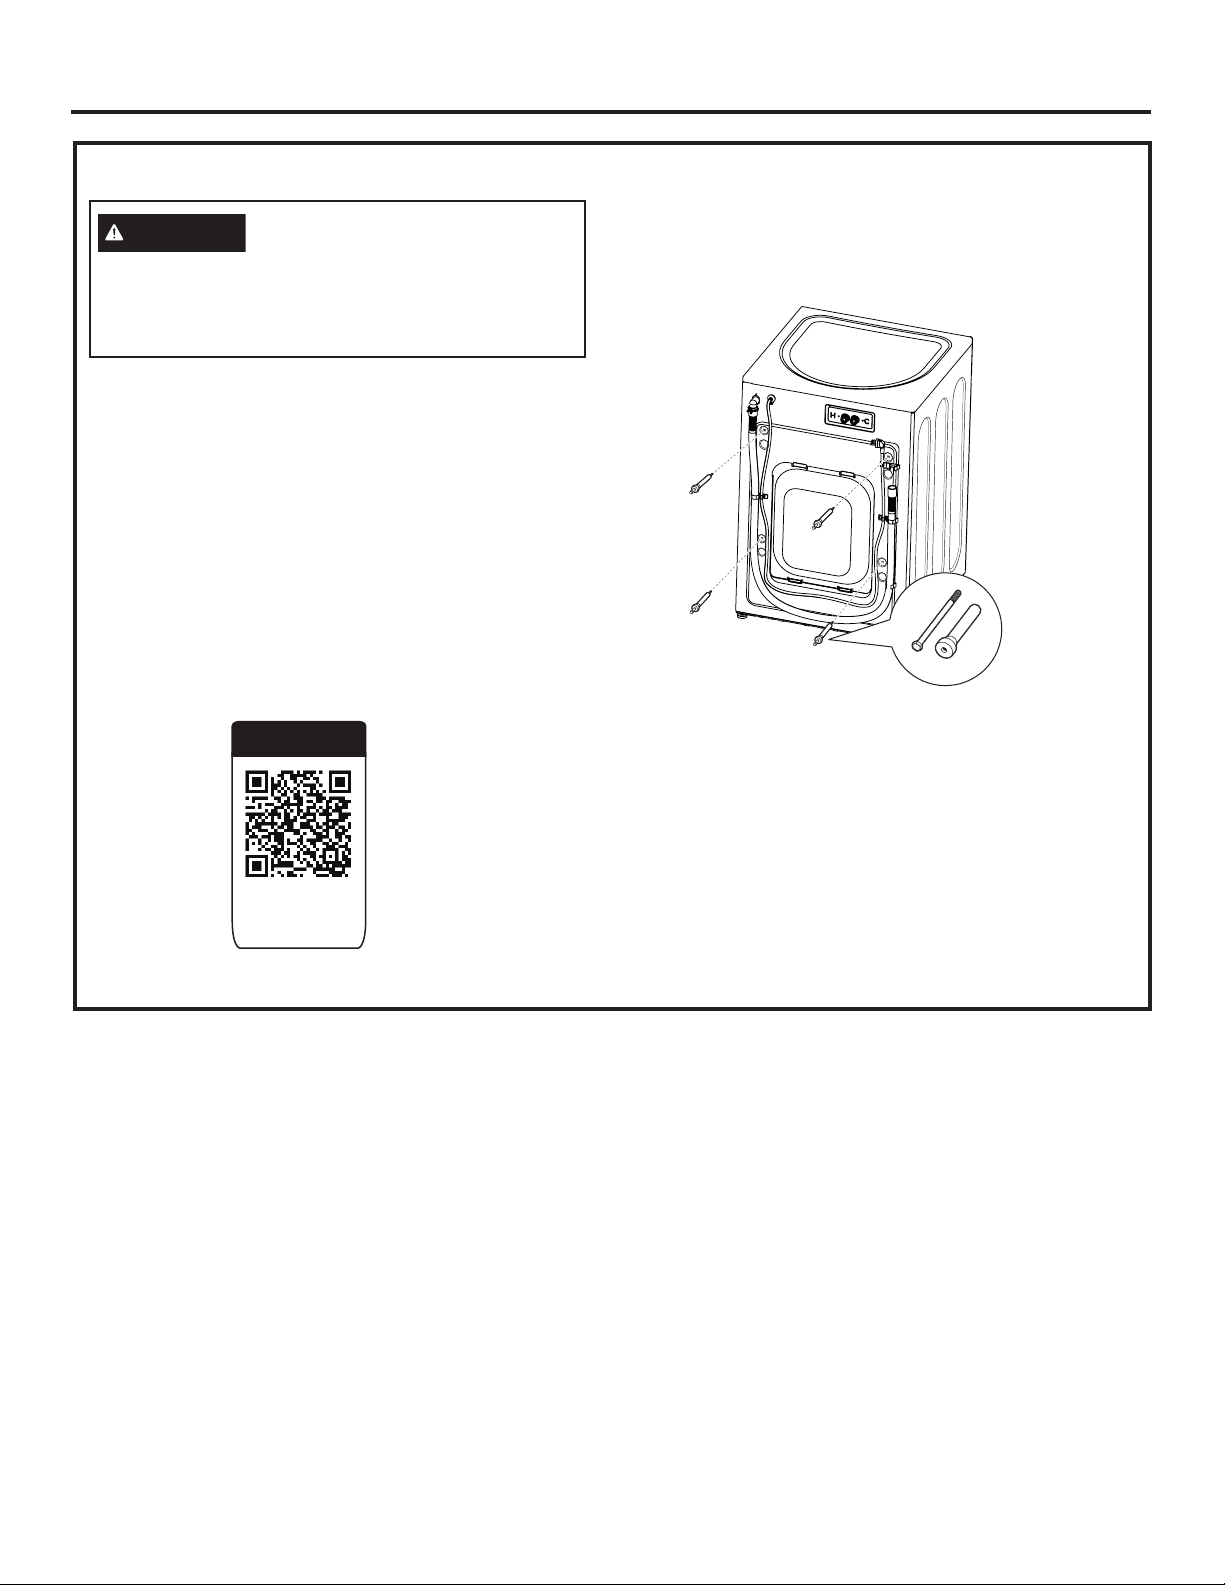
6. Remove the following from the back side of the washer:
4 bolts
4 plastic spacers (including rubber grommets)
4 power cord retainers
NOTE: Failure to remove the shipping braces can
cause the washer to become severely unbalanced.
IMPORTANT: Save all bolts for future use.
NOTE: If you must transport the washer at a later date,
you must reinstall the shipping support hardware to
prevent shipping damage. Keep the hardware in the
plastic bag provided.
In case you misplace your shipping bolts, replacements
are available at additional cost. They can be ordered in the
United States by visiting our website at GEAppliances.com
or calling GE Appliances at 800.GE.CARES. In Canada, call
800.661.1616. Order kit #WH49X10039.
Video
Scan this code
to watch a video
on this topic.
Recycle or destroy the carton and
plastic bags after the washer is
unpacked. Make materials inaccessible to children.
Children might use them for play. Cartons covered
with rugs, bedspreads or plastic sheets can become
airtight chambers causing suffocation.
WARNING
Loading ...
Loading ...
Loading ...