Loading ...
Loading ...
Loading ...
2
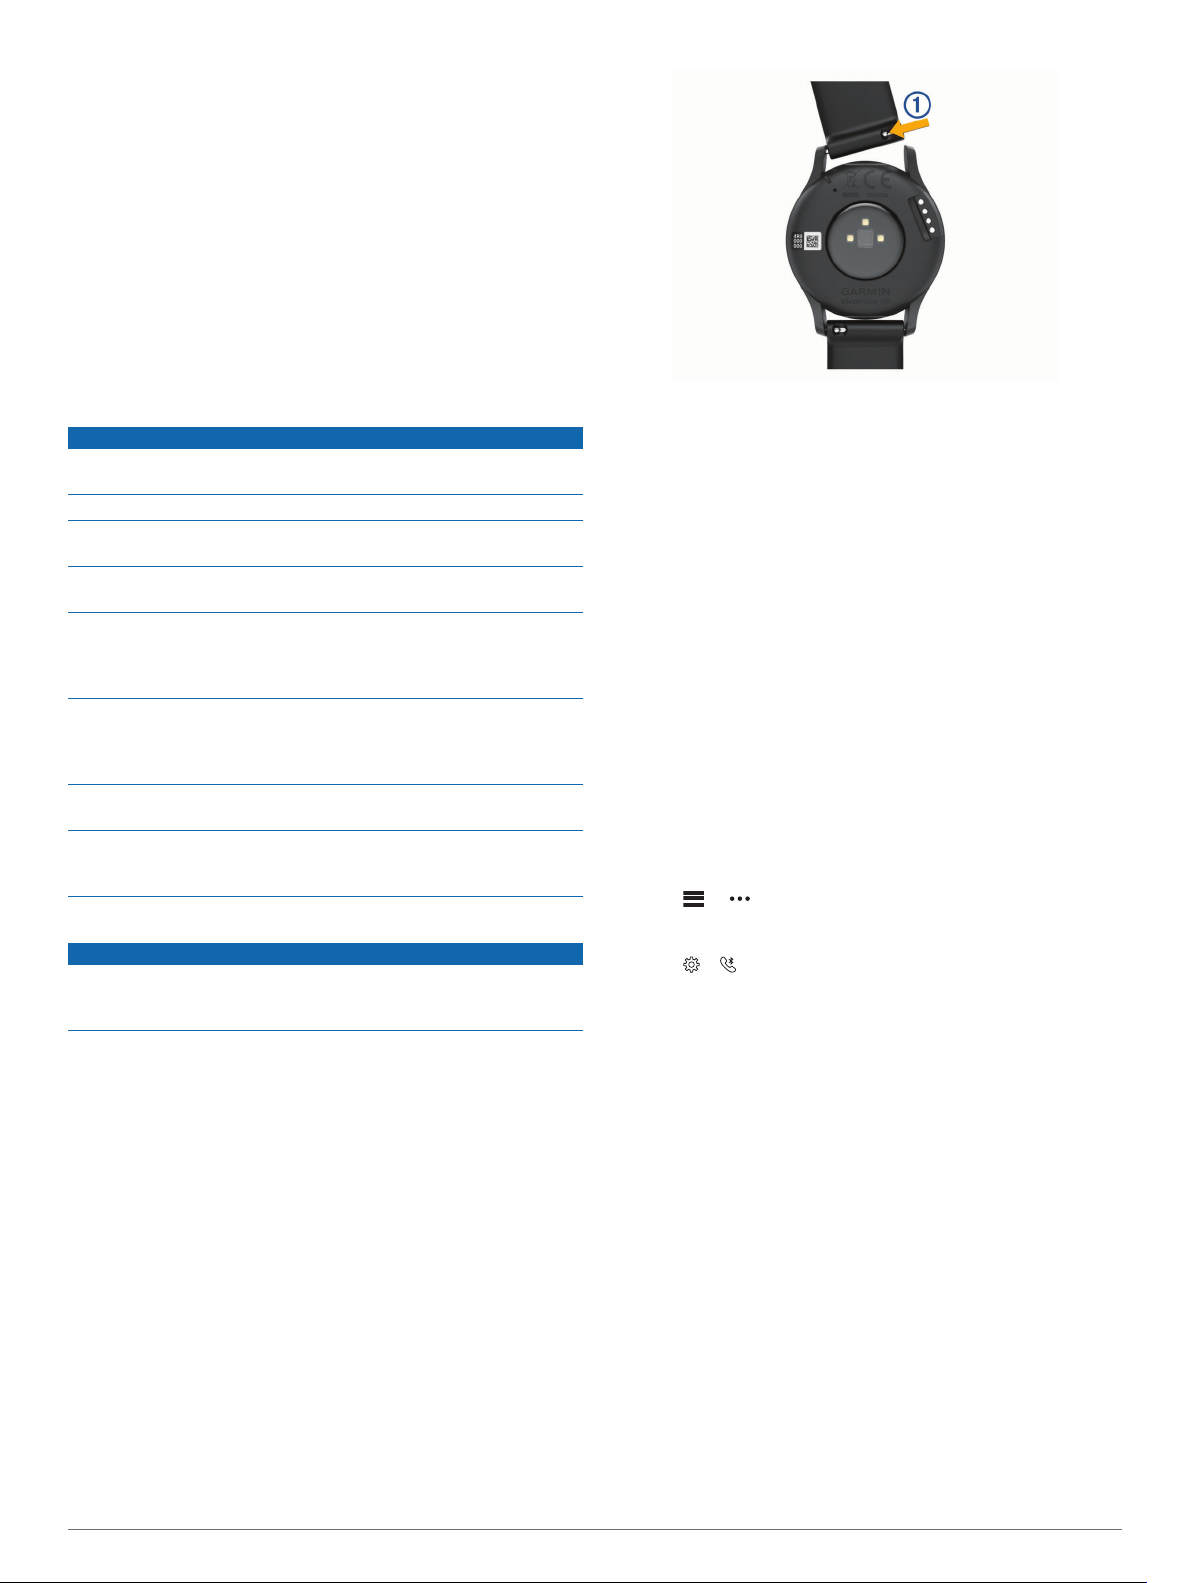
Align the clip with the contacts
Á
, and release the arms of the
clip.
3
Plug the USB cable into a power source.
4
Charge the device completely.
Tips for Charging Your Device
• Connect the charger securely to the device to charge it using
the USB cable (Charging the Device, page 7).
You can charge the device by plugging the USB cable into a
Garmin approved AC adapter with a standard wall outlet or a
USB port on your computer. Charging a fully depleted battery
takes about two hours.
• View the remaining battery percentage on the device
information screen (Viewing Device Information, page 7).
Device Care
NOTICE
Avoid extreme shock and harsh treatment, because it can
degrade the life of the product.
Do not use a sharp object to clean the device.
Never use a hard or sharp object to operate the touchscreen, or
damage may result.
Avoid chemical cleaners, solvents, and insect repellents that can
damage plastic components and finishes.
Thoroughly rinse the device with fresh water after exposure to
chlorine, salt water, sunscreen, cosmetics, alcohol, or other
harsh chemicals. Prolonged exposure to these substances can
damage the case.
Keep the leather band clean and dry. Avoid swimming or
showering with the leather band. Exposure to water or sweat
can damage or discolor the leather band. Use silicone bands as
an alternative.
Do not place in high temperature environments, such as a
clothes dryer.
Do not store the device where prolonged exposure to extreme
temperatures can occur, because it can cause permanent
damage.
Cleaning the Device
NOTICE
Even small amounts of sweat or moisture can cause corrosion
of the electrical contacts when connected to a charger.
Corrosion can prevent charging and data transfer.
1
Wipe the device using a cloth dampened with a mild
detergent solution.
2
Wipe it dry.
After cleaning, allow the device to dry completely.
TIP: For more information, go to www.garmin.com/fitandcare.
Cleaning the Leather Bands
1
Wipe the leather bands with a dry cloth.
2
Use a leather conditioner to clean the leather bands.
Replacing the Bands
The device is compatible with 20 mm wide, standard, quick-
release bands. Go to buy.garmin.com, or contact your Garmin
dealer for information about optional accessories.
1
Slide the quick-release pin
À
on the spring bar to remove the
band.
2
Insert one side of the spring bar for the new band into the
device.
3
Slide the quick-release pin, and align the spring bar with the
opposite side of the device.
4
Repeat steps 1 through 3 to replace the other band.
Troubleshooting
Is my smartphone compatible with my
device?
The vívomove HR device is compatible with smartphones using
Bluetooth wireless technology.
Go to www.garmin.com/ble for compatibility information.
My phone will not connect to the device
• Bring the device within range of your smartphone.
• If your devices are already paired, turn Bluetooth off on both
devices, and turn it back on.
• If your devices are not paired, enable Bluetooth wireless
technology on your smartphone.
• On your smartphone, open the Garmin Connect Mobile app,
select or , and select Garmin Devices > Add Device to
enter pairing mode.
• On your device, hold the touchscreen to view the menu, and
select > > Pair Now to enter pairing mode.
Activity Tracking
For more information about activity tracking accuracy, go to
garmin.com/ataccuracy.
My step count does not seem accurate
If your step count does not seem accurate, you can try these
tips.
• Wear the device on your non-dominant wrist.
• Carry the device in your pocket when pushing a stroller or
lawn mower.
• Carry the device in your pocket when actively using your
hands or arms only.
NOTE: The device may interpret some repetitive motions,
such as washing dishes, folding laundry, or clapping your
hands, as steps.
The step counts on my device and my Garmin
Connect account don't match
The step count on your Garmin Connect account updates when
you synchronize your device.
1
Select an option:
• Synchronize your step count with the Garmin Connect
application (Syncing Your Data with Your Computer,
page 6).
8 Troubleshooting
Loading ...
Loading ...
Loading ...