Loading ...
Loading ...
Loading ...
TO STORE A'I-I'ACHMENTS
Remove dusting brush or combination
brush. Snap into appropriate storage location.
Remove crevice tool from the wand by twist-
ing. Lay aside.
Remove the extension wand from the hose,
Twist the wand to the left and pull from the
hose end.
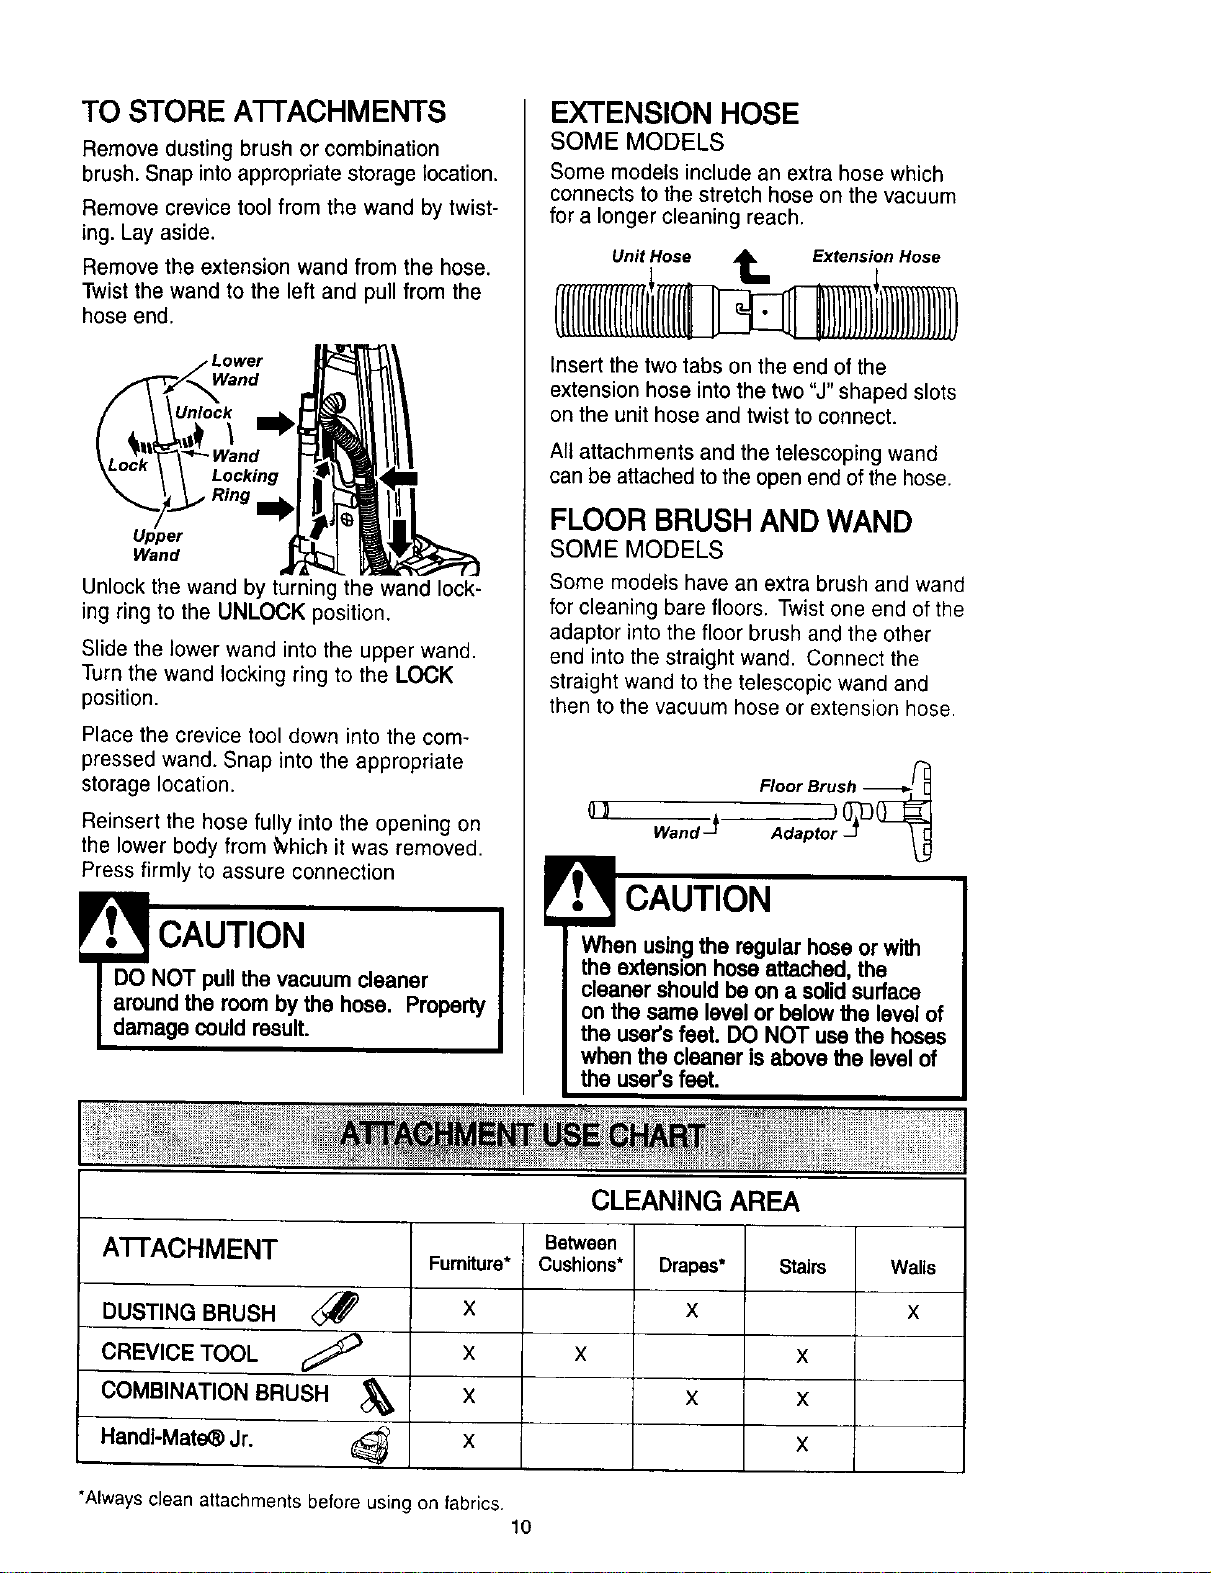
ower
Wand
Unlock
\
Locking
Ring
Upper
Wand
Unlock the wand by turning the wand lock-
ing ring to the UNLOCK position.
Slide the lower wand into the upper wand.
Turn the wand locking ring to the LOCK
position.
Place the crevice tool down into the com-
pressed wand. Snap into the appropriate
storage location.
Reinsert the hose fully into the opening on
the lower body from _hich it was removed.
Press firmly to assure connection
DO NOT pull the vacuum cleaner
around the room by the hose. Property
damage could result.
EXTENSION HOSE
SOME MODELS
Some models include an extra hose which
connects to the stretch hose on the vacuum
for a longer cleaning reach.
Unit Hose _ Extension Hose
Insert the two tabs on the end of the
extension hose into the two "J" shaped slots
on the unit hose and twist to connect.
All attachments and the telescoping wand
can be attached to the open end of the hose.
FLOOR BRUSH AND WAND
SOME MODELS
Some models have an extra brush and wand
for cleaning bare floors. Twist one end of the
adaptor into the floor brush and the other
end into the straight wand. Connect the
straight wand to the telescopic wand and
then to the vacuum hose or extension hose.
Floor Brush -_'-_L_
wandJ
When usingthe regular hose orwith
the extension hose attached,the
cleaner shouldbe on a solidsurface
on the same level or below the levelof
the user'sfeet. DO NOT usa the hoses
when the cleaner isabove the level of
the user'sfeet.
CLEANING AREA
A'I-FACHMENT
DUSTING BRUSH <_
CREVICE TOOL
COMBINATION BRUSH
Handi-Mate_ Jr.
Furniture*
X
X
X
X
Between
Cushions*
Drapes*
X
Stairs
X X
X X
X
"Always clean attachments before using on fabrics.
10
Walls
X
Loading ...
Loading ...
Loading ...