Loading ...
Loading ...
Loading ...
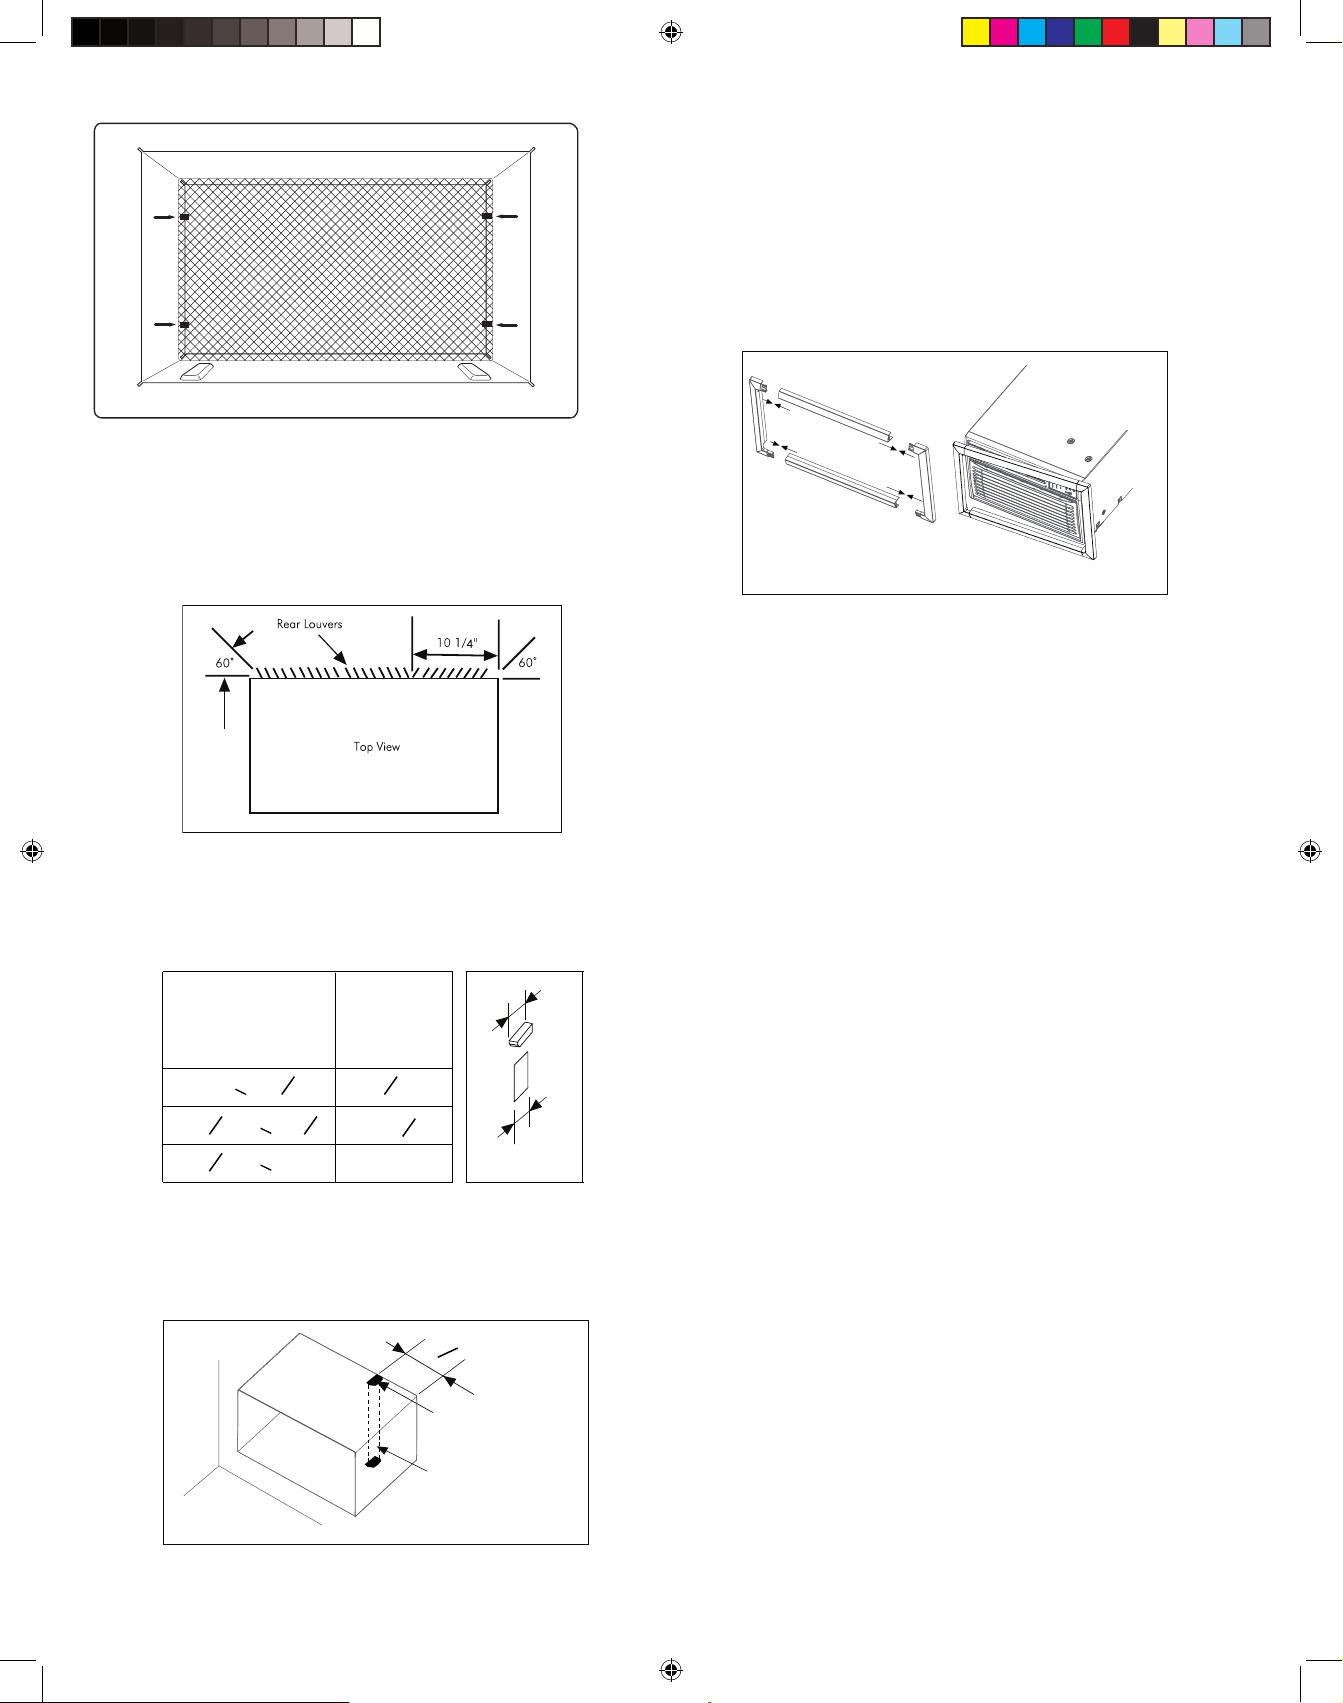
Fig.B
If your existing sleeve has a rear grille and you wish
to retain: redirect the louvers to 60 angle as shown
in Fig C.
Fig.C
5
5.If the depth of your existing wall sleeve is less than or equal
to 20”,skip to step 7.Otherwise,cut the baffles and the support
blocks according to length“A” in the table below.
6.Remove the backing from the support blocks and attach
them to the inside of the wall sleeve as shown FIG E.Slide the
baffle into solts of the support blocks.
8.Install the 1”x1
1/2”x84”long stuffer seal between the wall
sleeve and the unit.
9.To assemble trim,snap the tab of each piece into the slot of
the other piece as shown below.2-Trim frames are supplied
with unit.use the trim frame that best fits your sleeve.
Slide trim over the front of the air conditioner until trim is flush
with sleeve as shown below.
Note:Be sure to route the cord through the trim frame before
placing the trim frame on the unit.
7.Install the new unit into the wall sleeve.
Depth“D” of the
existing wall
sleeve(inches)
Length“A”
(inches)
20<D<20
20 <D<21
21 <D<24
1-
4
5
8
3
4
3
4
5
8
3
4
3
4
A
A
Fig.D
Profundidad “D” de la
caja de montaje
existente(pulgadas)
Longitud“A”
pulgadas
20<D<20
20 <D<21
21 <D<24
1-
4
5
8
3
4
3
4
5
8
3
4
3
4
A
A
Fig.D
Profondeur“D” of de
votre manchon mural
existant(pouces)
Longueur“A”
(pouces)
20<D<20
5
8
3
4
A
A
Tapered Spacer
Block Board
FRONT
Wall
Sleeve
Wall
Fig.E
Tapered Spacer
Block
6
1
2
”
Caja de
6
1
2
”
Assemble Trim
Fig.F
Ensamblar moldura
Fig.F
Assembler la garniture
Fig.F
Rubber
Clamp
Rubber
Clamp
Rubber
Clamp
Rubber
Clamp
Loading ...
Loading ...
Loading ...