

en
2
Table of contents
[ en] I nst r uct i ons for installation and us e
INSTRUCTION MANUAL.......................................................... 2
8 Intended use..........................................................2
( Important safety information ...............................3
7 Environmental protection.....................................5
Ç Operating modes...................................................5
1 Operating the appliance .......................................6
2 Cleaning and maintenance...................................8
3 Trouble shooting................................................ 10
4 Customer service............................................... 10
INSTALLATION INSTRUCTIONS .......................................... 12
( Important safety information ............................ 13
K General information ........................................... 14
5 Installation .......................................................... 17
INSTRUCTION MANUAL
Produktinfo
Additional information on products, accessories,
replacement parts and services can be found at
www.neff-international.com and in the online shop
www.neff-eshop.com
8Intended use
Intended use
Read these instructions carefully. Only then
will you be able to operate your appliance
safely and correctly. Retain the instruction
manual and installation instructions for future
use or for subsequent owners.
The appliance can only be used safely if it is
correctly installed according to the safety
instructions. The installer is responsible for
ensuring that the appliance works perfectly at
its installation location.
This appliance is intended for domestic use
and the household environment only. The
appliance is not intended for use outside. Do
not leave the appliance unattended during
operation. The manufacturer is not liable for
damage which is caused by improper use or
incorrect operation.
This appliance is intended for use up to a
maximum height of 2000 metres above sea
level.
This appliance may be used by children over
the age of 8 years old and by persons with
reduced physical, sensory or mental
capabilities or by persons with a lack of
experience or knowledge if they are
supervised or are instructed by a person
responsible for their safety how to use the
appliance safely and have understood the
associated hazards.
Children must not play with, on, or around the
appliance. Children must not clean the
appliance or carry out general maintenance
unless they are at least 15 years old and are
being supervised.
Keep children below the age of 8 years old at
a safe distance from the appliance and power
cable.
Check the appliance for damage after
unpacking it. Do not connect the appliance if it
has been damaged in transport.
This appliance is not intended for operation
with an external clock timer or a remote
control.
Important safety information en
3
(Important safety
information
Impor t ant safety informat i on
:Warning – Danger of suffocation!
Packaging material is dangerous to children.
Never allow children to play with packaging
material.
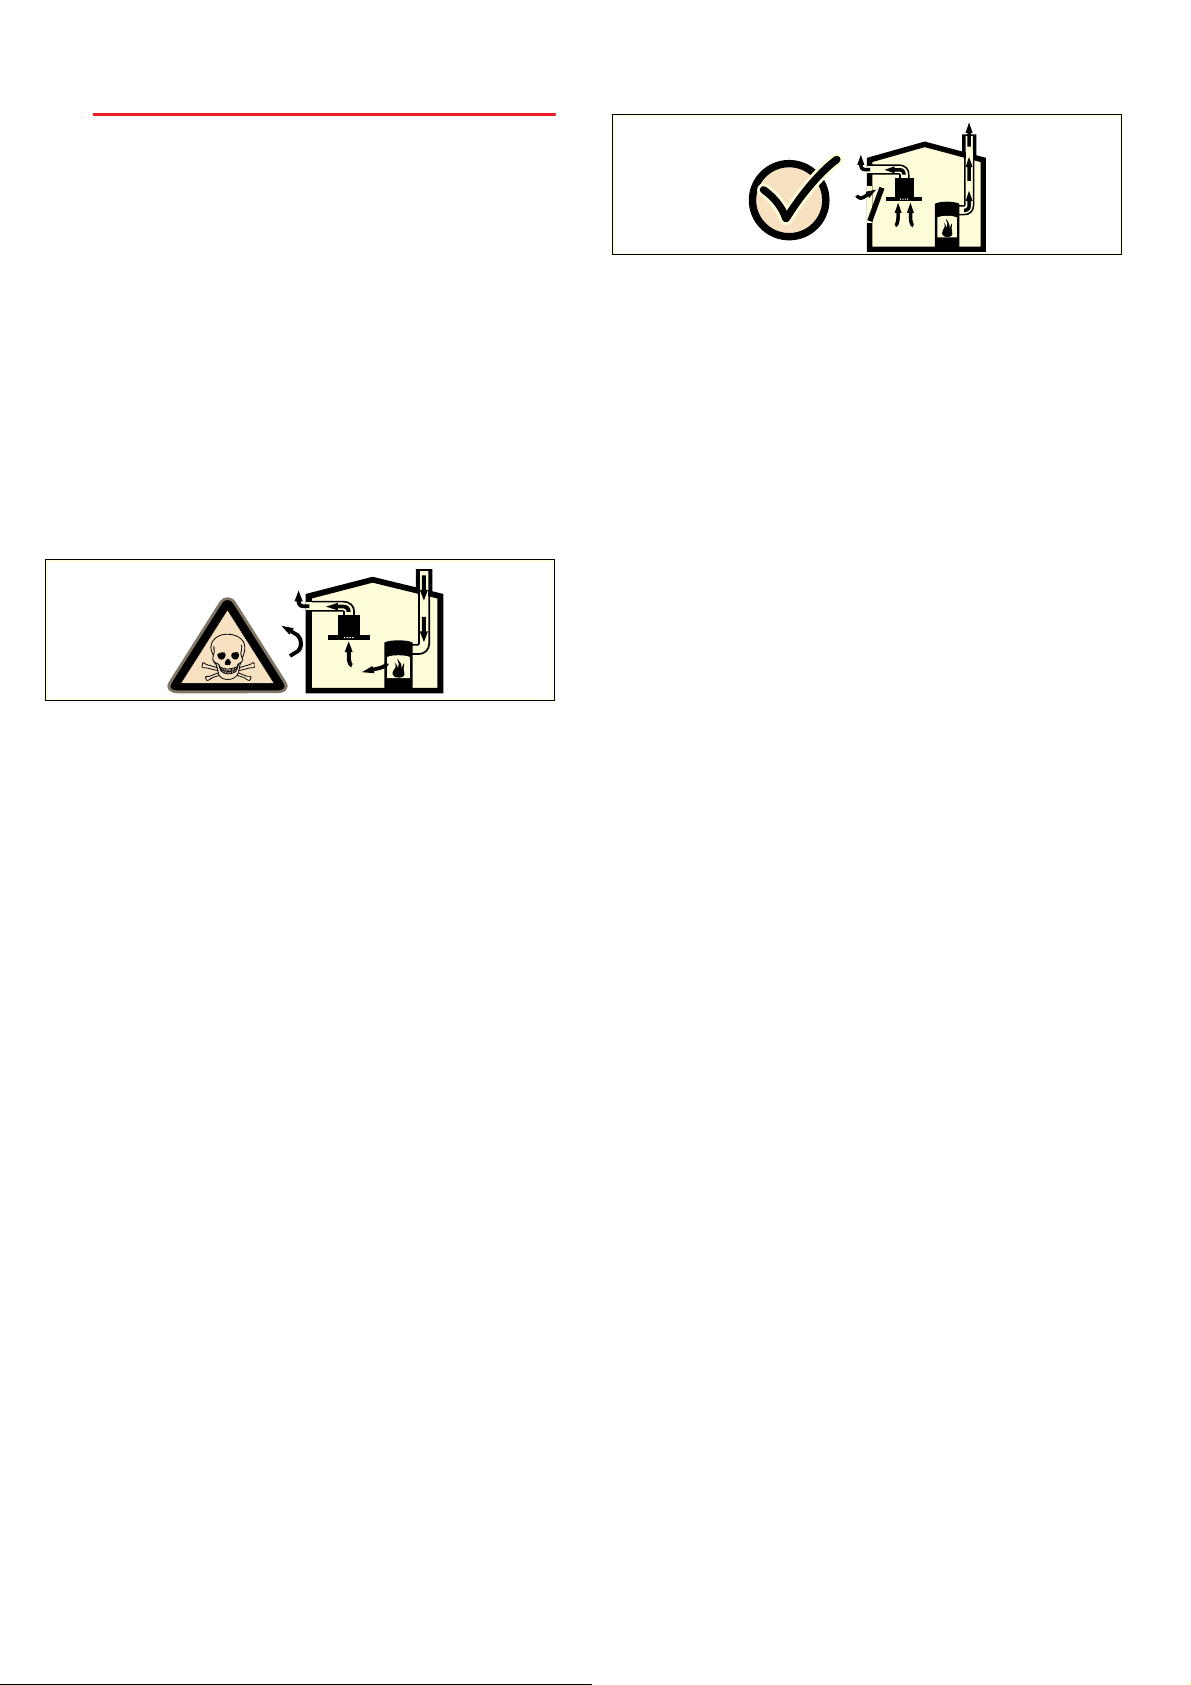
:Warning – Danger of death!
Risk of poisoning from flue gases that are
drawn back in.
Always ensure adequate fresh air in the room
if the appliance is being operated in exhaust
air mode at the same time as room air-
dependent heat-producing appliance is being
operated.
Room air-dependent heat-producing
appliances (e.g. gas, oil, wood or coal-
operated heaters, continuous flow heaters or
water heaters) obtain combustion air from the
room in which they are installed and discharge
the exhaust gases into the open air through an
exhaust gas system (e.g. a chimney).
In combination with an activated vapour
extractor hood, room air is extracted from the
kitchen and neighbouring rooms - a partial
vacuum is produced if not enough fresh air is
supplied. Toxic gases from the chimney or the
extraction shaft are sucked back into the living
space.
■ Adequate incoming air must therefore
always be ensured.
■ An incoming/exhaust air wall box alone will
not ensure compliance with the limit.
Safe operation is possible only when the
partial vacuum in the place where the heat-
producing appliance is installed does not
exceed 4 Pa (0.04 mbar). This can be
achieved when the air needed for combustion
is able to enter through openings that cannot
be sealed, for example in doors, windows,
incoming/exhaust air wall boxes or by other
technical means.
In any case, consult your responsible Master
Chimney Sweep. He is able to assess the
house's entire ventilation setup and will
suggest the suitable ventilation measures to
you.
Unrestricted operation is possible if the vapour
extractor hood is operated exclusively in the
circulating-air mode.
:Warning – Risk of fire!
■ Grease deposits in the grease filter may
catch fire.
Clean the grease filter at least every
2 months.
Never operate the appliance without the
grease filter.
Risk of fire!
■ Grease deposits in the grease filter may
catch fire. Never work with naked flames
close to the appliance (e.g. flambéing). Do
not install the appliance near a heat-
producing appliance for solid fuel (e.g.
wood or coal) unless a closed, non-
removable cover is available. There must
be no flying sparks.
Risk of fire!
■ Hot oil and fat can ignite very quickly. Never
leave hot fat or oil unattended. Never use
water to put out burning oil or fat. Switch off
the hotplate. Extinguish flames carefully
using a lid, fire blanket or something similar.
Risk of fire!
■ When gas burners are in operation without
any cookware placed on them, they can
build up a lot of heat. A ventilation
appliance installed above the cooker may
become damaged or catch fire. Only
operate the gas burners with cookware on
them.
Risk of fire!
■ Operating several gas burners at the same
time gives rise to a great deal of heat. A
ventilation appliance installed above the
cooker may become damaged or catch fire.
Never operate two gas burners
simultaneously on the highest flame for
longer than 15 minutes. One large burner of
more than 5 kW (wok) is equivalent to the
power of two gas burners.
:Warning – Risk of burns!
The accessible parts become very hot when in
operation. Never touch hot parts. Keep
children at a safe distance.

Cleaning and maintenance en
9
Cleaning the metal mesh grease filters
These instructions apply to several appliance variants. It
is possible that individual features are described which
do not apply to your appliance.
:Warning – Risk of fire!
Grease deposits in the grease filter may catch fire.
Clean the grease filter at least every 2 months.
Never operate the appliance without the grease filter.
Notes
■ Do not use any aggressive, acidic or alkaline
cleaning agents.
■ When cleaning the metal mesh grease filters, also
clean the holder for the metal mesh grease filters in
the appliance using a damp cloth.
■ The metal mesh grease filters can be cleaned in the
dishwasher or by hand.
By hand:
Note: You can use a special grease solvent for
stubborn dirt. It can be ordered via the Online Shop.
■ Soak the metal mesh grease filters in a hot soapy
solution.
■ Clean the filters with a brush and then rinse them
thoroughly.
■ Leave the metal mesh grease filters to drain.
In the dishwasher:
Note: If the metal mesh grease filters are cleaned in the
dishwasher, slight discolouration may occur. This has
no effect on the function of the metal mesh grease
filters.
■ Do not clean heavily soiled metal mesh grease filters
together with utensils.
■ Place the metal mesh grease filters loosely in the
dishwasher. The metal mesh grease filters must not
be wedged in.
Removing metal grease filter
1. Open the lock and fold down the metal grease filter.
While doing this, place your other hand under the
metal grease filter.
2. Take the metal grease filter out of the holder.
Notes
– Grease may accumulate in the bottom of the
metal grease filter.
– Hold the metal grease filter level to prevent
grease from dripping out.
3. Clean the metal grease filter.
Installing the metal mesh grease filter
1. Insert the metal mesh grease filter.
While doing this, place the other hand under the
metal mesh grease filter.
2. Fold the metal mesh grease filter upwards, locking it
in place.
Area Cleaning agent
Stainless steel Hot soapy water:
Clean with a dish cloth and then dry with a
soft cloth.
Clean stainless steel surfaces in the grind
direction only.
Special stainless steel cleaning products are
available from our after-sales service or from
specialist retailers. Apply a very thin layer of
the cleaning product with a soft cloth.
Painted surfaces Hot soapy water:
Clean using a damp dish cloth and dry with a
soft cloth/towel.
Do not use any stainless steel cleaners.
Aluminium and plastic Glass cleaner:
Clean with a soft cloth.
Glass Glass cleaner:
Clean with a soft cloth. Do not use a glass
scraper.
Controls Hot soapy water:
Clean using a damp dish cloth and dry with a
soft cloth/towel.
Risk of electric shock caused by penetrating
moisture.
Risk of damage to the electronics from pene-
trating moisture. Never clean operating con-
trols with a wet cloth.
Do not use any stainless steel cleaners.

General information en
15
Electrical connection
:Warning – Risk of electric shock!
Components inside the appliance may have sharp
edges. These may damage the connecting cable. Do
not kink or pinch the connecting cable during
installation.
The required connection data can be found on the
rating plate inside the appliance; to do this, remove the
metal mesh grease filter.
Length of the cable: approx. 1.30 m
This appliance complies with the EC interference
suppression regulations.
:Warning – Risk of electric shock!
It must always be possible to disconnect the appliance
from the electricity supply. The appliance must only be
connected to a protective contact socket that has been
correctly installed.
The mains plug of the mains power cable must be
easily accessible after installation of the appliance. If
this is not possible, an all-pole isolating switch must be
integrated into the permanent electrical installation
according to the conditions of overvoltage category III
and according to the installation regulations.
The permanent electrical installation must only be wired
by a professional electrician. We recommend installing
a residual-current circuit breaker (RCCB) in the
appliance's power supply circuit.
Preparing the units
■ The fitted unit must be level and have sufficient load-
bearing capacity.
■ The max. weight of the extractor hood is 18 kg.
Appliance dimensions and safety clearances
■ Observe the appliance's dimensions.
■ Comply with the safety clearances.
If the installation instructions for the gas cooking
appliances specify a different distance, the largest
distance must always be provided for.
The fitted unit must be heat-resistant up to 90 °C.The
fitted unit must still be sturdy after the cut-outs have
been made.
To install the extractor hood in a wall-hanging
cupboard, the extractor hood must be provided with the
following dimensions:
1. Make the cut-out for the exhaust air pipe. To do this,
make an opening in the top or back panel of the
fitted unit with an additional recess for the power
cord.
2. If the cabinet base is in place, remove it. Mark the
fastening points on the inside of the cabinet and use
a bradawl to make indentations where the holes are
to be. To help you mark the fastening points, use the
fastening piece provided.
Width 600 mm
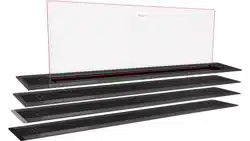
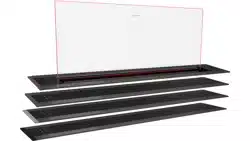
Depth Min. 320 mm
Depth Min. 350 mm with lowering frame
Height Min. 420 mm
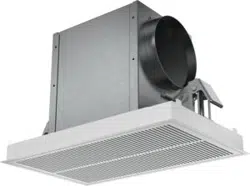
Height Min. 600 mm with CleanAir air recirculation
module
Wall thickness 16 mm or 19 mm
PP
PP
PLQ
PP

en General information
16
Body wall thickness: 16 mm
1. Screw the mounting pieces to the body on the left
and right. ¨
2. Remove the tabs from the bottom of the mounting
pieces. ©
Body wall thickness: 19 mm
1. Fold out the tabs on both of the mounting pieces. ¨
2. Screw the mounting pieces to the body on the left
and right. ©
3. Remove the tabs from the bottom of the mounting
pieces. ª
Preparing the appliance
A handle strip must be screwed to the filter pull-out. This
handle strip can be one that is provided with the
appliance, or one that is available as an accessory.
1. Use the screws provided to secure the handle strip
to the filter pull-out.
2. Connect the power cord provided to the
appliance.¨
3. Use the strain relief to secure the power cord in
place.©
$
%
PP
[
PP
%
&
PP
$
[
PP
[
PP
$
%

en Installation
18
Final fitting stage
1. Slide the appliance up into place. ¨
2. Lock the fastening bolts on the left and right. ©
3. Fit the protective caps on the left and right. ª
4. Establish the electrical connection.
Note: The extractor hood's housing can be concealed
within the upper cabinet. In doing so, you must observe
the following:
■ The intermediate floor must not be placed on the
extractor hood's housing.
■ The front panel must not be secured to the housing.
■ Access must be available in order to change the
filter and for the after-sales service.
Appliance width 90 cm:
You must also screw the appliance to the wall-hanging
cupboards either side of it.
Changing the filter pull-out's limit stop
On some versions of the appliance, the limit stop for the
filter pull-out can be changed. Spacers are included
with these appliances in order to position the
appliance's handle strip flush with the fitted unit.
1. Pull the filter pull-out towards you.
2. Shorten the spacer to the required dimension and
insert it into the slot specified.
Connecting the pipes
Note: If an aluminium pipe is used, smooth the area
where it is to be connected before you connect it.
Exhaust air pipe, dia. 150 mm (recommended size)
Fit the exhaust air pipe directly to the air-pipe connector
and seal the joint.
Exhaust air pipe, dia. 120 mm
1. Fit the reducing connector directly to the air-pipe
connector.
2. Attach the exhaust air pipe to the reducing
connector.
3. Seal both joints appropriately.
Removing the appliance
1. Disconnect the electrical connection.
2. Disconnect the pipes.
3. Remove the metal grease filter.
4. Remove the protective caps from the fastening
elements.
5. Remove the appliance; see section entitled
"Removing the appliance".
%
$
&
[
PP

Installation en
19

*9001058693*
9001058693
980402
en