INSTALLATION
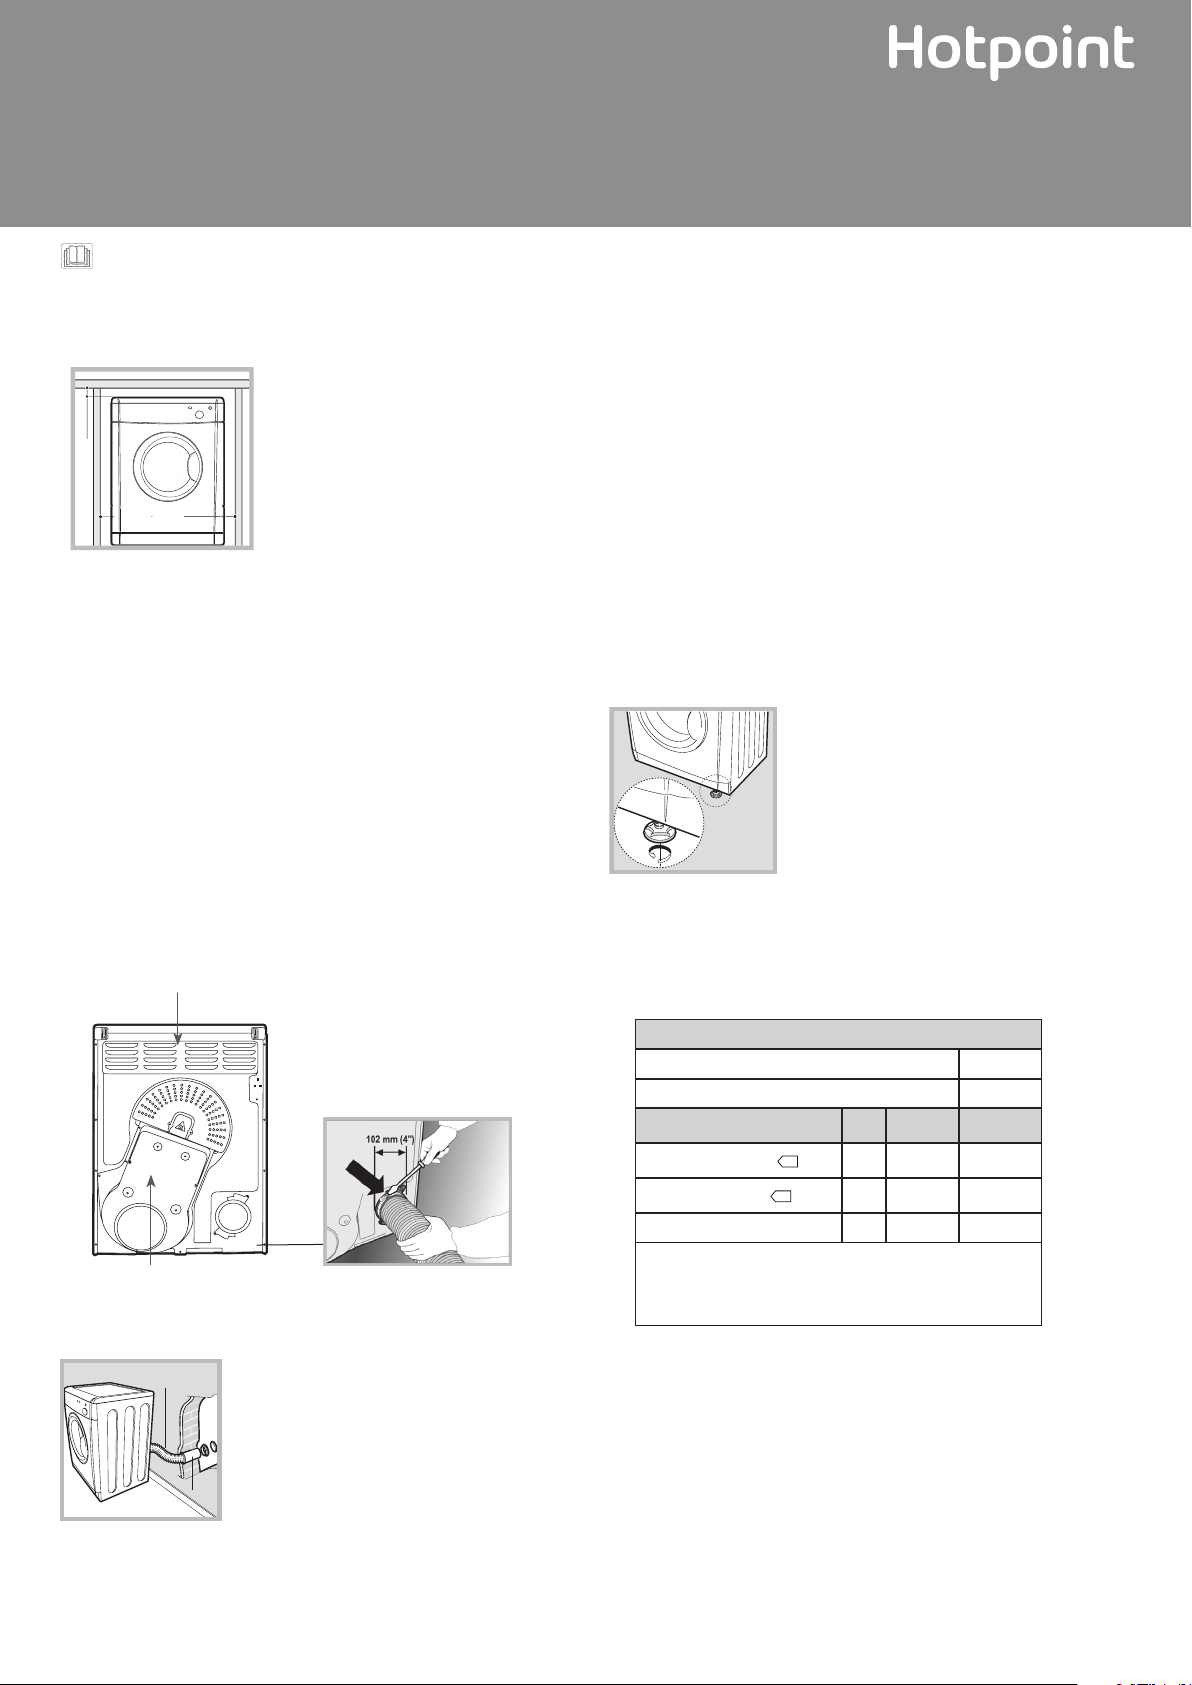
WHERE TO PUT YOUR DRYER
10
m
m
15 mm
15 mm
15 mm
15 mm
If you are going to install the
appliance under a work counter
be sure to leave a 10mm space
between the top and any other
objects on or above the machine
and a 15mm space between the
sides and any kitchen units or
walls to ensure proper air
circulation. e dryer must never be installed behind
a lockable door, a sliding door or a door with a hinge
on the opposite side to that of the dryer door.
e appliance must be installed with the rear surface
placed against a wall.
VENTILATION
When the dryer is in use there has to be adequate ventilation to avoid
the back ow of gases into the room from appliances burning other
fuels, including open res.
e vent tube should not exceed 2.4 metres in length.
e tube should be kept clear of the air intake vent and kinks or
‘U’ bends must be avoided as these will obstruct the tube and trap
condensation.
VENTING
Wall mounting
Keep the tube as short and as straight as
possible to prevent condensation forming
in the vent pipe.
e duct in the wall should slope slightly
downwards.
Mounting
e hole should be as low down as possible
and the tube should be kept as short as
possible. Depending on how oen you use your tumble dryer, it is
essential that areas A and B are checked periodically to remove lint or
debris. Make sure that the ventilation hose, air inlet vents, and outlets are
not obstructed or blocked.
is symbol reminds you to read this booklet.
B
A
Venting
e end of the tube should be directed downwards, to prevent warm
moist air from condensing in the room or dryer.
Do not discharge exhaust air into a ue which is used for exhaust
fumes from other appliances that burn gas or other fuels.
Do not discharge exhaust air into an extraction system or any duct with
an extractor fan. is will aect the way the thermal controls operate
and can result in a re hazard.
ELECTRICAL CONNECTIONS
e socket must be grounded. e power supply cord
should be checked periodically. If the supply cord is
damaged, it must be replaced by the manufacturer, its
service agent or similarly qualied persons in order to
avoid a hazar
LEVELLING YOUR DRYER
e dryer must be installed level for correct operation. When you have
installed your dryer in its nal location check that it is rst level side to
side and then back to front.
If the dryer is not level use a wooden block
to support it while adjusting the two front
legs up or down until your dryer is level.
BEFORE YOU START
USING YOUR DRYER
Once you have installed your
dryer and before you use it clean the inside of the drum
to remove any dust that could have accumulated during
transport.
Air intake vent
Do not block or obstruct
Caution: Hot!
Vent Tube tted here
Instruction booklet
TUMBLE DRYER
Our ideas. Your home.
Our ideas. Your home.
ITEMS NOT SUITABLE FOR TUMBLE
DRYING
1. Articles that contain rubber or rubber-like materials or plastic lm,
any ammable articles or objects that contain ammable substances.
2. Glass bres.
3. Items which have been dry cleaned.
4. Large bulky items (quilts, sleeping bags, etc). ese expand when
drying and prevent airow through the dryer.
Power Consumption
O-mode (Po) - Watts N/A
Left-on mode (Pl) - Watts N/A
Programmes Kg kWh Minutes
Standard Cotton*
6 3.98 110
Standard Cotton
3 2.08 63
Synthetics 3 1.11 40
*This is the reference programme for the energy
label and suitable to dry normal wet cotton laundry.
This is the most ecient programme in terms of
energy consumption for drying wet cotton laundry.

Warnings
! is appliance has been designed and built according to
international safety standards. ese warnings are given for
safety reasons and must be followed carefully.
GENERAL SAFETY
is appliance can be used by children aged from 8
years and above and persons with reduced physical,
sensory or mental capabilities or lack of experience
and knowledge if they have been given supervision
or instruction concerning use of the appliance in a
safe way and understand the hazards involved.
is tumble dryer has been designed for home, and
not professional, use.
Do not touch the appliance while barefoot or with
wet hands or feet.
Unplug the machine by pulling on the plug, not the
cord.
Children should be supervised to ensure that they
do not play with the dryer.
Cleaning and user maintenance shall not be made
by children without supervision.
Children of less than 3 years should be kept away
from the appliance unless continuously supervised.
e appliance must be installed correctly and have
proper ventilation. e air intake vents behind the
machine, the outlet vents and the vent tube should
never be obstructed
Never direct the vent tube outlet towards the air
intake at the back of the machine.
Never allow the tumble dryer to recycle exhaust air.
Never use the dryer on carpeting where the pile
height would prevent air from entering the dryer
from the base.
Check to see if the dryer is empty before loading it.
e back of the dryer could become very hot.
Never touch it while in use.
Do not use the dryer unless the lter is securely in
place
Do not overload the dryer
Do not load items that are dripping wet.
Carefully check all instructions on clothing labels
Do not tumble dry large, very bulky items.
Do not tumble dry acrylic bres at high
temperatures.
Do not turn o the dryer when there are still warm
items inside.
Clean the lter aer each use
Do not allow lint to collect around the dryer.
Never climb on top of the dryer. It could result in
damage.
Always follow electrical standards and requirements
Always buy original spare parts and accessories
To minimise the risk of re in your tumble dryer,
the following should be observed:
Tumble dry items only if they have been washed
with detergent and water, rinsed and been through
the spin cycle. It is a re hazard to dry items that
HAVE NOT been washed with water.
Do not dry garments that have been treated with
chemical products.
Do not tumble dry items that have been spotted
or soaked with vegetable or cooking oils, this
constitutes a re hazard. Oil-aected items can
ignite spontaneously,especially when exposed to heat
sources such as a tumble dryer. e items become
warm, causing an oxidisation reaction with the oil,
Oxidisation creates heat. If the heat cannot escape,
items can become hot enough to catch re. Piling,
stacking or storing oil-eected items can prevent
heat from escaping and so create a re hazard.If it
is unavoidable that fabrics containing vegetable or
cooking oil or those that have been contaminated with
hair care products be placed in a tumble dryer they
should rst be washed with extra detergent - this will
reduce, but not eliminate the hazard. ey should not
be removed from the dryer and piled or stacked while
hot.
Do not tumble dry items that have previously been
cleaned in or washed in, soaked in or soiled with
petrol/gasoline, dry cleaning solvents or other
ammable or explosive substances. Highly ammable
substances commonly used in domestic environments
including cooking oil, acetone, denatured alcohol,
kerosene, spot removers, turpentine, waxes and wax
removers. Ensure these items have been washed in hot
water with an extra amount of detergent before being
dried in the tumble dryer.
Do not tumble dry items containing foam rubber
(also known as latex foam), or similarly textured
rubber like materials. Foam rubber materials
can, when heated, produce re by spontaneous
combustion.
Fabric soener or similar products should not be
used in a tumble dryer to eliminate the eects of
static electricity unless the practice is specically
recommended by the manufacturer of the fabric
soener product.
Do not tumble dry undergarments that contain metal
reinforcements eg. bras with metal reinforcing wires.
Damage to the tumble dryer can result if the metal
reinforcements come loose during drying.
Do not tumble dry rubber, plastic articles such as
shower caps or babies waterproof covers, polythene or
paper.
Do not tumble dry rubber backed articles, clothes
tted with foam rubber pads, pillows, galoshes and
rubber coated tennis shoes.
Remove all objects from pockets such as lighters and
matches.
WARNING: Never stop the dryer before the end of
the drying cycle unless all items are quickly removed
and spread out so that the heat is dissipated.
Fire Hazard
!
Use a Flexible metal vent tube.
Do not use a plastic vent tube.
Do not block or obstruct the tube in installation.
Failure to follow these instructions can result in
death or fire.
ARNING
W

Dryer Description
e TIMER knob sets the drying time: rotate it clockwise, NEVER
COUNTER-CLOCKWISE, until the indictor is pointing to the drying
time you want to select.
CHOOSING A PROGRAMME
1. Plug the dryer into the electrical socket.
2. Sort your laundry according to fabric type.
3. Open the door and make sure the lter is clean and in place.
4. Load the machine and make sure items are not in the way of the door
seal. Close door.
5. Set the temperature with the HEAT button. High heat for Cotton
and synthetics. Low heat for delicates and acrylics.
6. Select a drying time by rotating the TIMER knob clockwise.
e tables below show APPROXIMATE drying times in minutes.
Weights refer to dry garment weights.
7. Press the START button to begin. During the drying programme,
you can check on your laundry and take out items that are dry while
others continue drying. When you close the door again press the
START button in order to resume drying.
8. About 10 minutes before the programme is completed it enters the
nal COOL TUMBLE phase (fabrics are cooled) which should always
be allowed to complete.
9. Open the door, take the laundry out, clean the lter and
replace it.
10. Unplug the dryer.
Control panel
Standard Cotton - High (full) Heat
isis the most ecient program in terms of energy consumption
(EU 392/2012). To reach maximum eciency, select the highest
temperature option.
Drying times 800-1000rpm spin in washing machine
1-2kg 3-4kg 5-6kg
20-45mins 45-70mins 70-100mins
Synthetics - High (full) Heat
Drying times on reduced spin in washing machine
1kg 2kg 3kg
20-30mins 35-45mins 45-60mins
Acrylics - Low (gentle) Heat
Drying times 800-1000rpm spin in washing machine
1kg 2kg
25-40mins 40-60mins
Laundry
Natural bres: 6kg max Synthetic bre: 3kg max
WASH CARE LABELS
Look at the labels on your garments when tumble drying. e following
symbols are the most common.
May be tumble dried
Do NOT tumble dry
Tumble dry at high heat setting
Tumble dry at low heat setting
Cleaning the lter aer
each cycle
20
30
40
50
60
70
80
100
110
120
130
0
TIMER
Knob
Indicator
HEAT
Button
START
Button
e HEAT button selects drying temperature.
OUT: LOW heat IN: HIGH heat.
e TIMER knob:: the 0 position swithes o the dryer.
Clean the lter once drying is
completed.
Step 1
Open the door of your dryer
Step 2
Pull out the lter (using the two
nger grips)
Step 3
Clean the u o the lter and
replace it correctly.
Ensure that the lter is pushed
fully home.
Step 4
Make sure the lter is pushed fully home.
NEVER run the dryer without the lter in position.
Failure to clean the lter aer EVERY drying cycle
will aect the drying performance of your machine.
It will take longer to dry and as a result will use more
electricity during drying.
At least every two or three months you MUST clean
u build up around the lter housing and the vent
tube.
Check the vent tube and any permanent venting
xture to make sure that there has been no
accumulation of u or lint. Remove lint that
collects around the lter and the outlet vents.
DISPOSAL OF OLD ELECTRICAL APPLIANCES
e European Directive 2012/19/EC on Waste Electrical and Electronic Equipment (WEEE) requires that old household electrical appliances
must not be disposed of in the normal unsorted municipal waste stream. Old appliances must be collected separately in order to optimise the
recovery and recycling of the materials they contain and reduce the impact on human health and the environment.
e crossed out “wheeled bin” symbol on the product reminds you of your obligation that when you dispose of the appliance it must be
separately collected. Consumers should contact their local authority or retailer for information concerning the correct disposal of their old
appliance.
19511812606
01/2020
Repairs and After Sales
For product help and advice, repairs, spare parts or
accessories, we’re here to help.
For local repair engineers - 03448 111 606
ROI - 0818 313 413
UK standard local rate applies
ROI local Irish rate applies
For Parts and Accessories visit:
parts.hotpoint.co.uk/shop
Please remember to register your appliance at
www.hotpointservice.co.uk
to activate your 10 year parts guarantee.
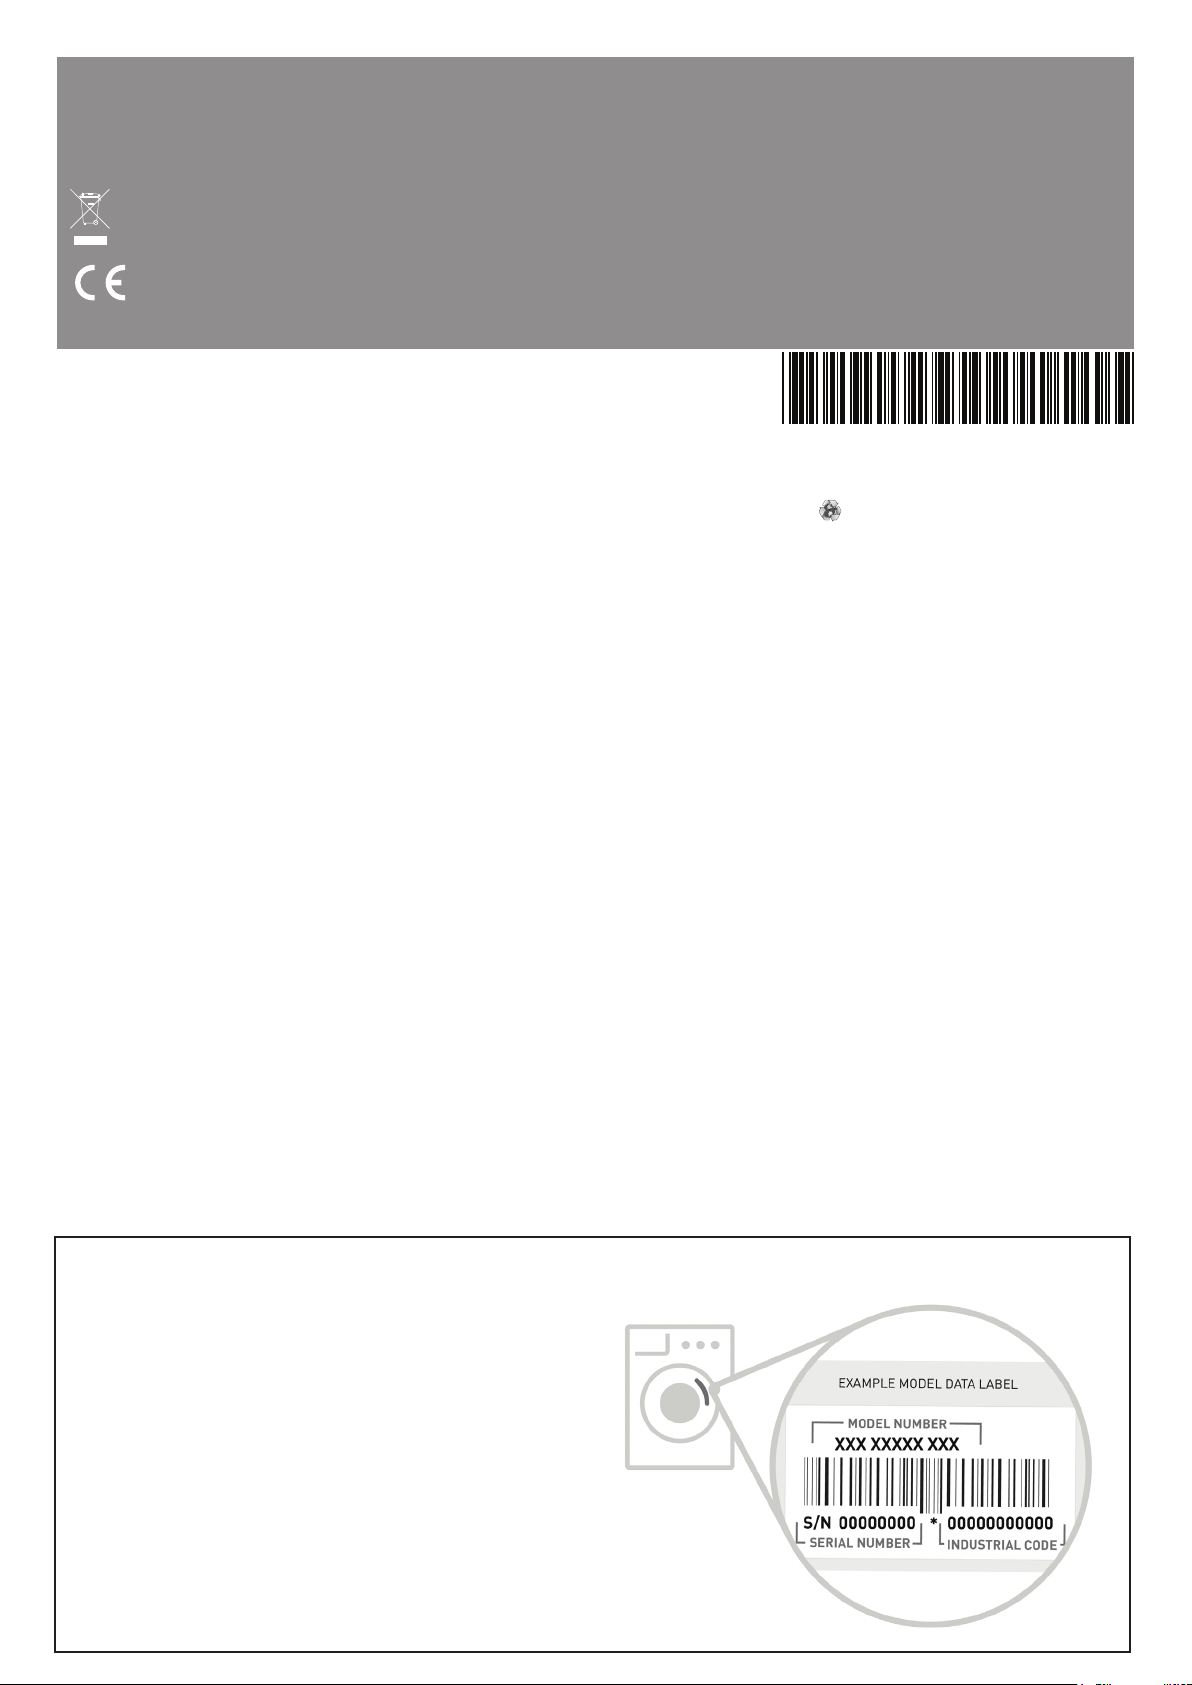
How to find your model and serial number:
OUR ADVISORS WILL REQUIRE THE
FOLLOWING INFORMATION:
• name, address and postal
code
• telephone number
• type of malfunction
• date of purchase
• model number
• serial number
• is information can be
found on the data plate
located behind the door.
INFORMATION ON RECYCLING
AND DISPOSAL
As part of our continual commitment towards environmental
protection, we reserve the right to use recycled quality components to
reduce costs for our customers and to minimise materials wastage.
• Disposing of the packaging materials: follow local regulations to allow
for recycling of packaging materials.
• In order to minimise the risk of injury to children, remove the door
and plug, then cut the power supply cord ush with the appliance.
Dispose of these parts separately to prevent the appliance from being
connected to a power supply socket.
SAVE ENERGY AND RESPECT
THE ENVIRONMENT
Wring out all items to eliminate excess water before tumble drying (if
you use a washing machine rst, select a high spin cycle). Doing this will
save time and energy during drying.
Always dry full loads - you save energy: single items or small loads
take longer to dry. Clean the lter aer each use to contain energy
consumption costs
Troubleshooting
Before you call the service centre go through the following
troubleshooting suggestions:
PROBLEM:
e dryer won’t start.
POSSIBLE CAUSES/SOLUTION:
• e plug is not in the socket or making contact.
• ere has been a power failure.
• e fuse has blown. Try to plug another appliance into the socket.
• You are using an extension cord? Try to plug the dryer directly into the
socket.
• e timer knob has not been set properly.
• e start button has not been pressed.
• e start button was pressed with the door open. Make sure the door
is closed before pressing the start button.
PROBLEM:
It is taking a long time to dry.
POSSIBLE CAUSES/SOLUTION:
• e lter has not been cleaned.
• e temperature setting is not correct.
• e correct time has not been selected.
• e vent tube or air intake vent is obstructed.
• e items were too wet.
• e dryer was over loaded.