Loading ...
Loading ...
Loading ...
16
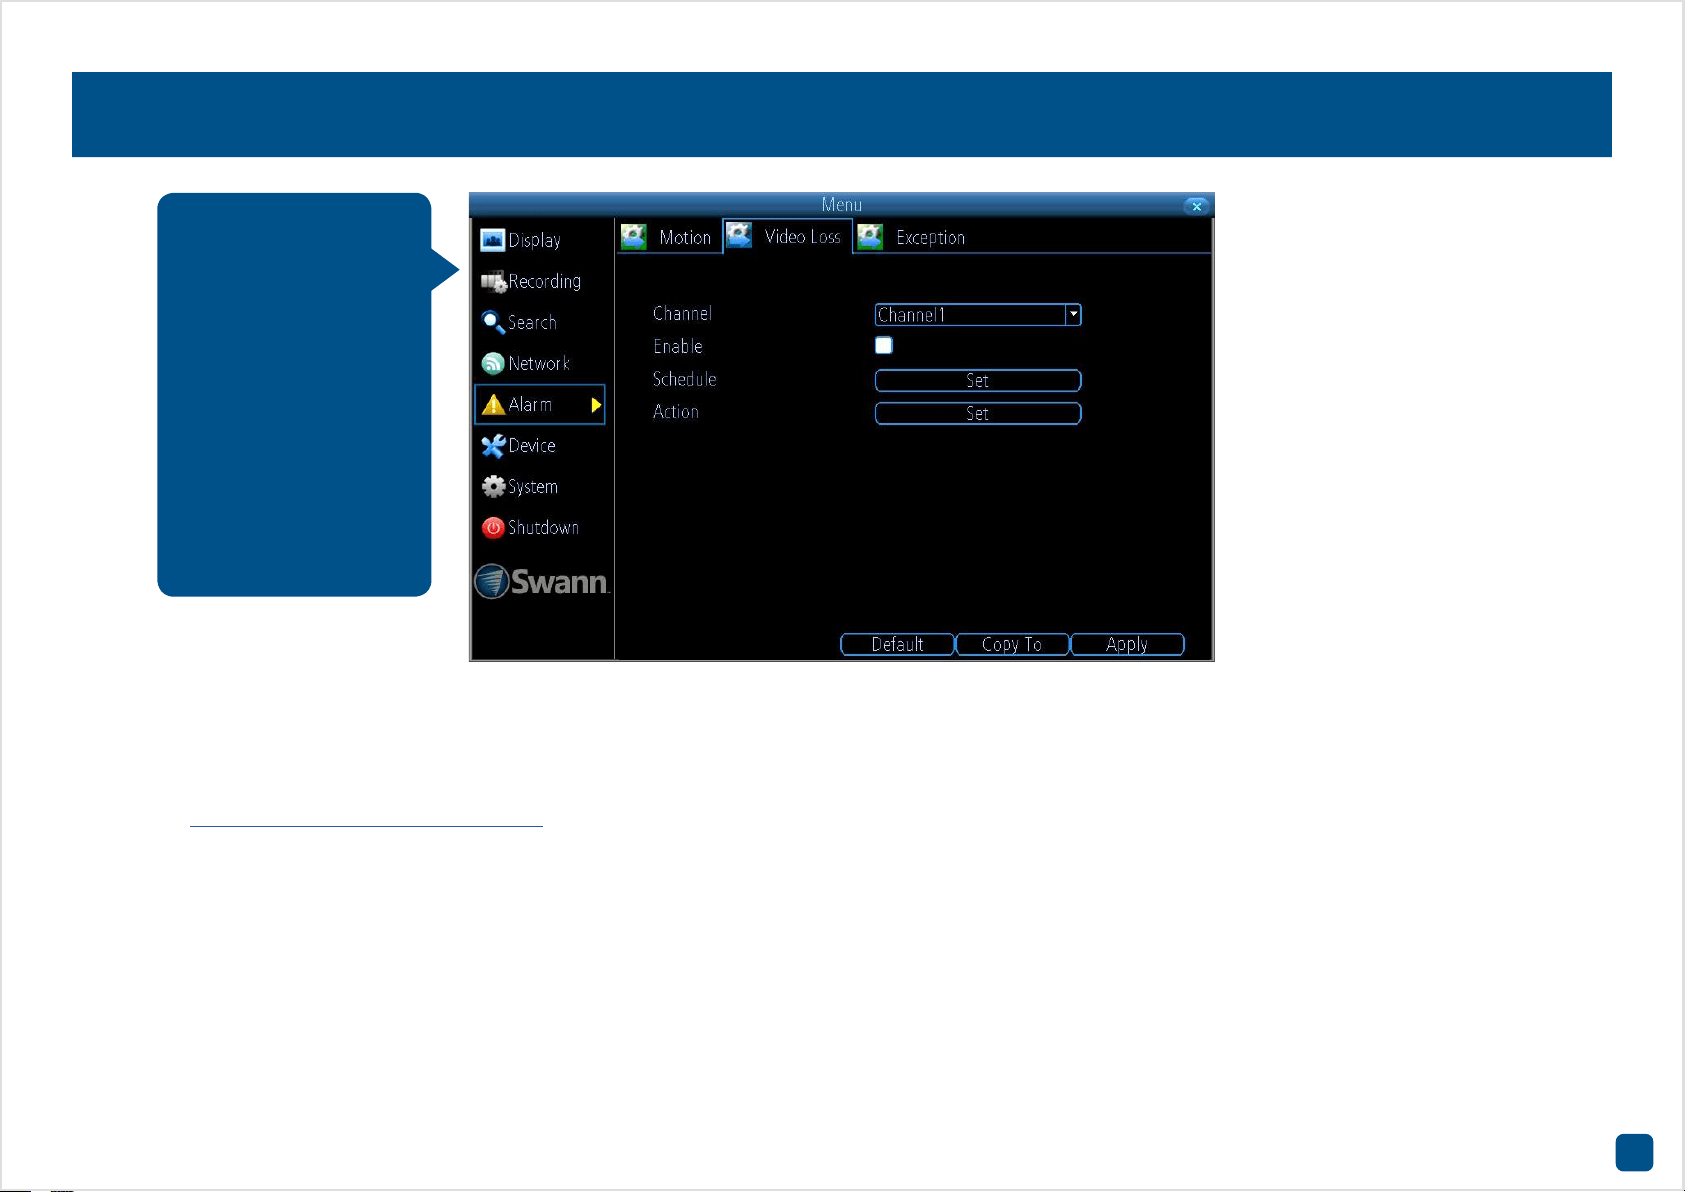
Alarm: Video Loss
Channel: Select a camera that you would like to configure.
Enable: Click the checkbox to enable.
Schedule: Click the “Set” button to change the default Video Loss alarm
schedule - see page 17 for more information.
Action: Click the “Set” button to enable an audio warning and to send
an email.
• Click the “Default” button to revert back to default settings.
• Use the “Copy to” button to apply all settings to the other cameras.
• Don’t forget to click “Apply” to save settings.
• Right-click the mouse to exit the Menu.
Video Loss is regarded
as a potential alarm
event and is consid-
ered to occur any time
the DVR doesn’t re-
ceive an active video
signal from any of its
video inputs. When a
video input has no in-
coming signal, a “VID-
EO LOSS” message
will appear on-screen.
Loading ...
Loading ...
Loading ...