Loading ...
Loading ...
Loading ...
EN10
USING THE APPLIANCE FOR THE FIRST TIME - LANGUAGE SELECTION AND SETTING
THE TIME
For correct use of the oven, when it is switched on for the first time you will have to select the desired
language and set the correct time.
Proceed as follows:
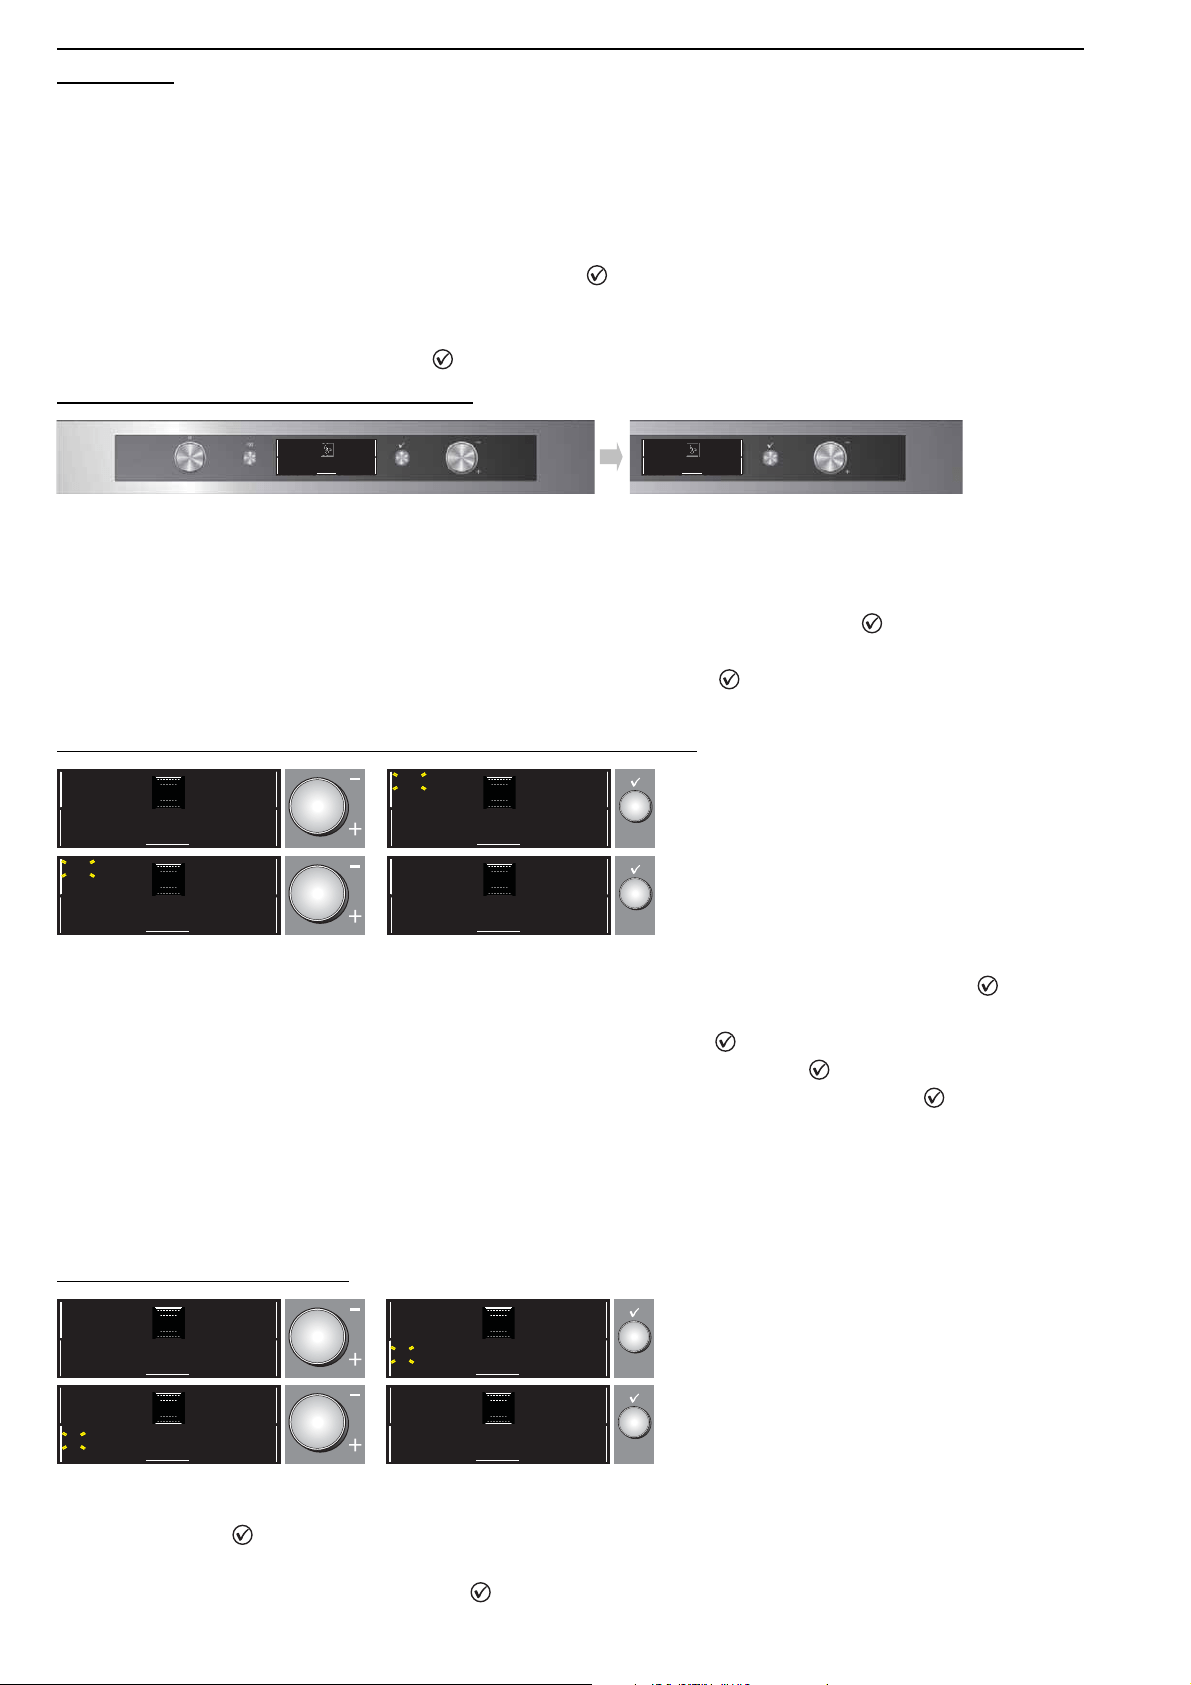
1. Turn the “Functions” knob to any position: the display will show the list of the first three available
languages.
2. Turn the “Browse” knob to scroll the list.
3. When the desired language is highlighted, press to select it.
After language selection, the display will flash 12:00.
4. Set the time by turning the “Browse” knob.
5. Confirm your setting by pressing .
SELECTING COOKING FUNCTIONS
1. If the oven is off, turn the “Functions” knob; the display will show the cooking functions or associated
submenus.
N.B.:for the list and description of functions, see the specific table at page16 and at page17.
2. Within the submenus, browse the various options available by turning the “Browse” knob: the chosen
function is highlighted in white in the centre of the screen. To select it, press .
3. the cooking settings are displayed on the screen. If the pre-set values are those desired, turn the
“Browse” knob to position the cursor at “Start” and then press ; otherwise, proceed as indicated
above to change them.
SETTING THE TEMPERATURE/OUTPUT OF THE GRILL
To change the temperature or output of the grill, proceed as follows:
1. Check that the cursor is positioned next to the temperature value (zone 3); press button to select
the parameter to be changed: the temperature values flash.
2. Set the desired value by turning the “Browse” knob and press to confirm.
3. Turn the “Browse” knob to position the cursor at “Start” and then press .
4. The display indicates which shelf food should be placed on. Do as instructed and press to start cooking.
The set temperature can also be changed during cooking by following the same procedure.
5. At the end of cooking, the end of cooking message is displayed. At this point the oven can be
switched off by turning the “Functions” knob to 0 (zero), or cooking can be prolonged by turning the
“Browse” knob clockwise. When switched off, the display shows the cooling bar which indicates the
temperature inside the oven.
PREHEATING THE OVEN
If you wish to preheat the oven before inserting food, change the oven’s default selection as follows:
1. Turn the “Browse” knob to position the cursor at preheating.
2. Press button to select the setting: “No” flashes on the display.
3. Change the setting by turning the “Browse” knob: the display shows “Yes”.
4. To confirm your choice, press button .
PREHEAT
Yes
TEMPERATURE
180°C
COOK TIME
END TIME
Convection Bake
--:--
--:--
Start
PREHEAT
Yes
TEMPERATURE
180°C
COOK TIME
END TIME
Convection Bake
--:--
--:--
Start
PREHEAT
No
TEMPERATURE
180°C
COOK TIME
END TIME
Conventional
--:--
--:--
Start
PREHEAT
No
TEMPERATURE
180°C
COOK TIME
END TIME
Conventional
--:--
--:--
Start
PREHEAT
No
TEMPERATURE
200°C
COOK TIME
END TIME
Conventional
--:--
--:--
Start
PREHEAT
No
TEMPERATURE
200°C
COOK TIME
END TIME
Conventional
--:--
--:--
Start
PREHEAT
No
TEMPERATURE
200°C
COOK TIME
END TIME
Conventional
--:--
--:--
Start
PREHEAT
No
TEMPERATURE
200°C
COOK TIME
END TIME
Conventional
--:--
--:--
Start
PREHEAT
Ye s
TEMPERATURE
200°C
COOK TIME
END TIME
Conventional
--:--
--:--
Start
PREHEAT
Ye s
TEMPERATURE
200°C
COOK TIME
END TIME
Conventional
--:--
--:--
Start
Loading ...
Loading ...
Loading ...