Owner's Guide Vacuum Cleaner
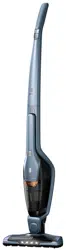
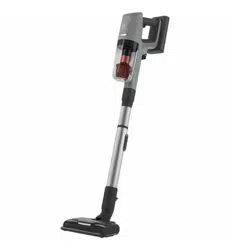
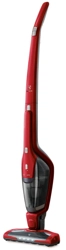
DESCRIPTION OF ERGORAPIDO®
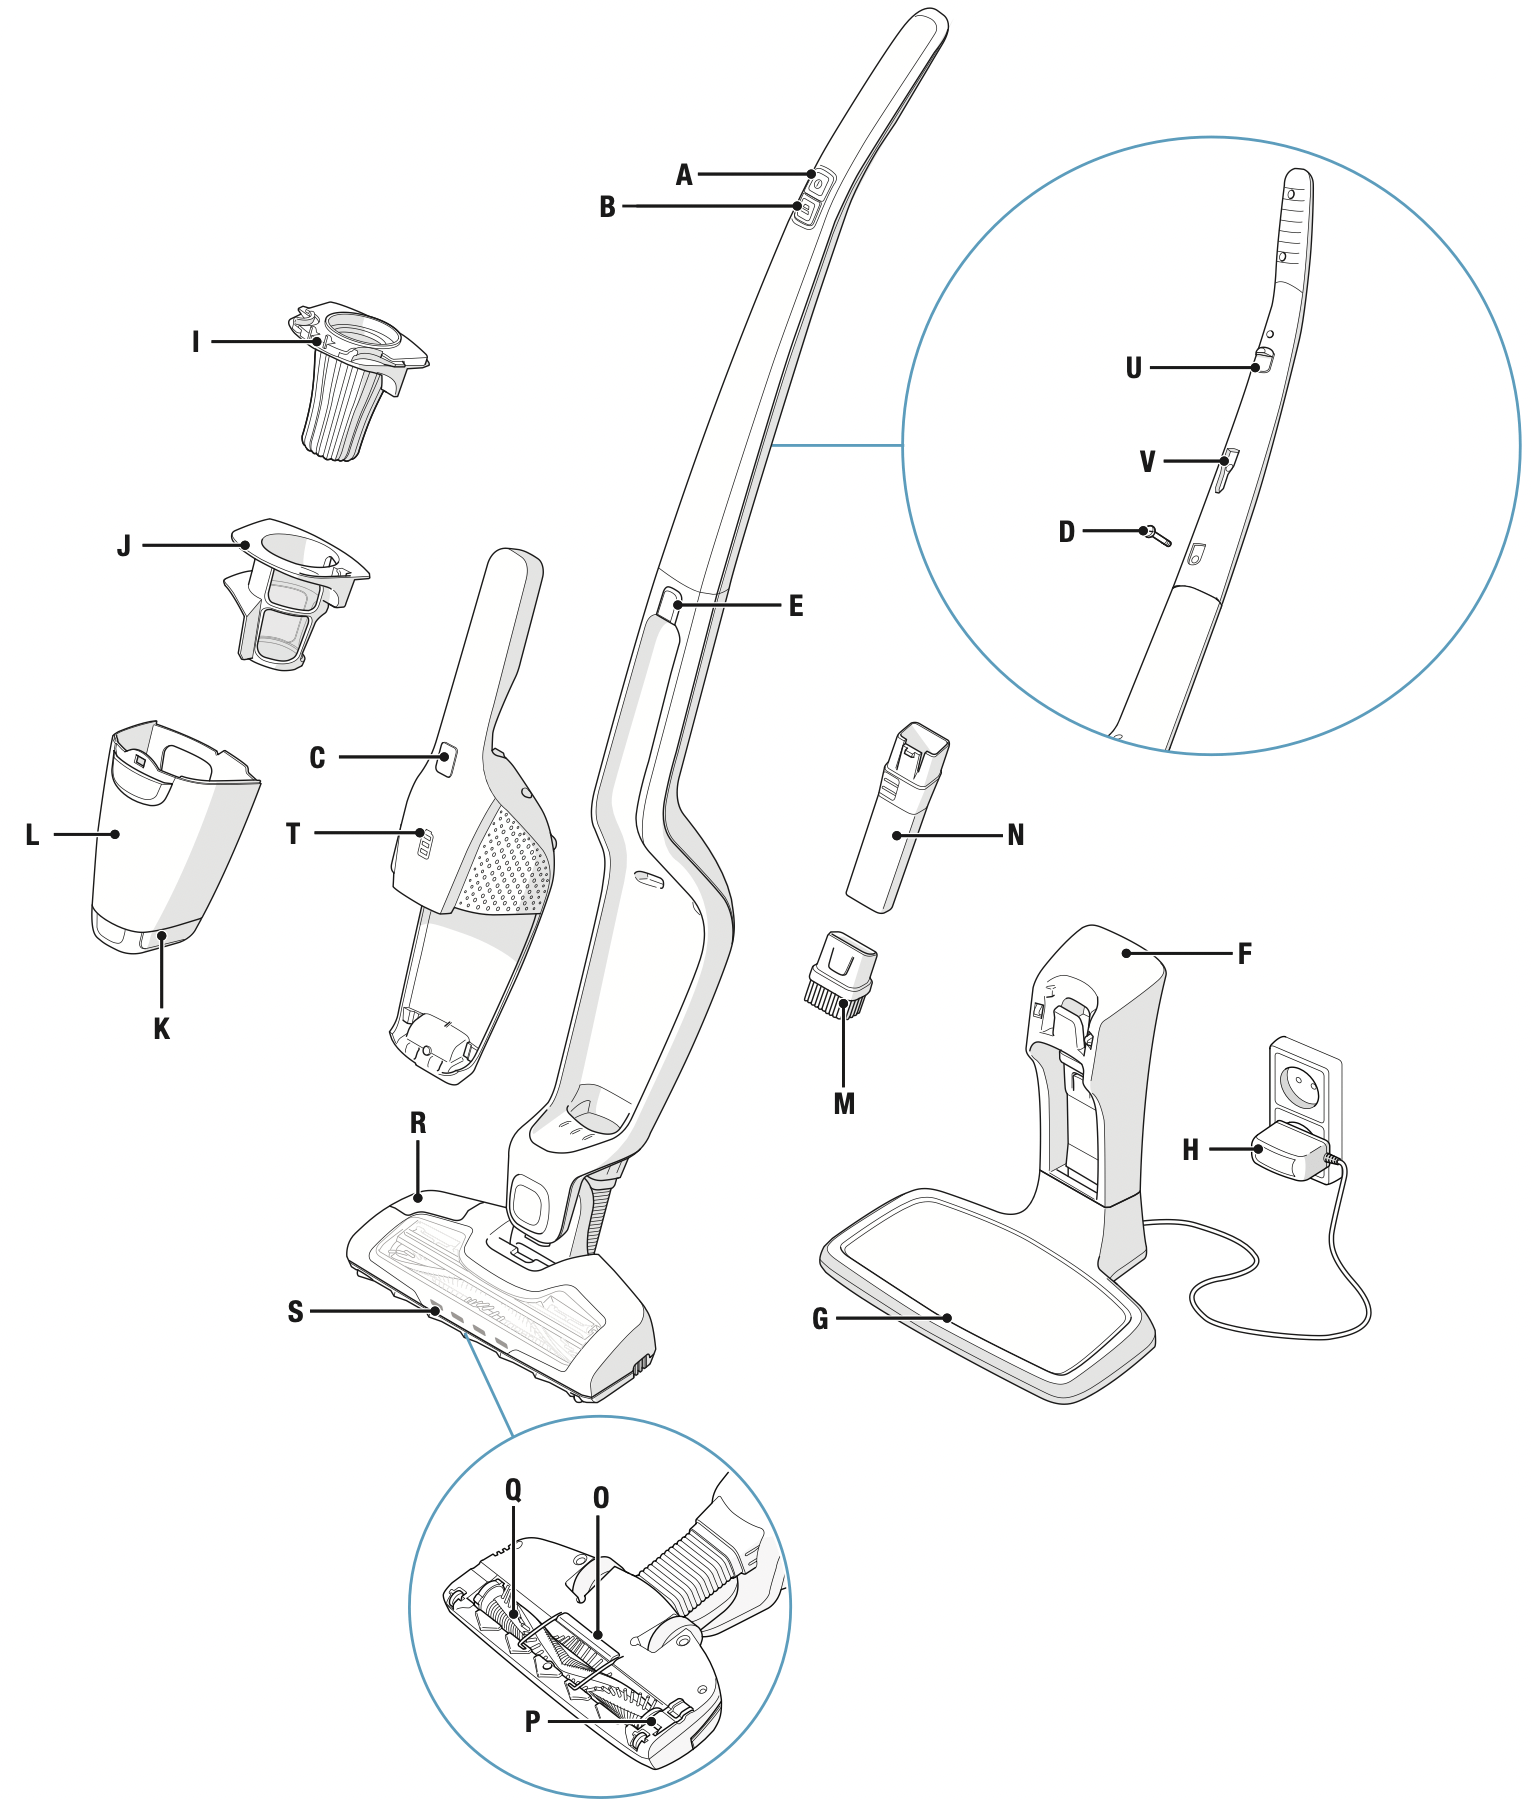
A. ON/OFF button
B. Power regulation button
C. ON/OFF button, hand unit
D. Locking screw
E. Release button, hand unit
F. Charging station, wall unit
G. Charging station, floor unit
H. Charging adapter
I. Fine filter (inner filter)
J. Pre filter (outer filter)
K. Release button, dust container
L. Dust container
M. Dusting brush
N. Crevice nozzle
O. Cable protector grill
P. Hatch cover for brush roll
Q. Brush roll
R. BRUSHROLLCLEAN® pedal
S. Nozzle front lights
T. Charging indicator
U. Cliff hanger
V. Slot for accessory storage
BEFORE STARTING
Check that the package includes all parts described in this instruction manual and read this manual carefully. Pay special attention to the safety precautions chapter. Save these instructions.
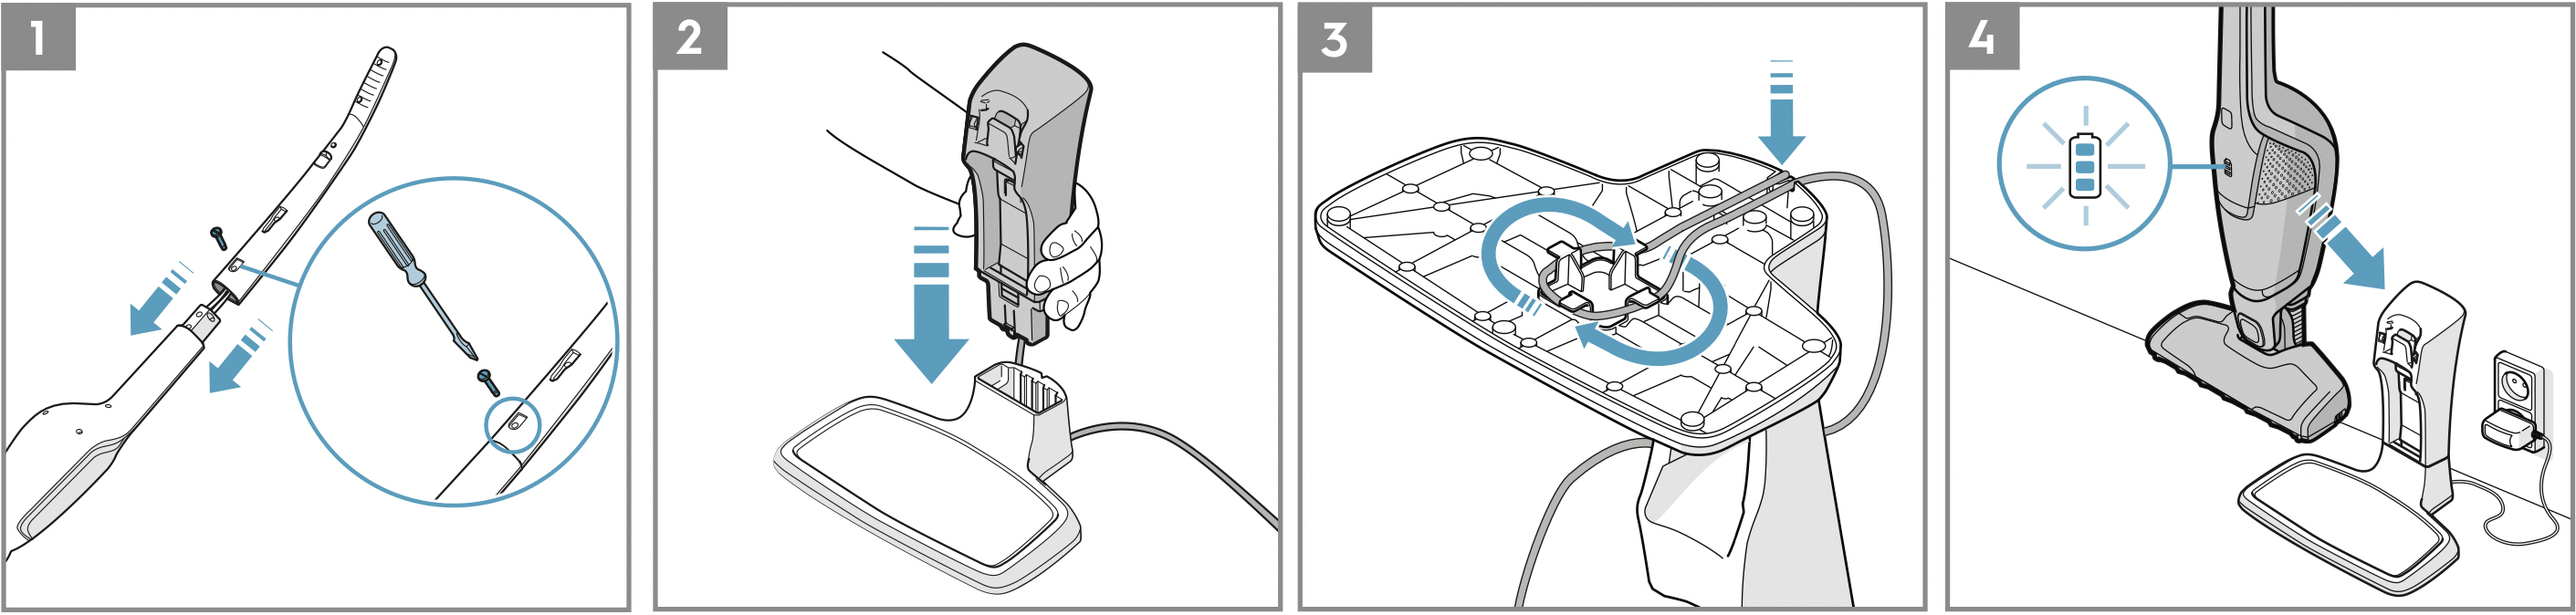
1. Assemble the handle.
2. Assemble the charge stand.
3. There is a hollow space in the bottom of the charging station where unused cable can be wound. Insert the adaptor into the mains and position the charging station on a stable and horizontal surface away from heat sources, direct sunlight or wet places.
4. The charging indicator will be lit when ERGORAPIDO ® is placed in the charging station.
CHARGING ERGORAPIDO®
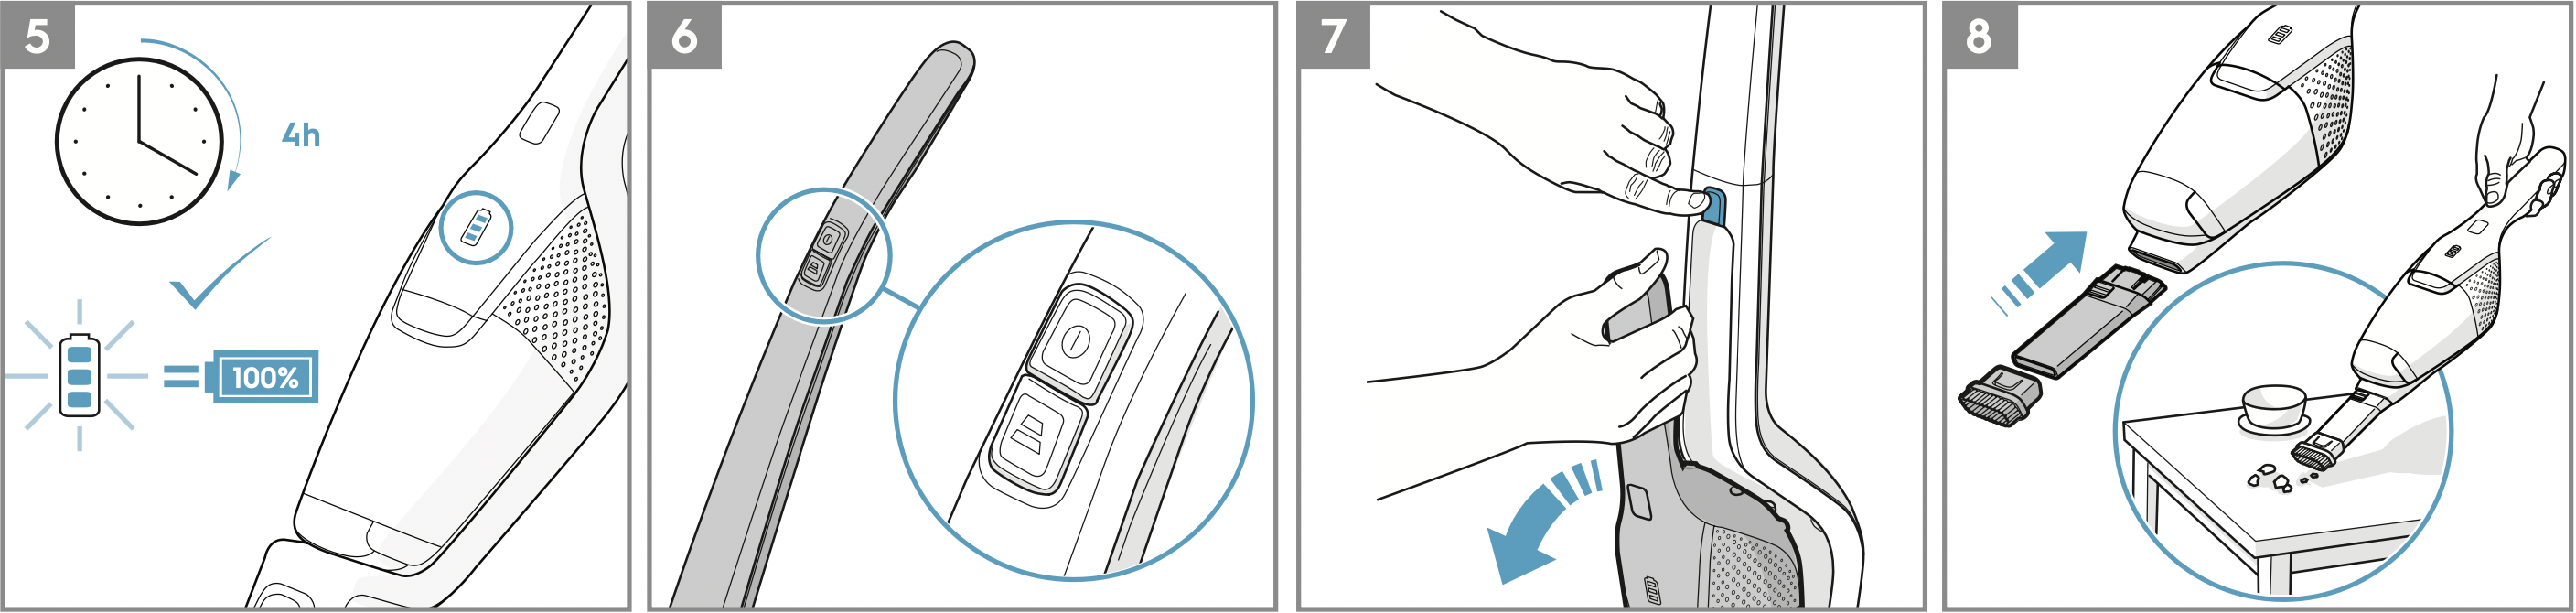
5. When fully charged, the charging indicator will blink slowly. The numbers of LED lamps will indicate the level of charge. Full charging time is around 4 hours. For better battery performance, charge ERGORAPIDO® for 24 hours before first use and always keep it on charge when not used.
VACUUMING WITH ERGORAPIDO®
Before vacuuming, check that the nozzle wheels and the brush roll are clean from sharp objects in order to avoid scratching sensitive floors and to ensure full cleaning performance.
6. Start and stop ERGORAPIDO ® by pushing the ON/OFF button. ERGORAPIDO ® will start on the high power mode. For more silent cleaning and longer runtime, press the power regulation button.
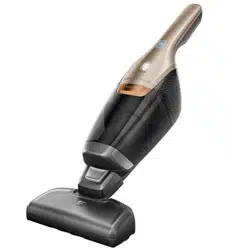
VACUUMING FURNITURE, CAR SEATS ETC.
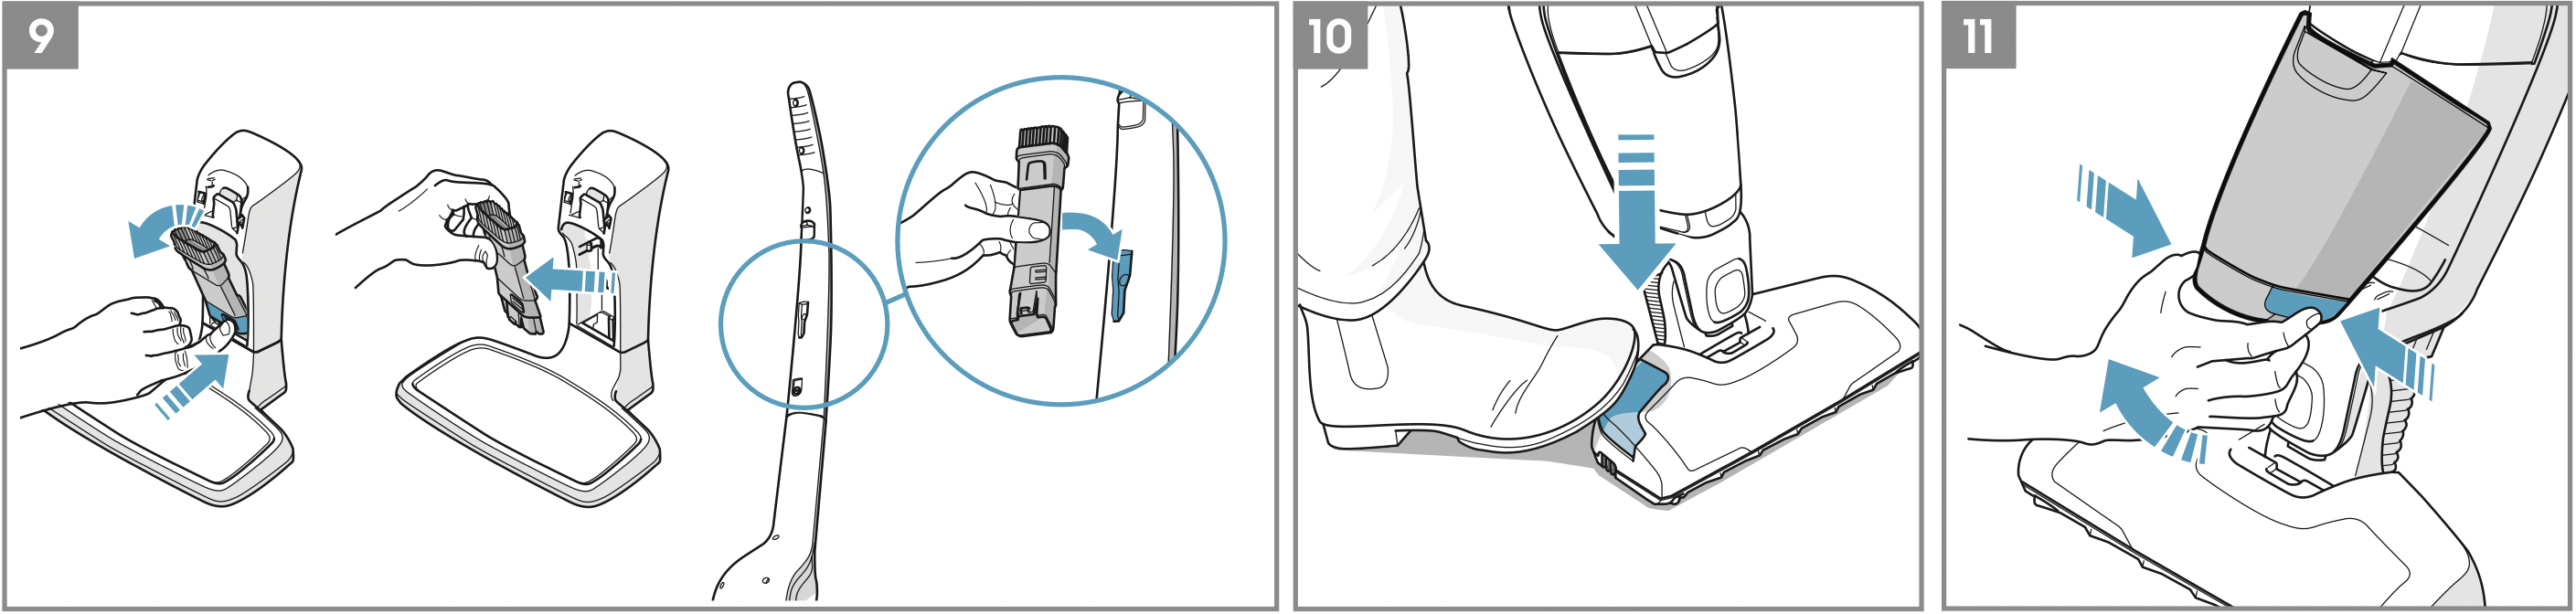
7. Press the button to release the hand unit from the main body.
8. Attach the crevice nozzle to facilitate cleaning of areas difficult to reach. Attach the brush on the crevice nozzle for dusting.
9. The crevice nozzle and small brush can be stored in the charging station or in the slot on the back side of the handle.
BRUSHROLLCLEAN® FUNCTION
Use the BRUSHROLLCLEAN® function to keep the brush roll clean and free from hair and fibres. For best results use the BRUSHROLLCLEAN® function when ERGORAPIDO® is fully charged.
10. Place ERGORAPIDO ® on a hard and flat surface. Do not use the BRUSHROLLCLEAN ® function on carpets.
Press the BRUSHROLLCLEAN ® pedal with your foot while the cleaner is on. Hold for 5 seconds until hairs and fibres are removed. There will be a cutting noise during this process, this is normal. If hairs remain on the brush roll, repeat the process.
The BRUSHROLLCLEAN ® function is equipped with an overheating protection. If the BRUSHROLLCLEAN ® function has been used for more than 30 seconds (constant or interrupted) it will deactivate the brush roll and turn off the nozzle front lights. The vacuum cleaner can still be used, even when the BRUSHROLLCLEAN ® function is deactivated. To reactivate the BRUSHROLLCLEAN ® function, place ERGORAPIDO ® on charge and charge for 15 minutes.
Please note that the BRUSHROLLCLEAN® function might not be able to remove thicker threads or wires that are caught in the brush roll.
EMPTYING OF THE DUST CONTAINER
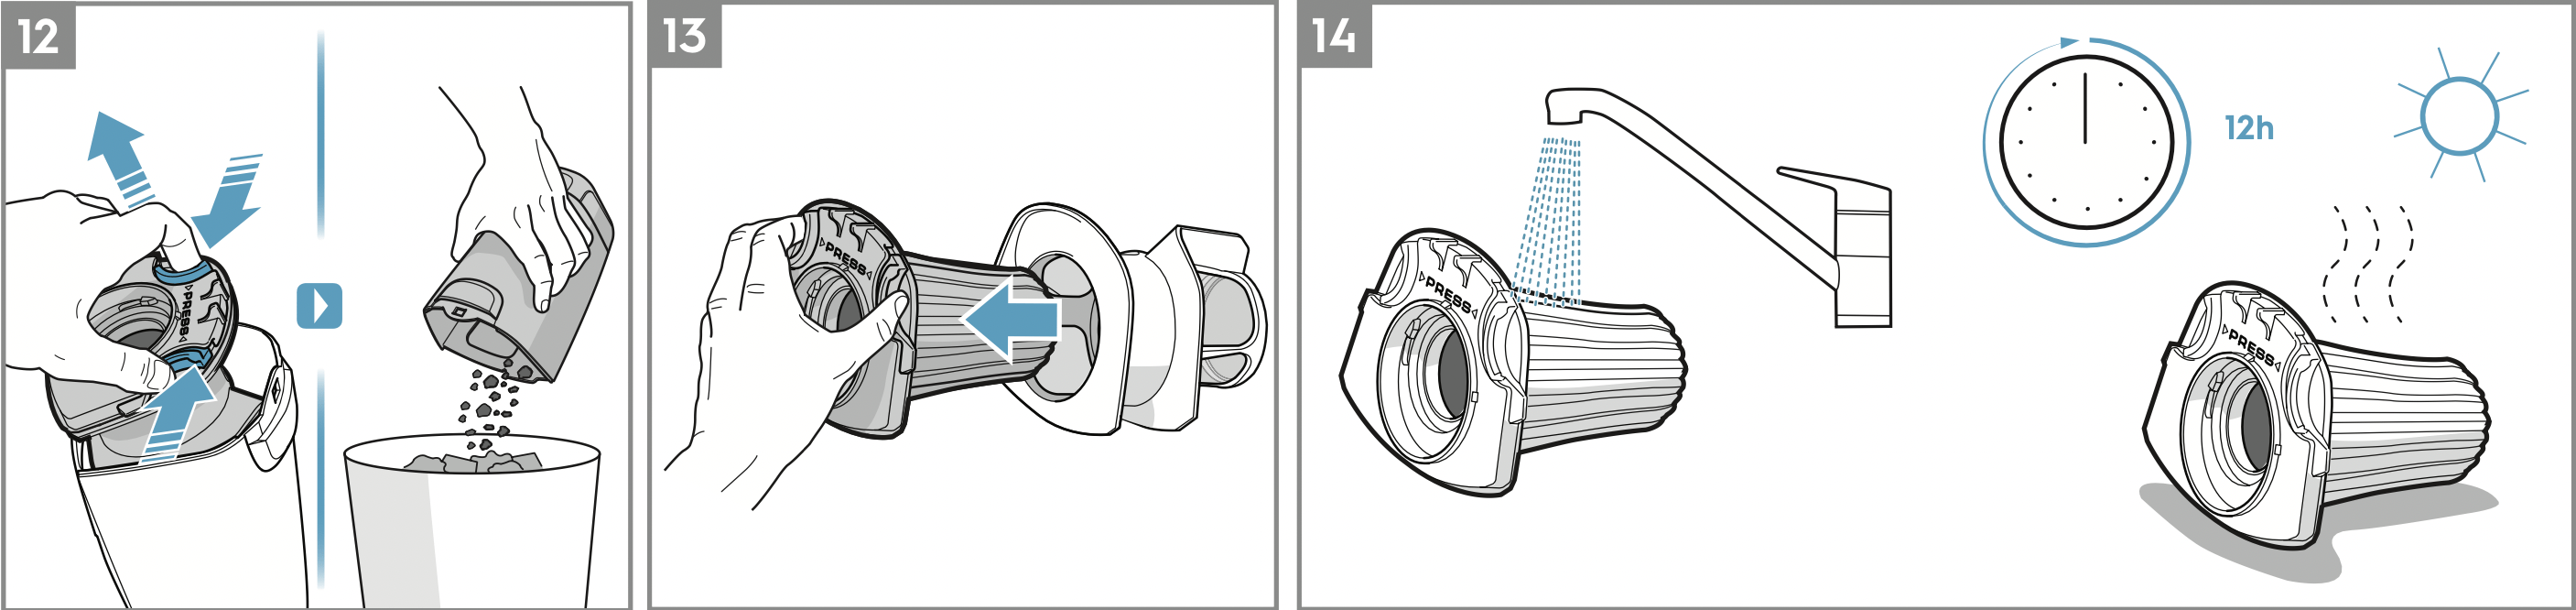
11. Remove the dust container by pressing the buttons.
12. Take out the filters from the dust container by pressing the release buttons. Empty the contents into a dustbin. Never wash the dust container or filters in a dishwasher.
IMPORTANT - FILTER CLEANING!
13. The filters must be cleaned at regular intervals to ensure a high cleaning performance. Take out the filters by pressing the release buttons. Separate the inner filter from the outer filter.
14. Rinse the filter parts carefully under lukewarm water without using any detergents. (Never use the dishwasher or washing machine.) Shake to remove excess water and leave to dry minimum 12h before putting them back into the cleaner.
CLEANING THE HOSE AND NOZZLE WHEELS
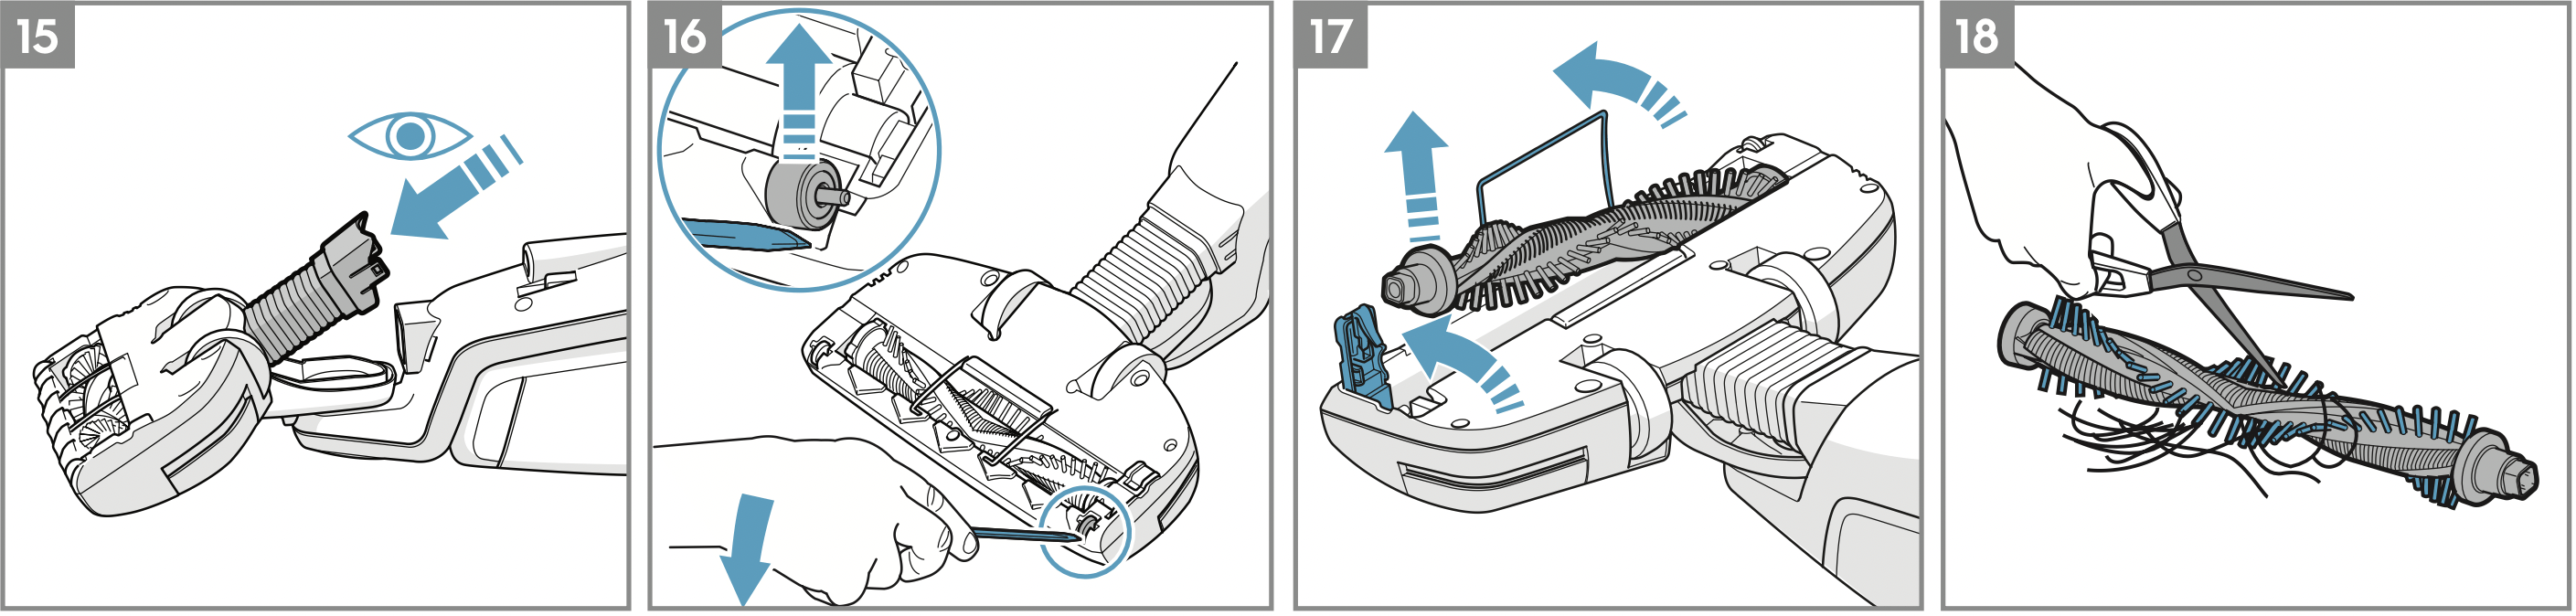
15. Loosen the hose behind the nozzle from its upper connection. Remove any object or debris that can be blocking the airflow in the hose or in the air channel to the dust cup, and put the hose back.
16. If the wheels need to be cleaned or get jammed, remove them carefully by using a flat screwdriver.
REMOVING AND CLEANING THE BRUSH ROLL
17. If the brushroll gets blocked ERGORAPIDO® will stop. Open the cable protector grill and the brush roll hatch cover and remove the brush roll.
18. Us e a pair of scissors to remove threads etc. Reassemble the brush roll, making sure it can spin freely.
REMOVING THE BATTERIES FOR RECYCLING
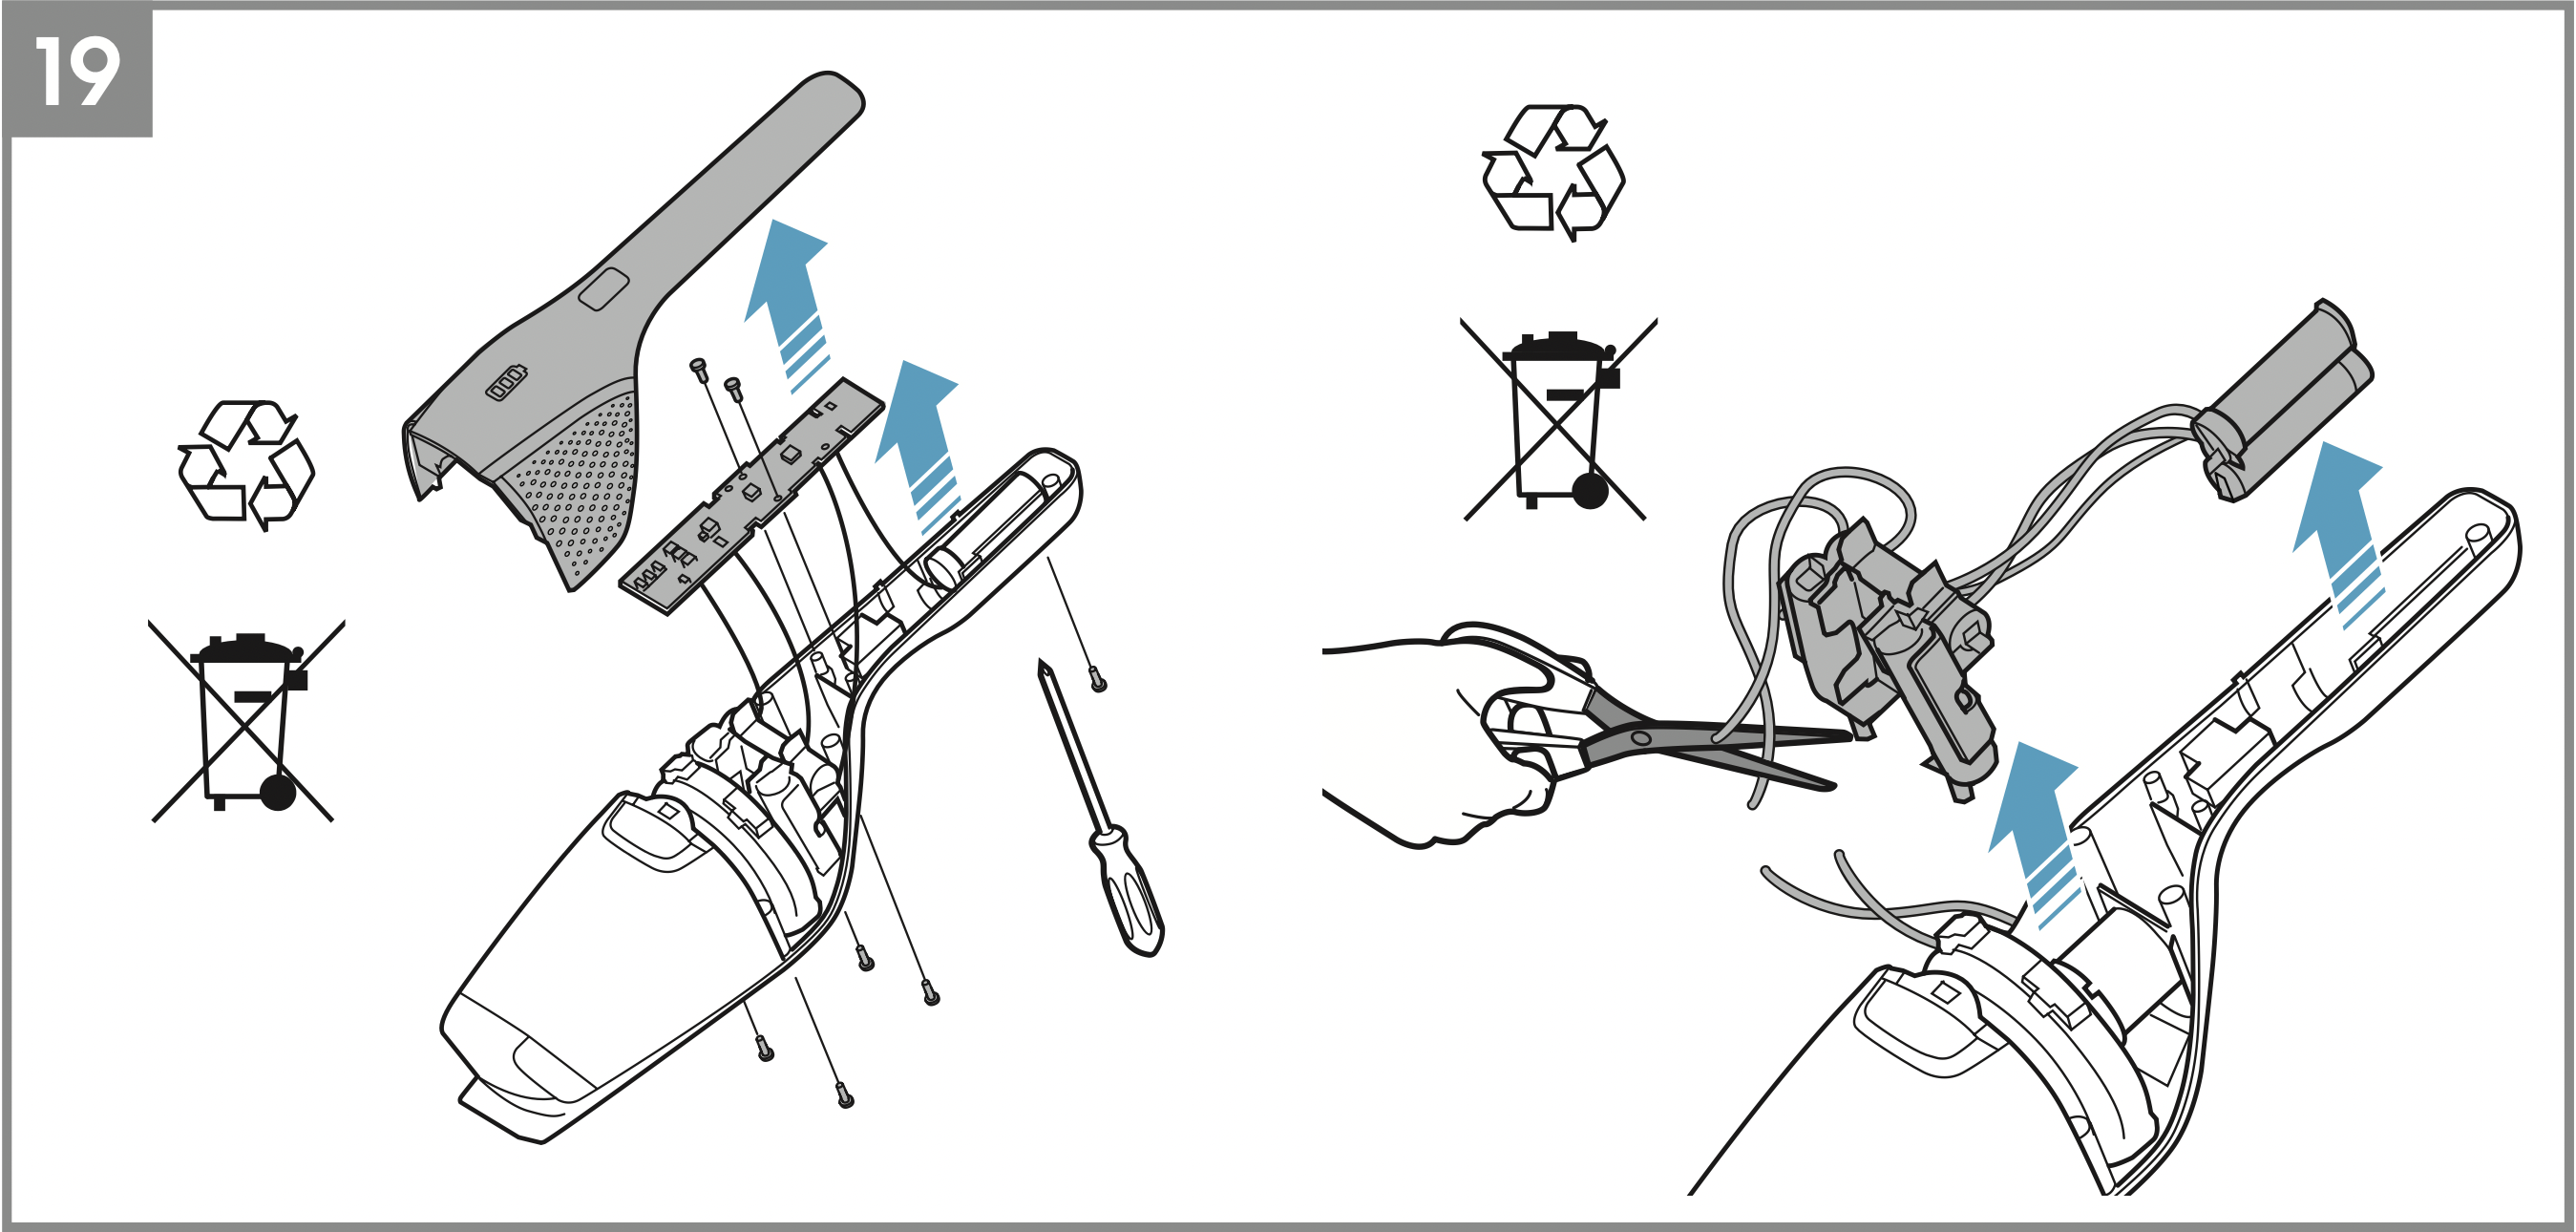
Warning: Battery removal must only be done by an Electrolux service center or official collection point!
19. Only remove batteries if the product is to be scrapped. Improper handling of the batteries may be hazardous. Batteries should always be completely discharged before removal. Take your product to an Electrolux service center or official collection point for recycling. They can remove and recycle the battery and electric parts in a safe and professional way. Follow your country’s rules for collection of rechargeable batteries and electrical products.