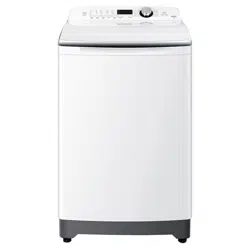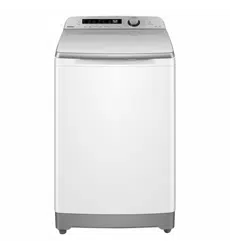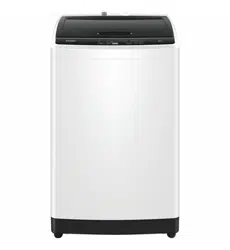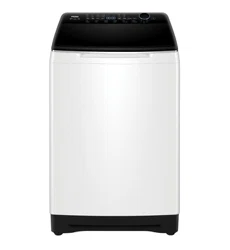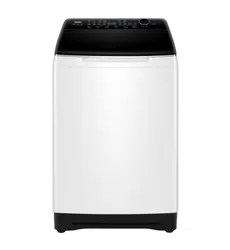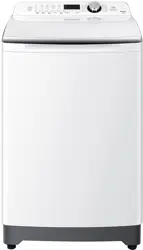

MODEL: HWT90MW1
TOP LOAD FULLY AUTOMATIC WASHING MACHINE
OWNER’S MANUAL
Please read this manual carefully before
operating your washing machine.and retain
it for future reference.
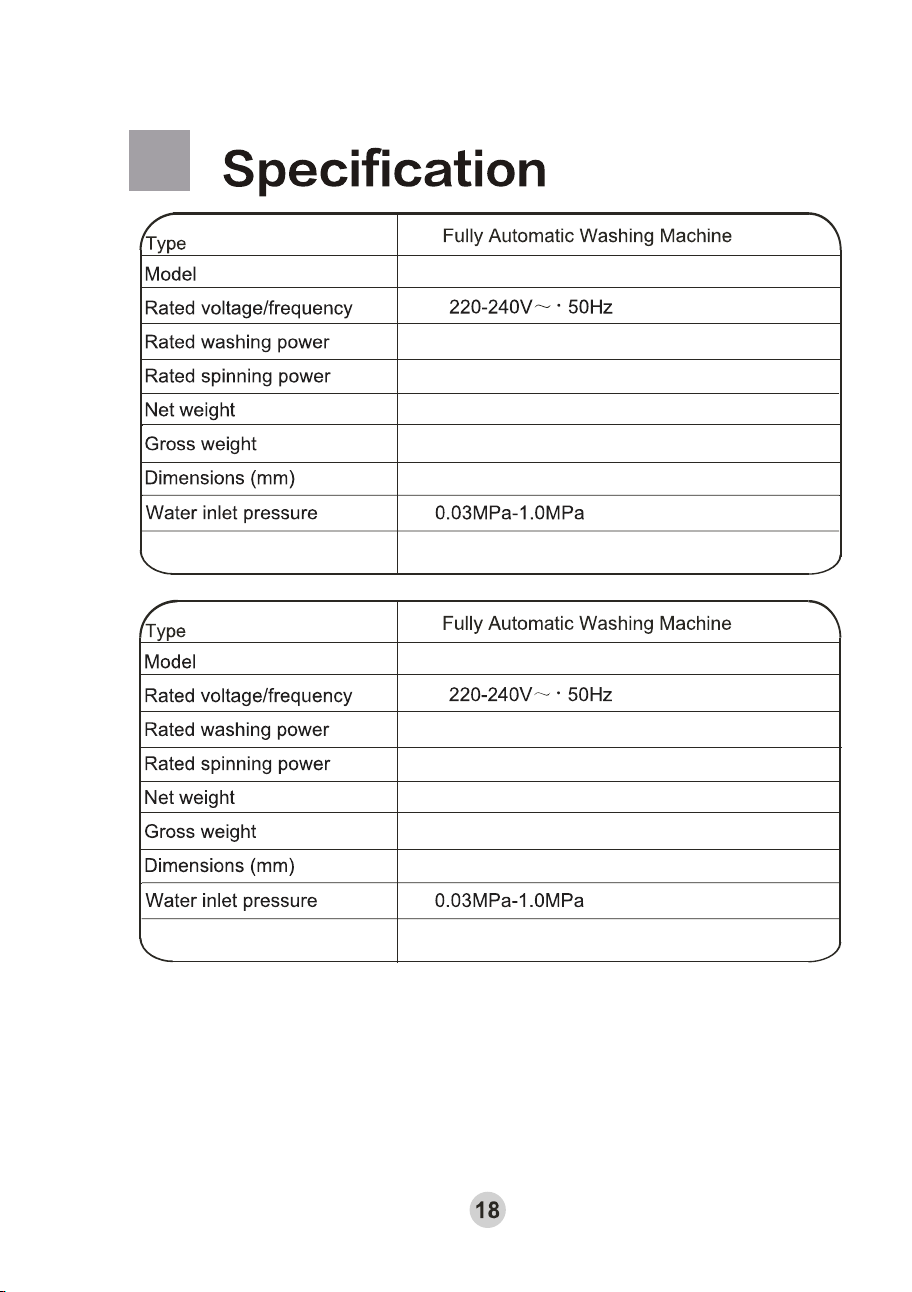
HWT80MW1
W 580 D 590 H 1010
350W
470W
41kg
46kg
Rated Washing capacity
8.0kg
HWT80MW1
W 580 D 590 H 1010
350W
470W
42kg
47kg
Rated Washing capacity
9.0kg
HWT90MW1
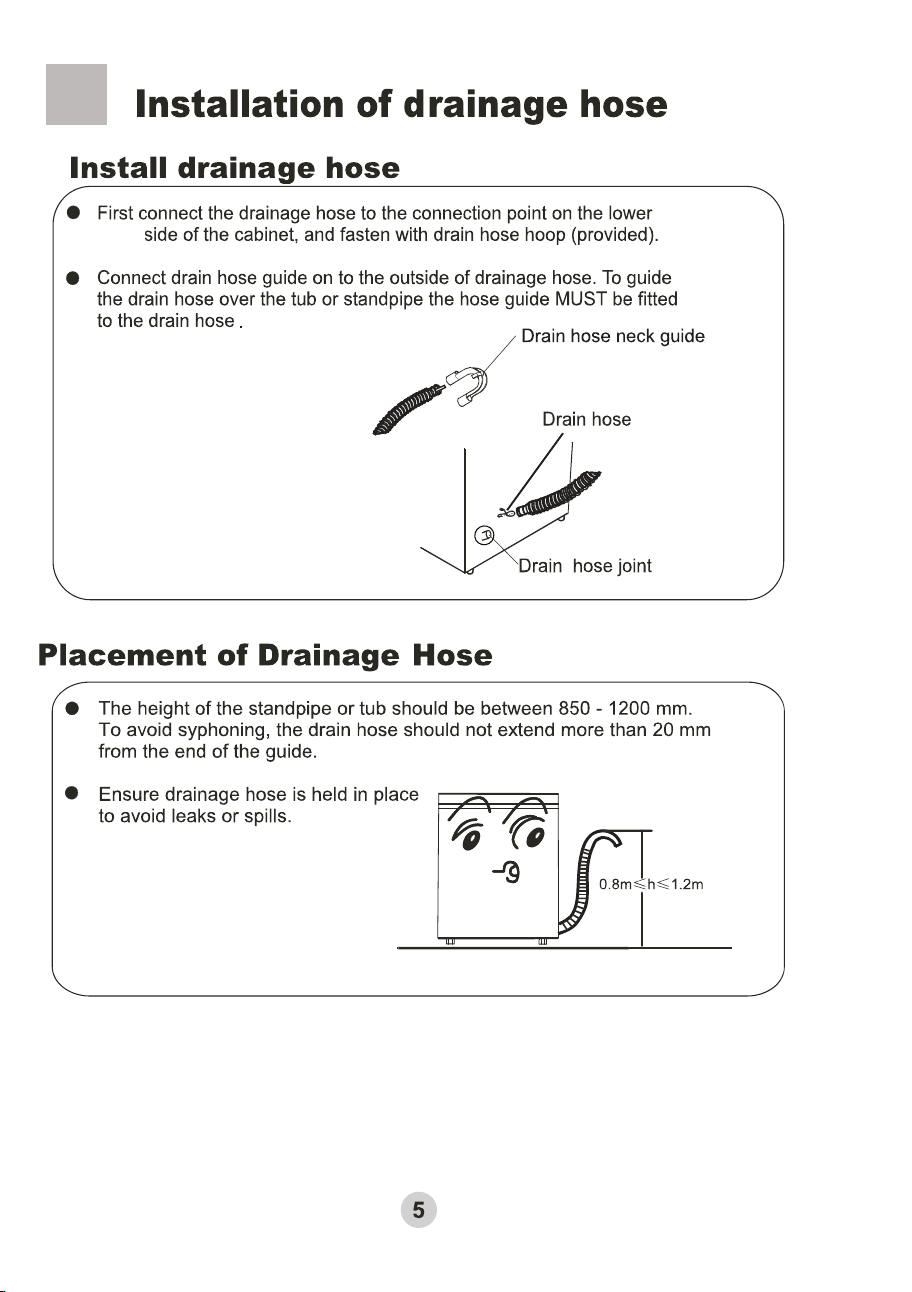
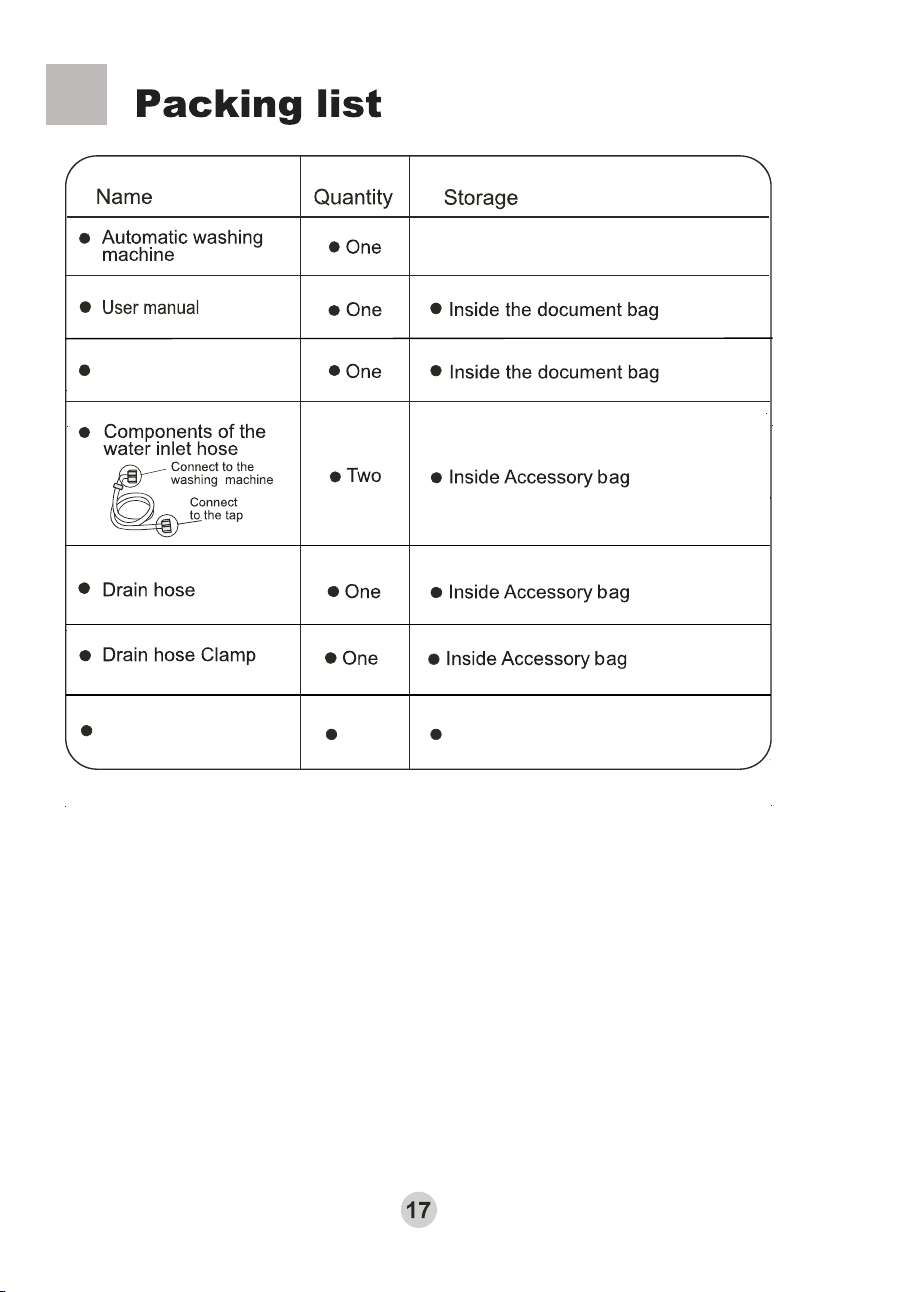
Drain hose hoop
One On The Drain hose
Location
Warranty card
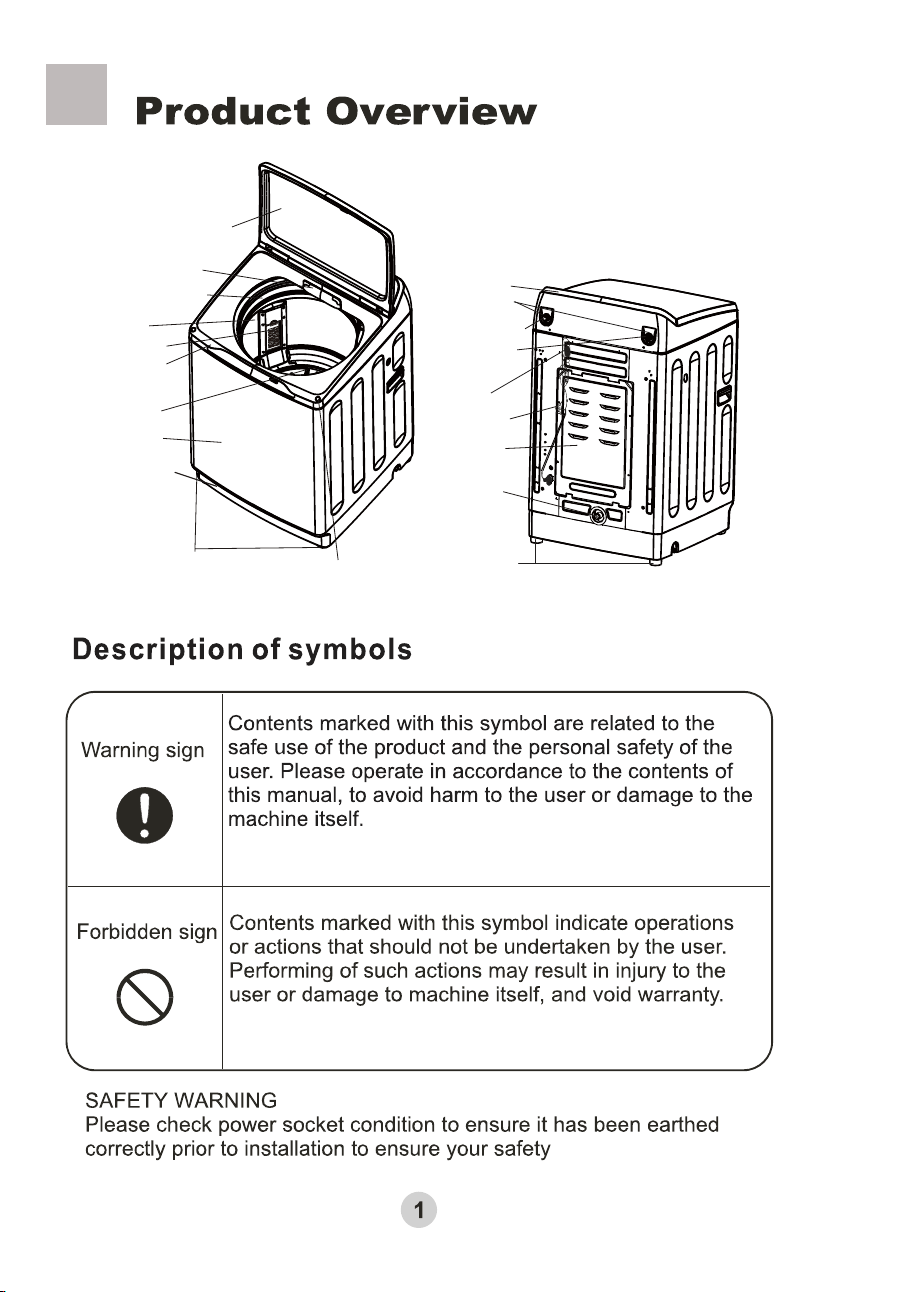
Outer tub cover
Detergent box
Top lid component
Inner tub
Pulsator
Cabinet
Base frame
Control pannel
Adjustable leg
Screw cover
Filter frame
Power cord
Drain hose joint
Back cover
Cold water inletvalve
Water absorption
Fixed leg(2 pieces)
Hook
Back panel
Hot water inletvalve
if
FA
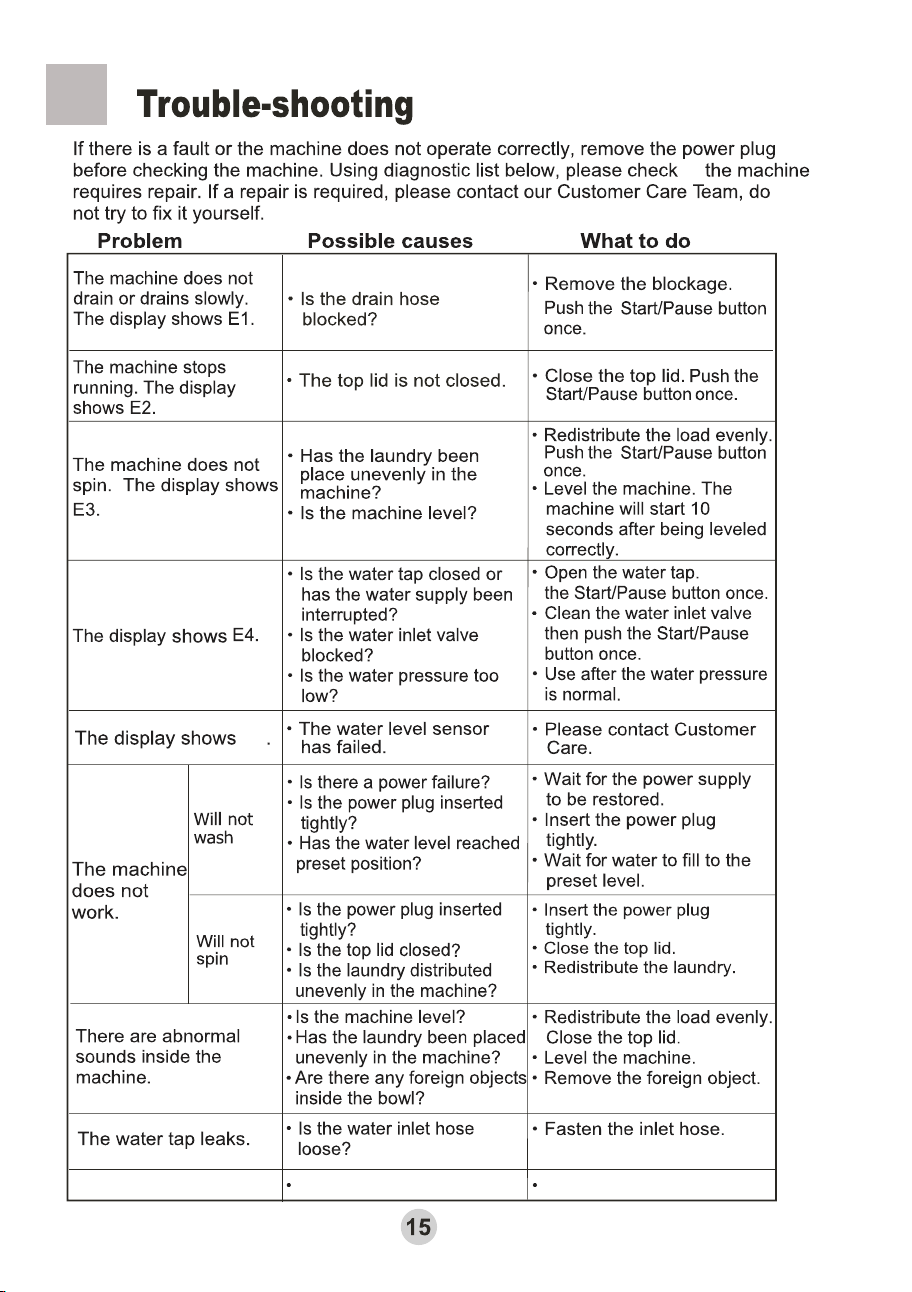
E8 Is the switch broken? Replace the switch
If the supply cord is damaged, it
must be replaced by a special cord
or assembly available from the
manufacturer or its service
agent.
65
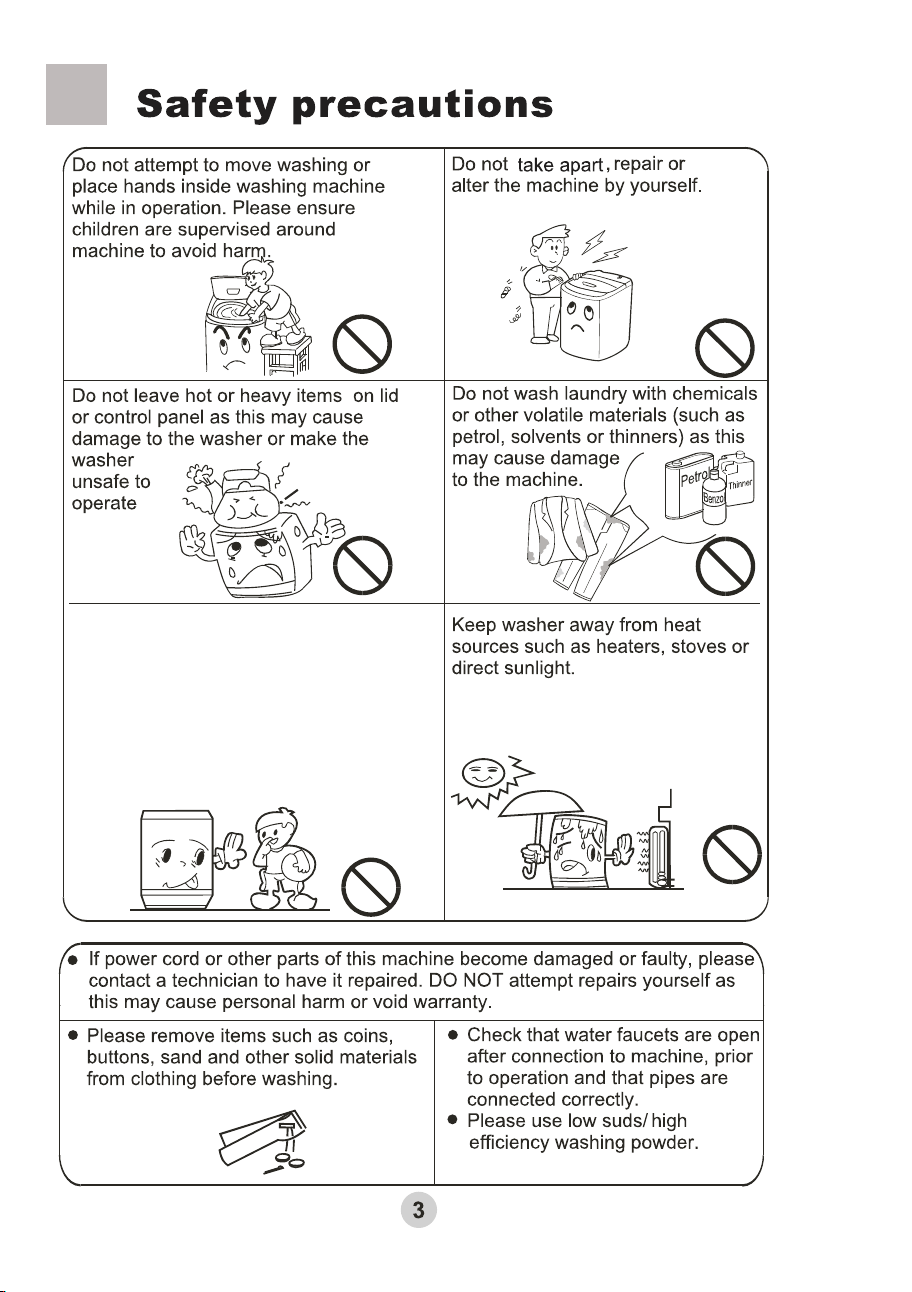
The openings must not be obstructed
by a carpet
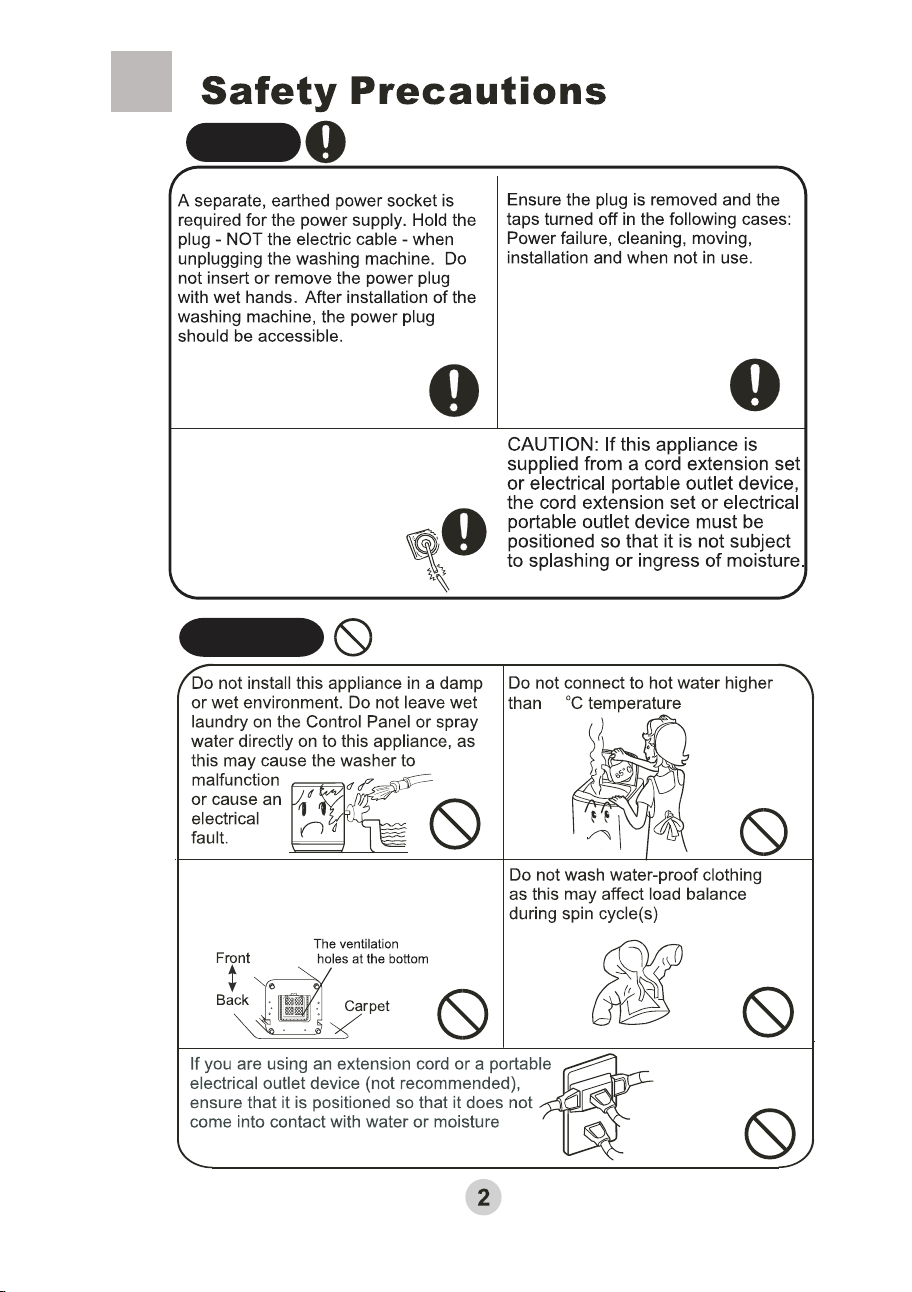
Warning
Forbidden
This appliance is not intended for use by persons
(including children) with reduced physical,
sensory or mental capabilities, or lack of
experience and knowledge, unless they have
been given supervision or instruction concerning
use of the appliance by a person responsible for
their safety.
Children should be supervised to ensure that
they do not play with the appliance.
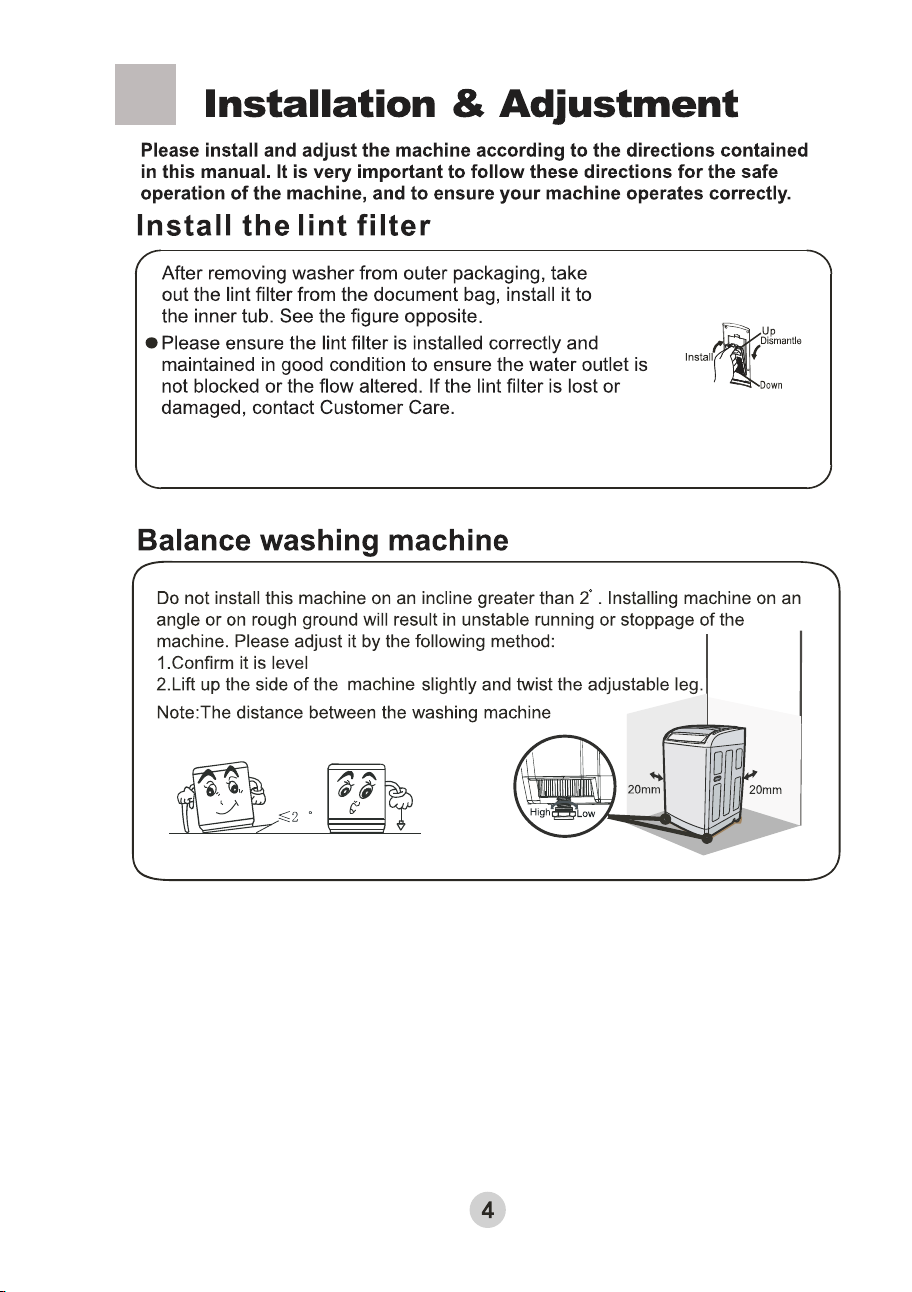
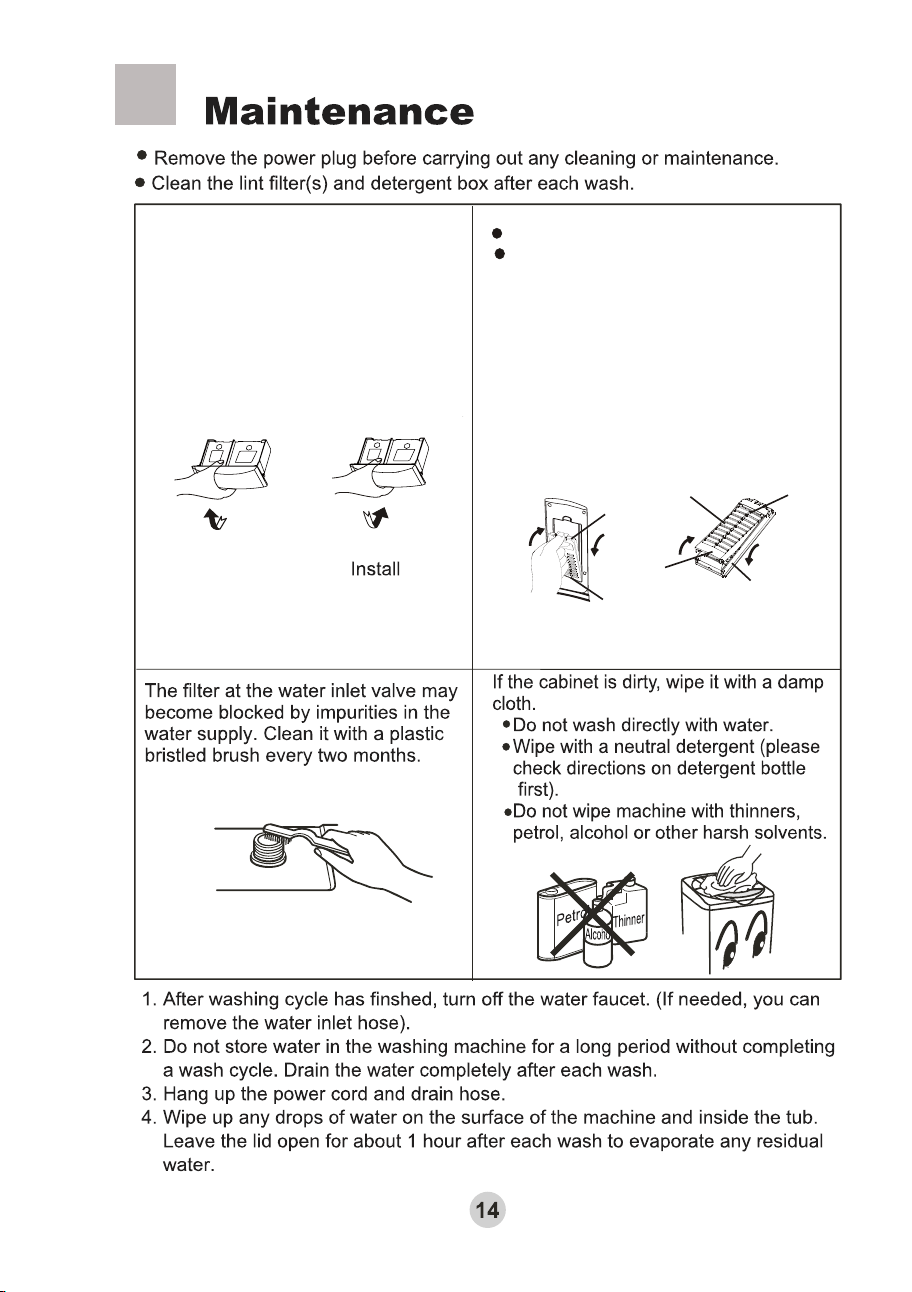
Remove
Lint filter:
The lint filter must be used during washing.
It must be cleaned in time after each using.
Figure 1
Figure 2
Down
Install
Dismantle
Down
Up
Up
Clean the detergent box and set it on the
control panel seat.
1.The method of dismantle: Push it up aslant
and gently.
2.The method of install : install it upwards and
aslant and push it in .
1.Push down the spring piece of the top lint filter to
make the claws out of the filter cover, and then pull
out the lint filter to get it down.( figure 1)
2.Pull the back of the lint filter, and then you can get
down it off the front cover of the lint filter.(figure 2)
3.Sweep the rubbish in the lint filter.
4.Put the back of the lint filter into the front cover .
5.Put the lint filter into filter cover, and make it tight.
6.Make sure the lint filter well installed, or it can
influence your use.
The front cover of the lint filter
The back cover of the lint filter
Dismantle
Install
and wall should be at least 20mm
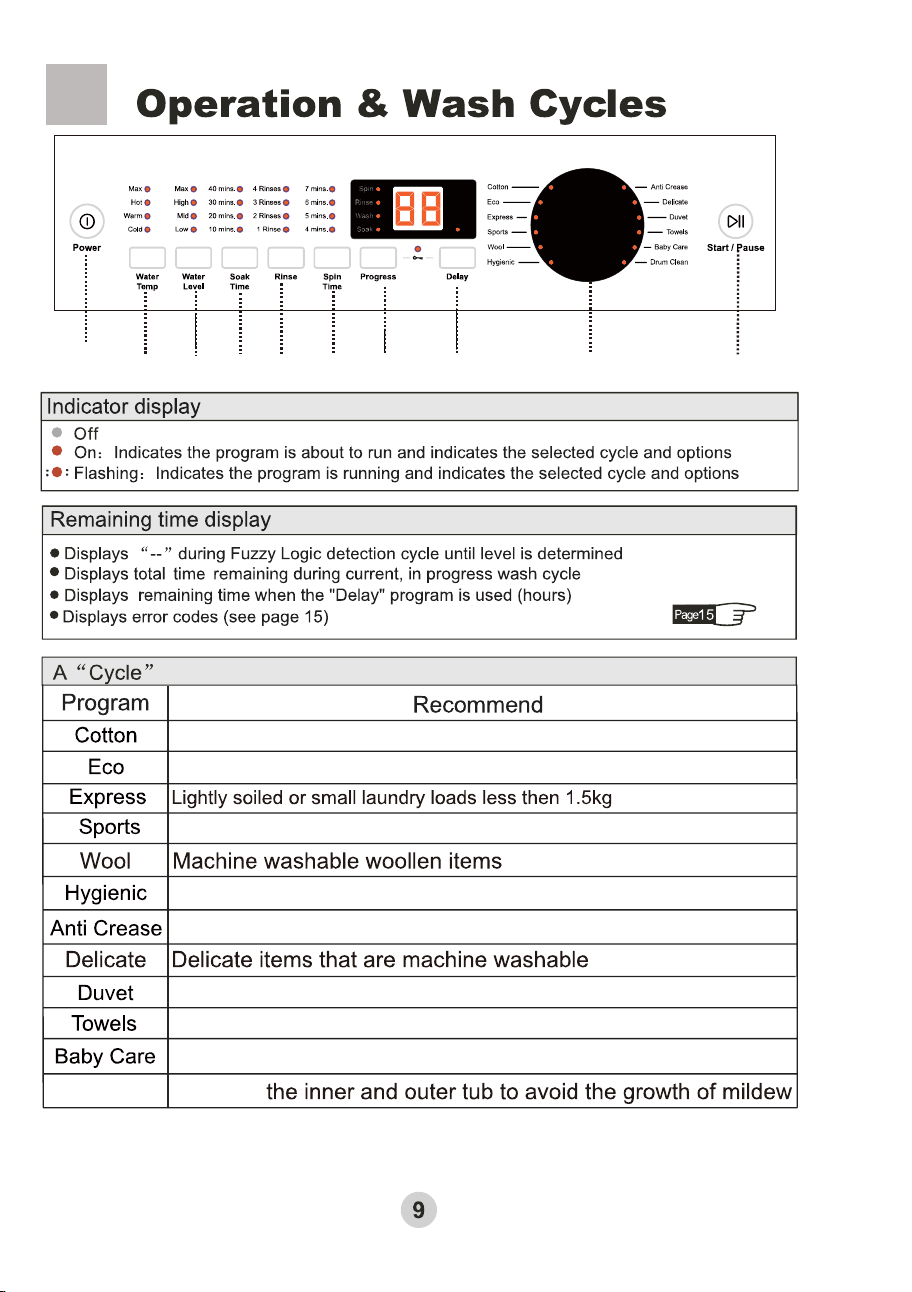
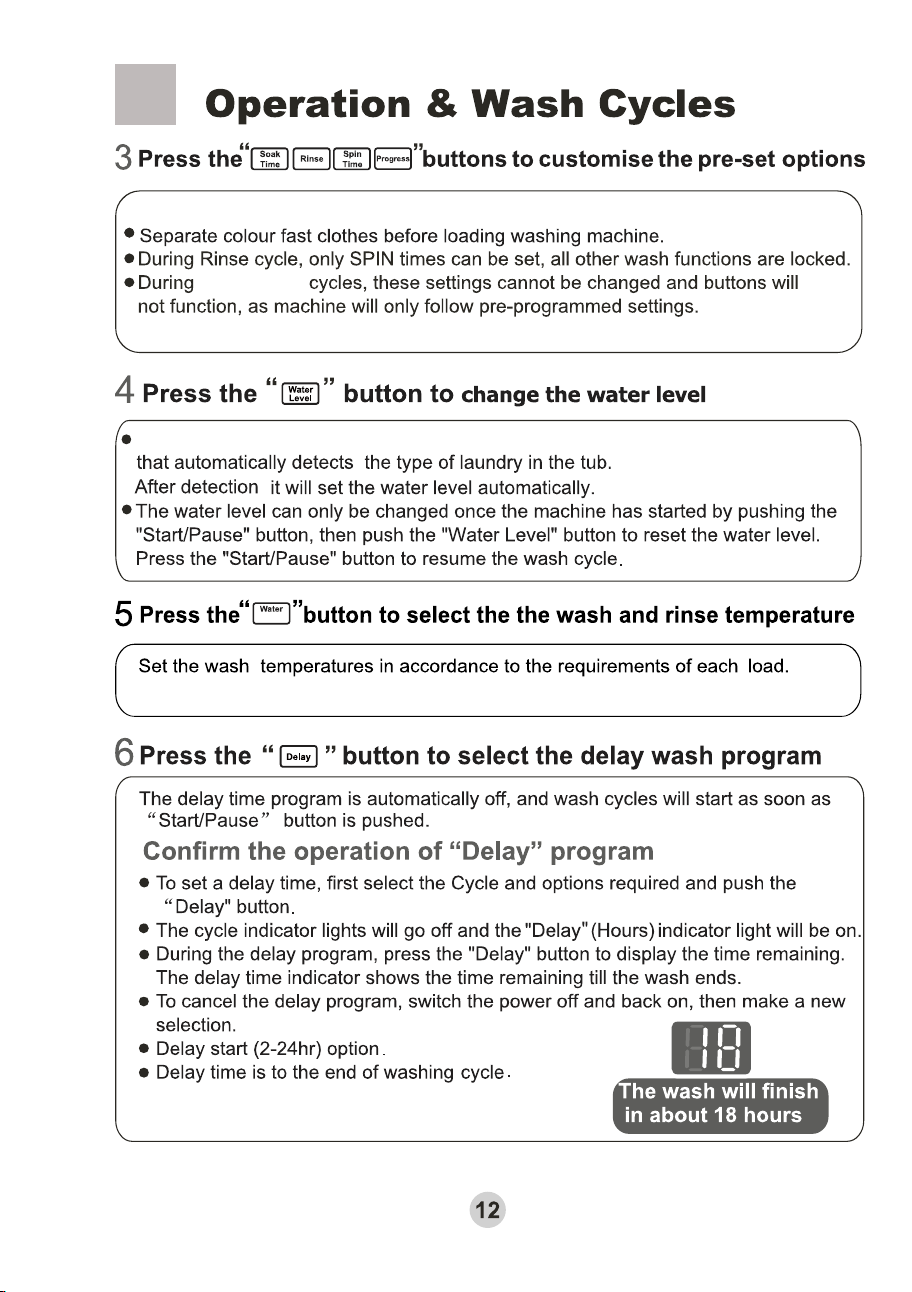
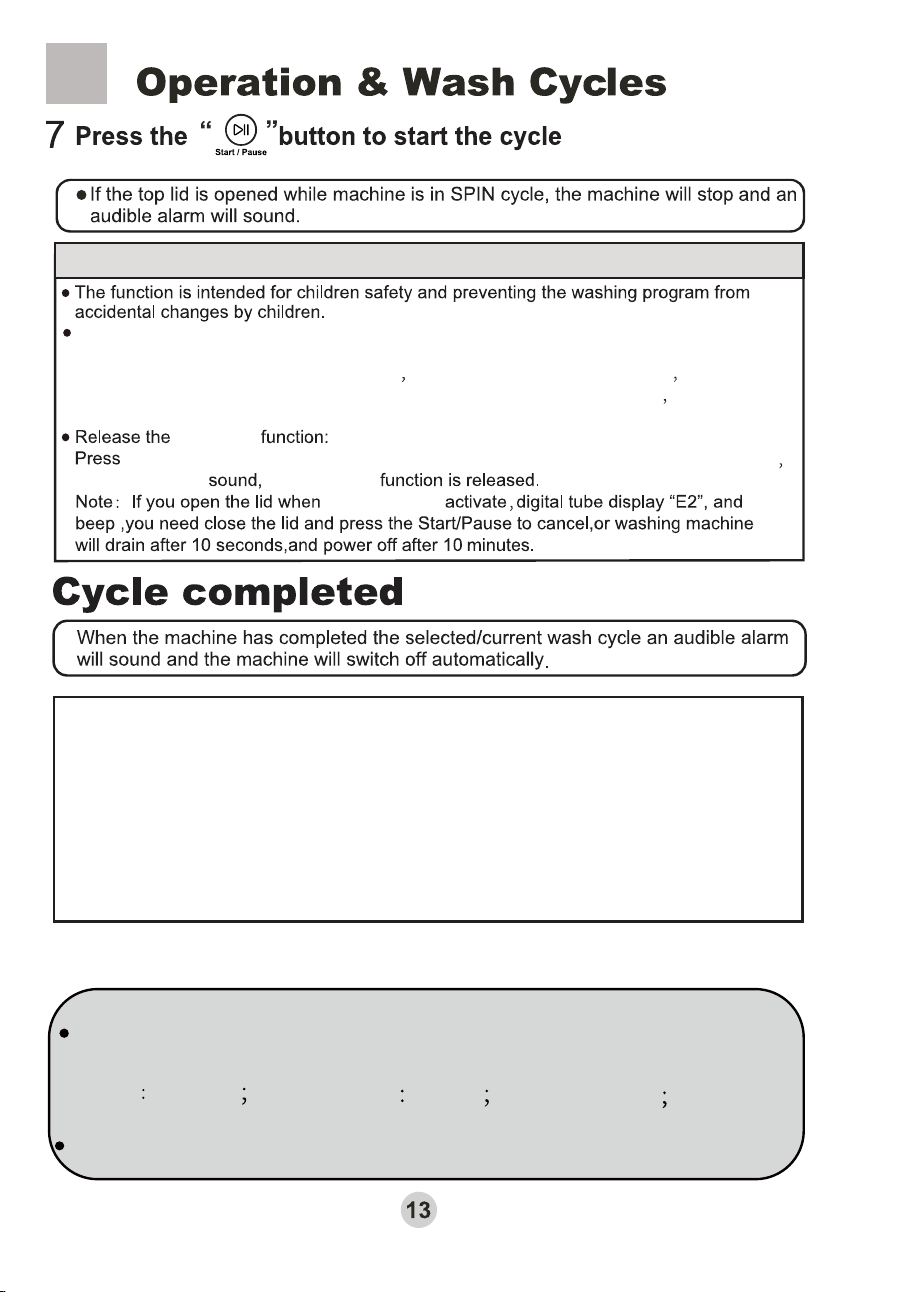
Set the desired washing program,after setting,press the Start/Pause Button,and
washing machine begin to run. Then hold the Progress Button and Delay Botton at
the same time for more than 3 seconds you will hear three beep sound digital tub
display “CL”,and the child lock will activate.All of the Bottons are locked and will no
function.
the
Progress Button and Delay Botton
at the same time for more than 3 seconds
Child Lock
the child Lock
the child Lock
child Lock
after three beep
The energy test program was performed using the "Cotton"
cycle default setting of:
Soak "30"Min
Water Temp Warm
Rinse:1 Rinse
Spin:7 Min
Water level:Max.
Please use low suds/high efficiency detergent.
Note:
This washer has a 2-step water fill to achieve the required water level and temperature
for the best cleaning result.
First Fill - Once options and cycle are selected and the START/PAUSE BUTTON is
pressed, both hot and cold water will flow into the inner tub. The warm water
temperature helps to dissolve detergent quickly. The washing operation starts at the
end of the hot water fill and is followed by a 5-minute (approximately) soak-agitation
session to help the detergent mix completely with the laundry.
Second Fill - The second fill is in order to reach the selected water level and make
the clothes completely soaked in water to achieve a better wash effect.
back
For the “Cotton” and “Eco”cycles the machine will run a Fuzzy Logic program
clamp
The suitable temperature between 35-50°C.
Temp
Drum Clean
Warm
Hot
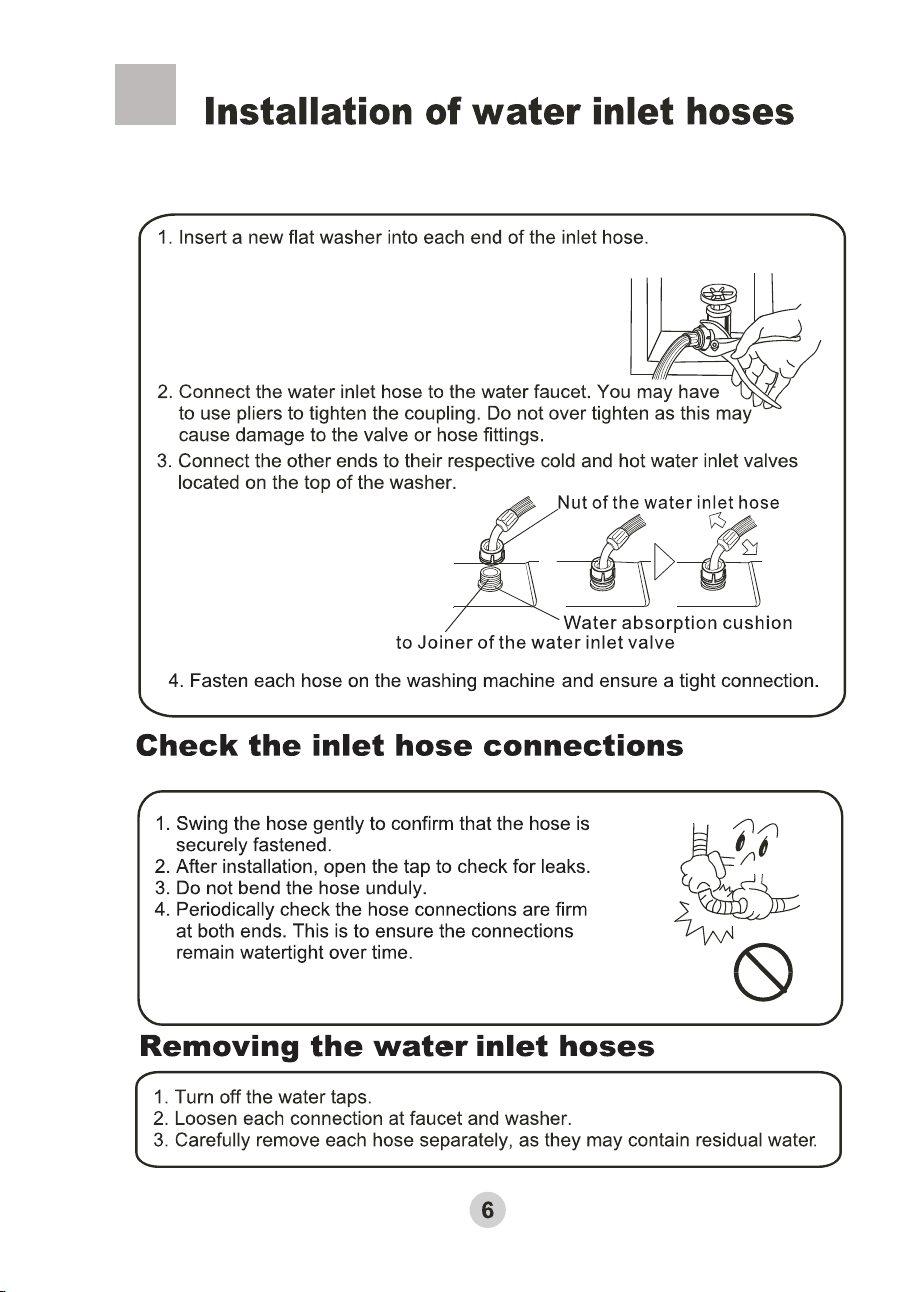
The new hose-sets supplied with the appliance are to be
used and that old hose-sets should not be reused.
When the power is switched on “Cotton” cycle is automatically set
Turn the “cycle” button to select automatic program.
E g choose “
Quick
” cycle for a small load of lightly soiled laundry.When the
F
G
H
select automatic program
“Cotton”or“Eco”cycles are selected the Fuzzy
Logic program is run .The washing cycle is automatically set while the
water level and wash time can be selected according to the texture and
size of the load.
Turn Cycle knob
Water Temp
Max
WATER TEMP
D
S
F
F
D
If Express program is selected it will display water level
Soak Time Spin TimeRinse
Progress
Progress.
E
D
C
Mid,High or
Max.
“Mid”
“Low”
“Mid”,
During wool and anti crease cycle,the low level can not be chosen.
Drum Clean
Low
washing powder is used
If a manufacture specifies only the use of a low-sudsing or
high-efficiency type detergent, then detergent for drum type machines
shall be used irrespective of the type of machine under test.
Otherwise the detergent type to be used shall be chosen according to
the type of clothes washing machine under test, as follows.
If you select “Express”program,it is recommended to use
Mid
Low
Washing Cotton laundries
The cycle of energy saving
Washing Sports clothes
Hygienic Washing
Washing t-shirts, shirts laundries
Washing Duvet
Washing Towels
Washing Synthetic laundries
Drum Clean Cleaning
knob
Ad d ing washing powd er Cotton Wash
A
C DEF
G
H
B
B
B
Washing powder inlet
Detergent box
Softener inlet
Liquid detergent box
Low
washing powder is used
If a manufacture specifies only the use of a low-sudsing or
high-efficiency type detergent, then detergent for drum type machines
shall be used irrespective of the type of machine under test.
Otherwise the detergent type to be used shall be chosen according to
the type of clothes washing machine under test, as follows.
If you select “Express”program,it is recommended to use
Mid
Low
Washing Cotton laundries
The cycle of energy saving
Washing Sports clothes
Hygienic Washing
Washing t-shirts, shirts laundries
Washing Duvet
Washing Towels
Washing Synthetic laundries
Drum Clean Cleaning
knob
Ad d ing washing powd er Cotton Wash
A
C DEF
G
H
B
B
B
Washing powder inlet
Detergent box
Softener inlet
Liquid detergent box
D
S
F
F
D
If Express program is selected it will display water level
Soak Time Spin TimeRinse
Progress
Progress.
E
D
C
Mid,High or
Max.
“Mid”
“Low”
“Mid”,
During wool and anti crease cycle,the low level can not be chosen.
Drum Clean
Warm
Hot
The new hose-sets supplied with the appliance are to be
used and that old hose-sets should not be reused.
When the power is switched on “Cotton” cycle is automatically set
Turn the “cycle” button to select automatic program.
E g choose “
Quick
” cycle for a small load of lightly soiled laundry.When the
F
G
H
select automatic program
“Cotton”or“Eco”cycles are selected the Fuzzy
Logic program is run .The washing cycle is automatically set while the
water level and wash time can be selected according to the texture and
size of the load.
Turn Cycle knob
Water Temp
Max
WATER TEMP
back
For the “Cotton” and “Eco”cycles the machine will run a Fuzzy Logic program
clamp
The suitable temperature between 35-50°C.
Temp
Drum Clean
and wall should be at least 20mm
Set the desired washing program,after setting,press the Start/Pause Button,and
washing machine begin to run. Then hold the Progress Button and Delay Botton at
the same time for more than 3 seconds you will hear three beep sound digital tub
display “CL”,and the child lock will activate.All of the Bottons are locked and will no
function.
the
Progress Button and Delay Botton
at the same time for more than 3 seconds
Child Lock
the child Lock
the child Lock
child Lock
after three beep
The energy test program was performed using the "Cotton"
cycle default setting of:
Soak "30"Min
Water Temp Warm
Rinse:1 Rinse
Spin:7 Min
Water level:Max.
Please use low suds/high efficiency detergent.
Note:
This washer has a 2-step water fill to achieve the required water level and temperature
for the best cleaning result.
First Fill - Once options and cycle are selected and the START/PAUSE BUTTON is
pressed, both hot and cold water will flow into the inner tub. The warm water
temperature helps to dissolve detergent quickly. The washing operation starts at the
end of the hot water fill and is followed by a 5-minute (approximately) soak-agitation
session to help the detergent mix completely with the laundry.
Second Fill - The second fill is in order to reach the selected water level and make
the clothes completely soaked in water to achieve a better wash effect.
This appliance is not intended for use by persons
(including children) with reduced physical,
sensory or mental capabilities, or lack of
experience and knowledge, unless they have
been given supervision or instruction concerning
use of the appliance by a person responsible for
their safety.
Children should be supervised to ensure that
they do not play with the appliance.
Remove
Lint filter:
The lint filter must be used during washing.
It must be cleaned in time after each using.
Figure 1
Figure 2
Down
Install
Dismantle
Down
Up
Up
Clean the detergent box and set it on the
control panel seat.
1.The method of dismantle: Push it up aslant
and gently.
2.The method of install : install it upwards and
aslant and push it in .
1.Push down the spring piece of the top lint filter to
make the claws out of the filter cover, and then pull
out the lint filter to get it down.( figure 1)
2.Pull the back of the lint filter, and then you can get
down it off the front cover of the lint filter.(figure 2)
3.Sweep the rubbish in the lint filter.
4.Put the back of the lint filter into the front cover .
5.Put the lint filter into filter cover, and make it tight.
6.Make sure the lint filter well installed, or it can
influence your use.
The front cover of the lint filter
The back cover of the lint filter
Dismantle
Install
if
FA
E8 Is the switch broken? Replace the switch
If the supply cord is damaged, it
must be replaced by a special cord
or assembly available from the
manufacturer or its service
agent.
65
The openings must not be obstructed
by a carpet
Warning
Forbidden
Outer tub cover
Detergent box
Top lid component
Inner tub
Pulsator
Cabinet
Base frame
Control pannel
Adjustable leg
Screw cover
Filter frame
Power cord
Drain hose joint
Back cover
Cold water inletvalve
Water absorption
Fixed leg(2 pieces)
Hook
Back panel
Hot water inletvalve
Drain hose hoop
One On The Drain hose
Location
Warranty card
MODEL: HWT90MW1
TOP LOAD FULLY AUTOMATIC WASHING MACHINE
OWNER’S MANUAL
Please read this manual carefully before
operating your washing machine.and retain
it for future reference.
HWT80MW1
W 580 D 590 H 1010
350W
470W
41kg
46kg
Rated Washing capacity
8.0kg
HWT80MW1
W 580 D 590 H 1010
350W
470W
42kg
47kg
Rated Washing capacity
9.0kg
HWT90MW1