Loading ...
Loading ...
Loading ...
15
16
15
FINAL CHECKLIST TROUBLESHOOTING
Check all parts are installed.
Ensure product is level, securely fastened to the cabinetry and opens and
closes freely. The drawer must be free to fully close with no resistance from the
cabinetry.
Ensure inlet hose to water supply has supplied rubber washer fitted, and that
it’s tightened a further half turn after seal contact.
Ensure any knockouts or plugs in drain connection have been drilled out and
drain connection has been made.
The drain hose joiner must not support the weight of excess hose material.
Keep drain hose as fully extended as possible to prevent sagging. Any excess
length of drain hose should be kept on the dishwasher side of the highloop.
If connecting the drain hose to the sink trap, ensure the Highloop is a minimum
6” (150 mm) higher than the drain hose joiner.
Ensure any packaging or tape securing the racks is removed from the drawer.
Turn on the power and water supplies, then open the drawer. You should hear a
beep and see a program indicator light up on the internal control panel.
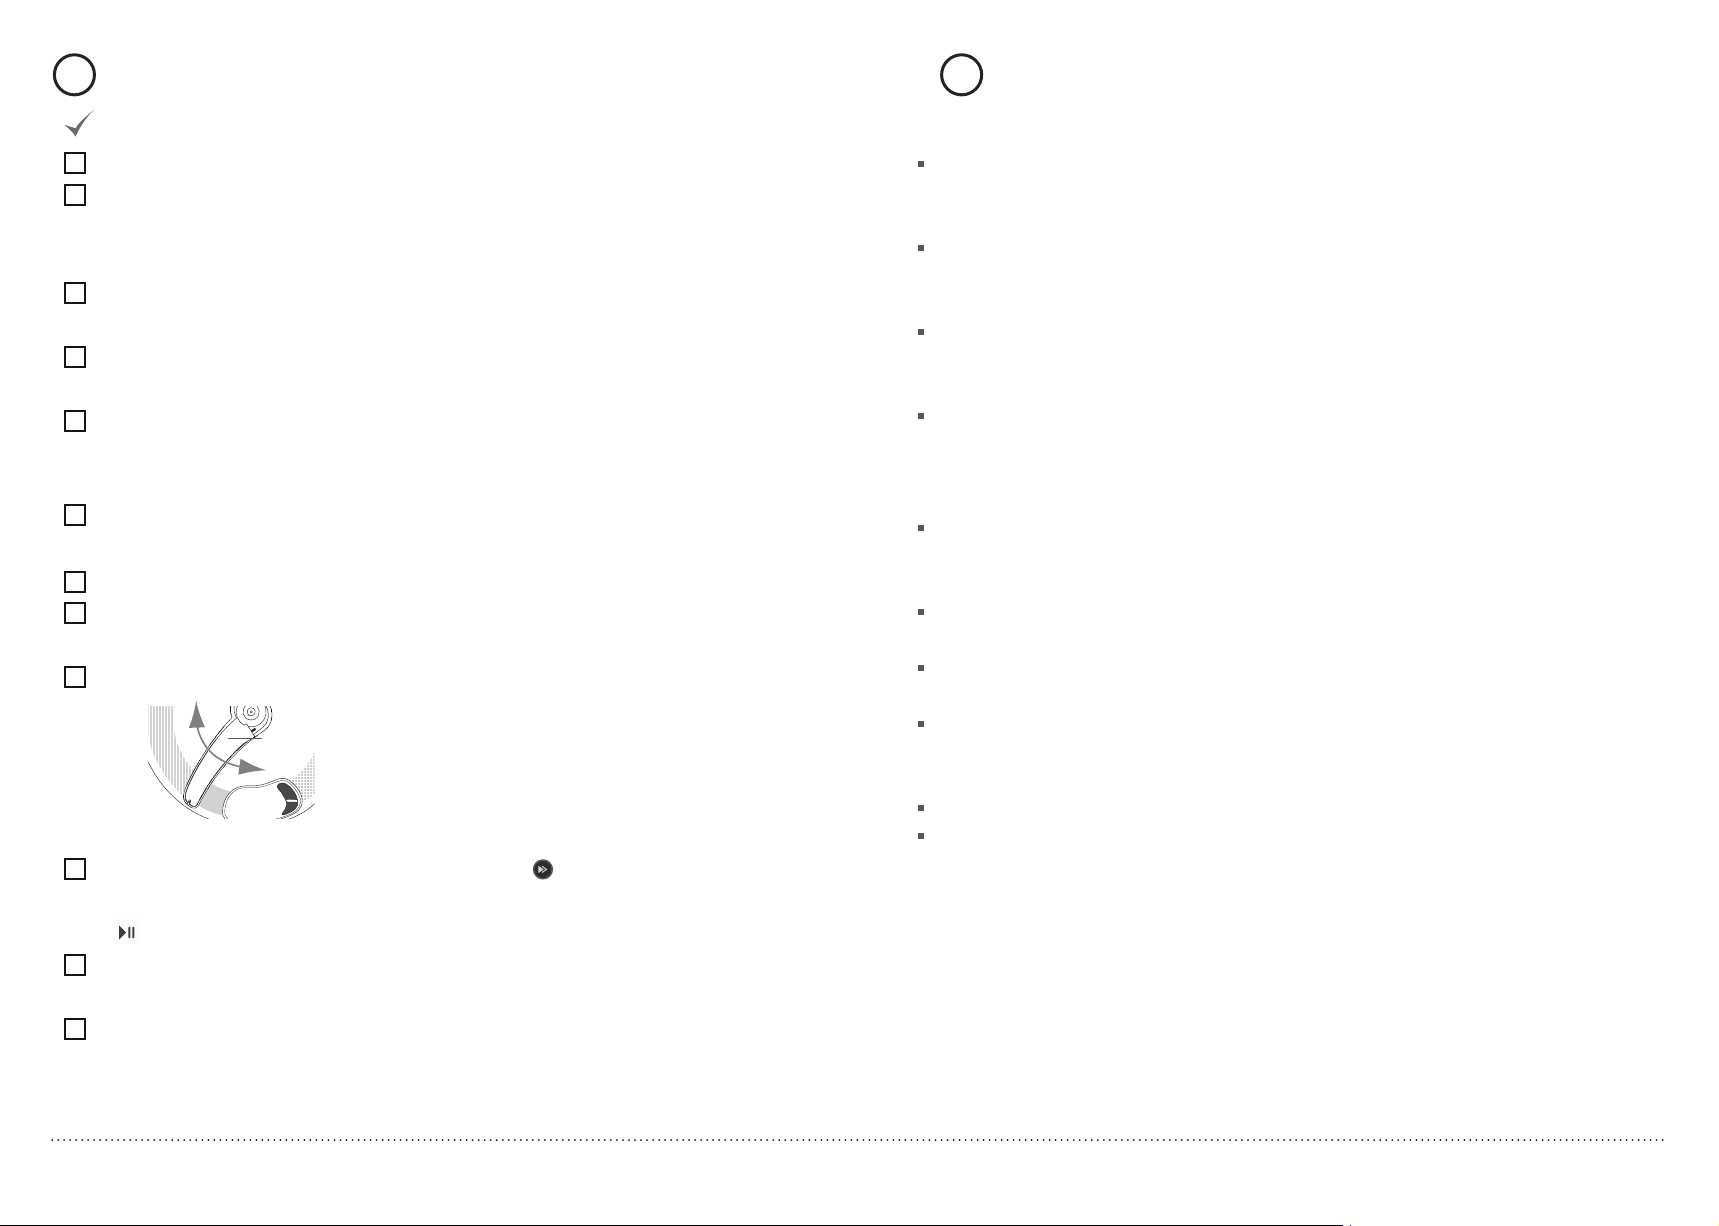
Check the spray arm is in place and free to rotate.
Add three cups of water into the drawer. Press
on the internal control panel
until the indicator of the ‘Rinse’ program lights up. Close the drawer and press
to start the program.
After the Rinse program has finished, ensure the dishwasher has run and
drained correctly.
Check water supply and drainage connection for leakage.
Spray arm
Excessive water remaining above the filter plate, af
ter the rinse cycle
Check for a k
inked drain hose or blocked waste connection, highloop not
properly installed or drain hose not routed correctly.
No water supply (This is displayed as a ‘U1’ fault -- see section ‘If there is a
fault’
in the User guide for how to recognise this fault.)
Check water is c
onnected and turned on.
The dishwasher is beeping continuously
There is a fault. See section ‘If there is a fault’ in the User guide for further
information and instruc
tions.
No program indicator lights up when the drawer is opened
Ensure po
wer is connected and is switched on. If it is and still no indicator
lights up, see the ‘Preference options’ section of the ‘Quick start guide’. An
option called ‘Open drawer auto power-on’ may need to be turned on.
Water around water supply and drainage connections
Check connec
tions, existing plumbing and hoses for leaks. Check rubber
washer and hose clamp are correctly fitted.
If product is tipping
Ensure the pr
oduct is secured to the cabinetry.
If front panels are misaligned
Check and relev
el product. Check the cabinetry is square.
Drawer doesn’t close properly
Ensure nothing is obstructing the drawer from closing properly eg sound
insulation, hoses or draw
er latches.
If a problem occurs, consult the ‘Troubleshooting’ section of the User guide.
If after checking these points you still need assistance, please refer to the
Service & Warranty book for warranty details and your nearest Authorized
Service Center, or contact us through our website, listed below.
Important!
SAVE THESE INSTRUCTIONS
The models shown in this document may not be available in all markets and are subject to change
at any time. For current details about model and specification availability in your country, please
visit our local website listed at the end of this document or contact your local DCS by Fisher &
Paykel dealer.
www.dcsappliances.com