Loading ...
Loading ...
Loading ...
14 49-1000437 Rev. 0
PLUMBING
The recommended water supply tubing is 1/4" OD
FRSSHU6WDLQOHVVVWHHOIOH[RUUHLQIRUFHG3&9WXEH
may also be used. Install an easily accessible shut-
off valve between the supply and the unit. This shut-
off valve should not be installed behind the unit.
NOTE: Do not use self-piercing type valves.
1. Remove the
front service
panel.
2. Route the
tubing
through the
right hole in
the back to the inlet water solenoid valve inlet.
3. Install a compression fitting on the tubing and
connect to the inlet of the solenoid.
DRAIN PUMP
Drain Installation
A drain pump is available for this ice machine. The
GUDLQSXPSNLWQXPEHULV83.DQGLVDYDLODEOHDW
GEApplianceparts.com or by calling GE
Appliances at 877.959.8688. In Canada visit
GEAppliances.ca or call
GRAVITY DRAIN
Drain Installation
NOTICE
Restrictions in the drain
system to the machine will cause water to back
up into the ice storage bin and melt the ice.
Gravity drain tubing must be vented, have no
kinks, and slope to the building drain. Air gaps
are typically required by local codes.
1. Place the ice machine in front of the installation
opening. Adjust leveling legs to the approximate
KHLJKW7KHUHDUH/HJ&DSVLQWKHKDUGZDUH
packet that can snap onto the leveling legs if
they are going to show when the unit is level.
2. Remove the front service panel and the upper
black panel.
NOTE: If the drain opening has been located in the
floor under the base pan according to the pre-install
specifications, follow steps 3-6 to drain the unit
through the base. If not, proceed to 6.
3. Remove the clamp and barbed elbow and take
off the plastic cover in the base pan below the
drain hose.
Screw
6HFXULQJ)URQW
Service Panel
Installation Instructions
INSTALLATION INSTRUCTIONS
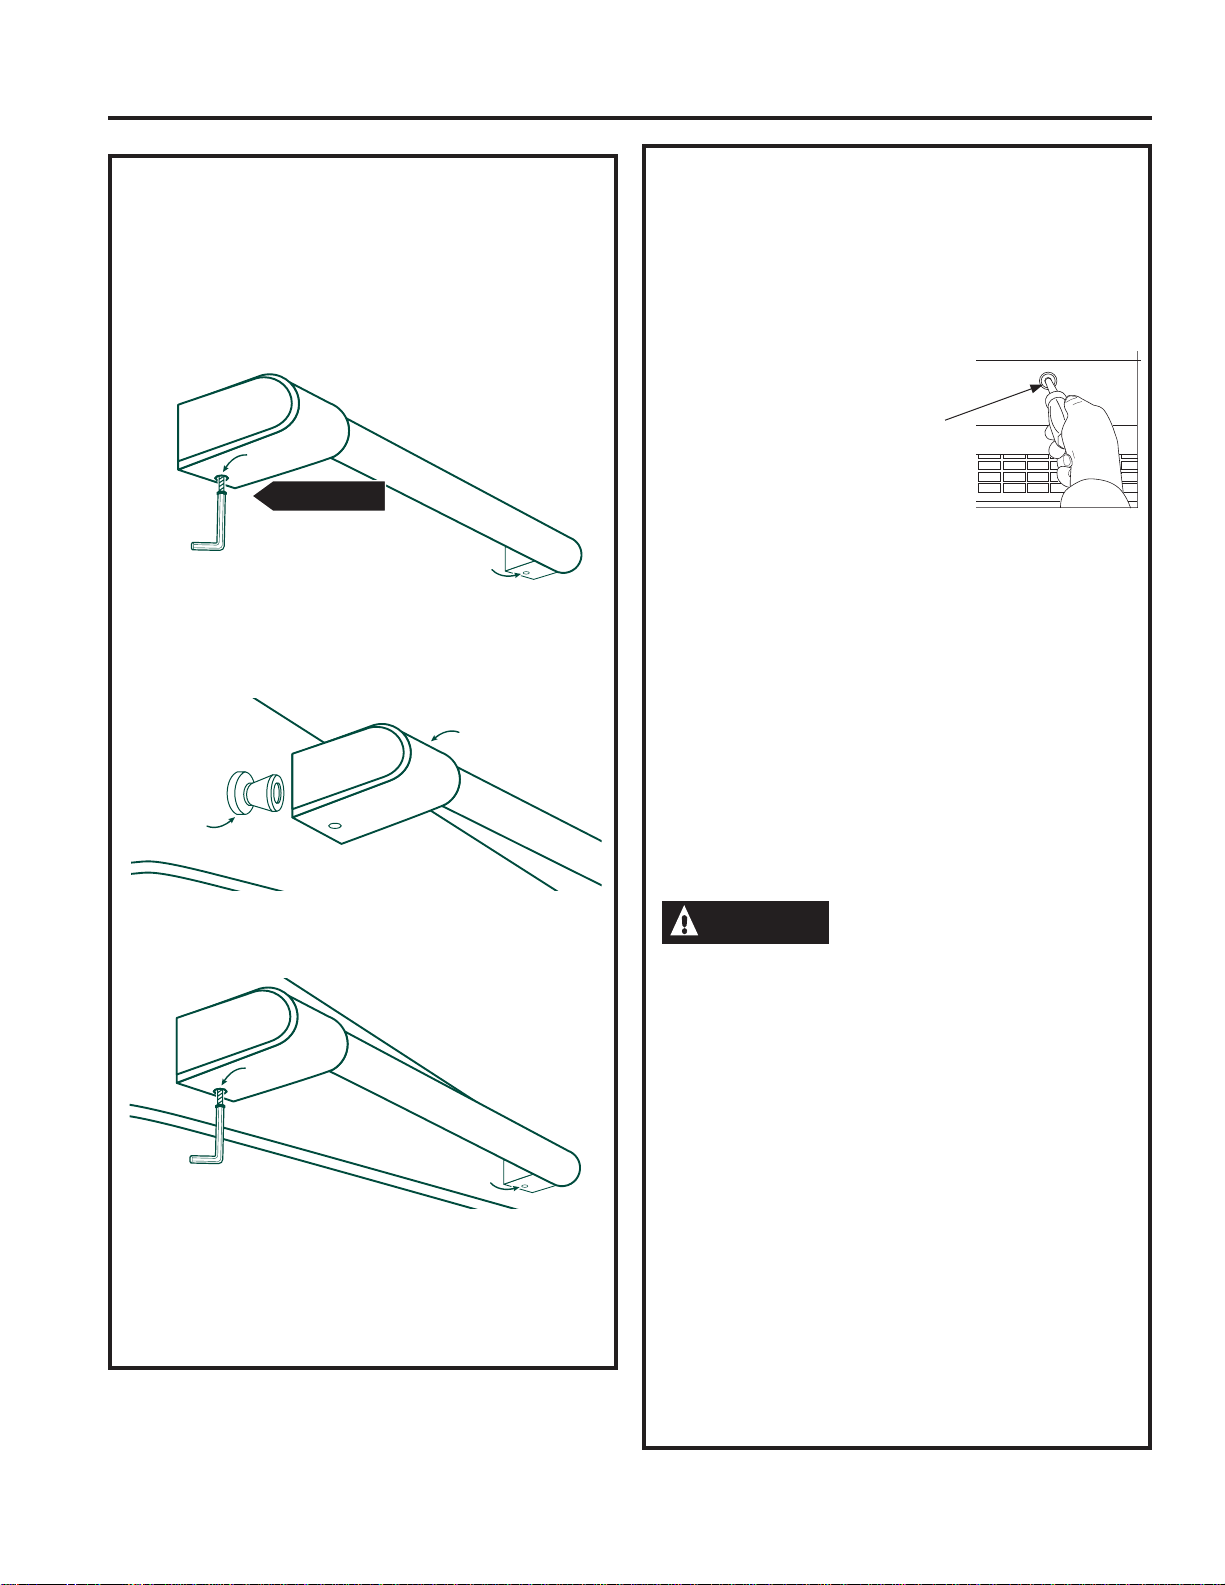
HANDLE REVERSING INSTRUCTIONS
1. Remove the allen wrench from the panel
installation screw kit envelope
/RRVHQWKHVHWVFUHZXVLQJWKHDOOHQZUHQFK
Remove the handle and flip it around so the logo
LVIDFLQJWKHRWKHUZD\+DQGOHYLHZVZLOOYDU\E\
PRGHO
3. Place the handle caps over the fasteners of the
door. Take care to support the handle so it doesn’t
fall and scratch the appliance finish. Make sure
both handle caps are resting on the face of the
door.
/RFNRQHHQGRIWKHKDQGOHLQWRSRVLWLRQE\
tightening the set screw in the handle cap with the
allen wrench provided. DO NOT over-tighten.
.HHSVXSSRUWLQJWKHKDQGOHDV\RXORFNWKHRWKHU
end of the handle into position by tightening the set
screw in the handle cap. DO NOT over-tighten.
LOOSEN
set screw
set screw
fastener
handle cap
set screw
set screw
Loading ...
Loading ...
Loading ...