Loading ...
Loading ...
Loading ...
21
7. Press START.
When the start time is reached, the oven will automatically
turn on. The temperature and/or time settings can be
changed anytime after pressing Start by repeating steps 2
through 7. When the set cook time ends, the oven will shut
offautomatically.
8. Press STOP to clear the display.
Meat Probe
(on some models)
The meat probe accurately measures the internal temperature
of meat, poultry, and casseroles with liquid and should be used
in determining the doneness of meat and poultry.
This meat probe operates as an independent device and is not
plugged into the oven. Follow the meat probe directions for
using the meat probe.
To avoid damage to the meat probe, do not leave the meat
probe in self-cleaning ovens while the cycle is running.
Warming Drawer
The Warming Drawer is ideal for keeping hot cooked foods at
serving temperature. It may also be used for warming breads
and pastries.
Dierent types of food may be placed in the warming drawer
at the same time. For best results, do not hold foods longer
than 1 hour. For smaller quantities, pizza, or heat-sensitive
foods, such as eggs, do not hold longer than 30 minutes.
Food must be at serving temperature before being placed in
the warming drawer. Breads, pastries, and fruit pies may be
heated from room temperature.
Remove food from plastic bags and place in oven-safe
container. Cover foods with a lid or aluminum foil.
Do not cover with plastic wrap.
Empty serving dishes and ovenproof dishes can be heated
while the warming drawer is preheating. Check the dish
manufacturer’s recommendations before warming the
cookware.
Before using the warming drawer, wash the bottom of the
drawer with soap and water. See the “General Cleaning”
section.
To Use:
1. Press WARMING DRAWER ON to select the Warming
Drawer function at the Low setting.
2. To select a higher temperature setting, press WARMING
DRAWER ON a second time for the Medium setting or a
third time for the High setting.
3. Press START to begin preheating the warming drawer.
4. Allow the warming drawer to preheat for 15 minutes.
5. Place the cooked food(s) in the warming drawer.
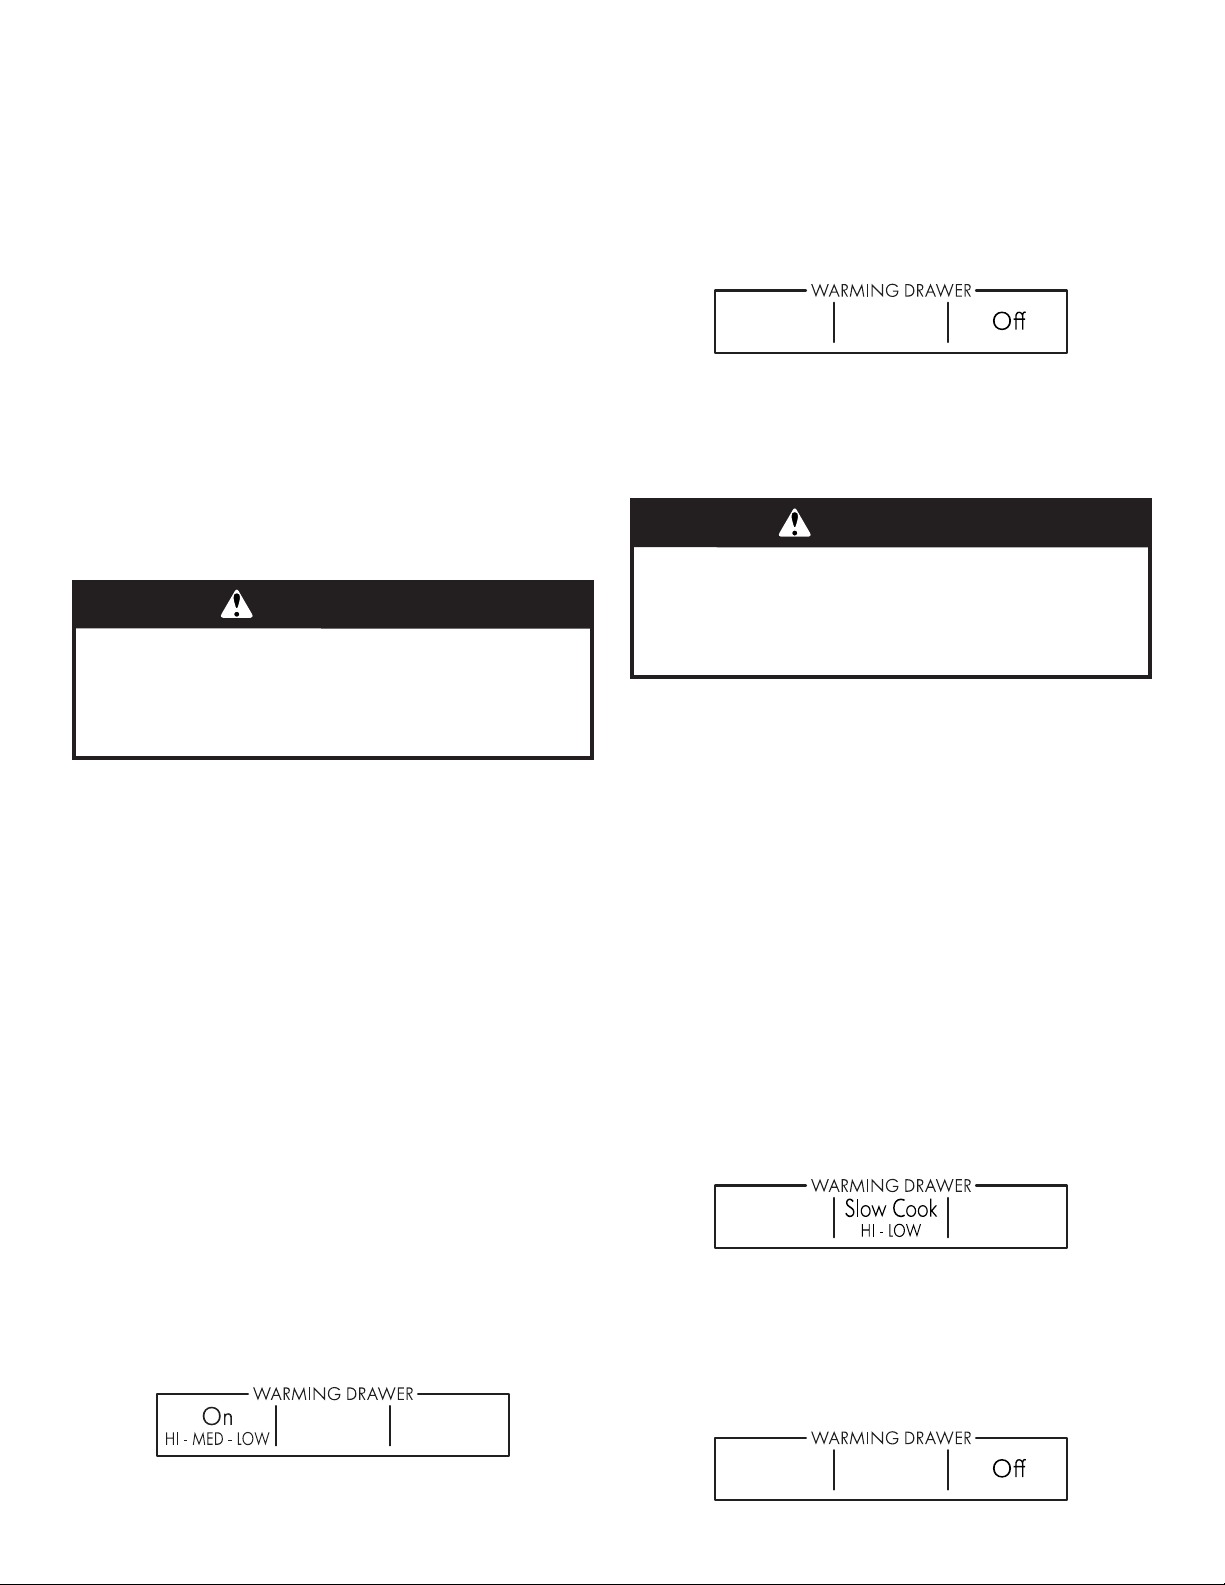
6. Press WARMING DRAWER OFF to turn o the heating
element.
The Warming Drawer operates at temperatures of
approximately 127ºF (53ºC) (Low), 141ºF (61ºC) (Medium),
and159ºF (71ºC) (High).
Slow Cook
The Slow Cook function in the warming drawer cooks food
slowly at a low temperature over a long period of time, similar
to a countertop slow cooker.
There are 2 settings: Hi and Lo. Guidelines for cooking times
are 4 to 5 hours for Hi and 8 to 10 hours for Lo. Smaller
quantities of food may require less time, while larger quantities
may require more time.
When slow cooking, use oven-safe cookware. Before slow
cooking, thaw frozen foods completely. Cover foods with
alidor aluminum foil to keep the food moist.
IMPORTANT: Brown roasts thoroughly before starting to
slowcook.
Before using the warming drawer, wash the bottom of the
drawer with soap and water. See the “General Cleaning”
section.
To Use:
1. Press WARMING DRAWER SLOW COOK to select the
Slow Cook function at the Low setting.
2. To select a higher temperature setting, press WARMING
DRAWER SLOW COOK a second time for the High setting.
3. Place the food(s) in the warming drawer.
4. Press START to begin heating the warming drawer.
5. Press WARMING DRAWER OFF to turn o the heating
element.
WARNING
Food Poisoning Hazard
Do not let food sit in oven more than one hour before
or after cooking.
Doing so can result in food poisoning or sickness.
WARNING
Food Poisoning Hazard
Do not let food sit in oven more than one hour before
or after cooking.
Doing so can result in food poisoning or sickness.
Loading ...
Loading ...
Loading ...