Loading ...
Loading ...
Loading ...
A9
On Screen Display (OSD) Control Adjustment
Screen Adjustment
Making adjustments to the image size, position and operating parameters of
the display is quick and easy with the On Screen Display Control system. A
short example is given below to familiarize you with the use of the controls.
The following section is an outline of the available adjustments and selections
you can make using the OSD.
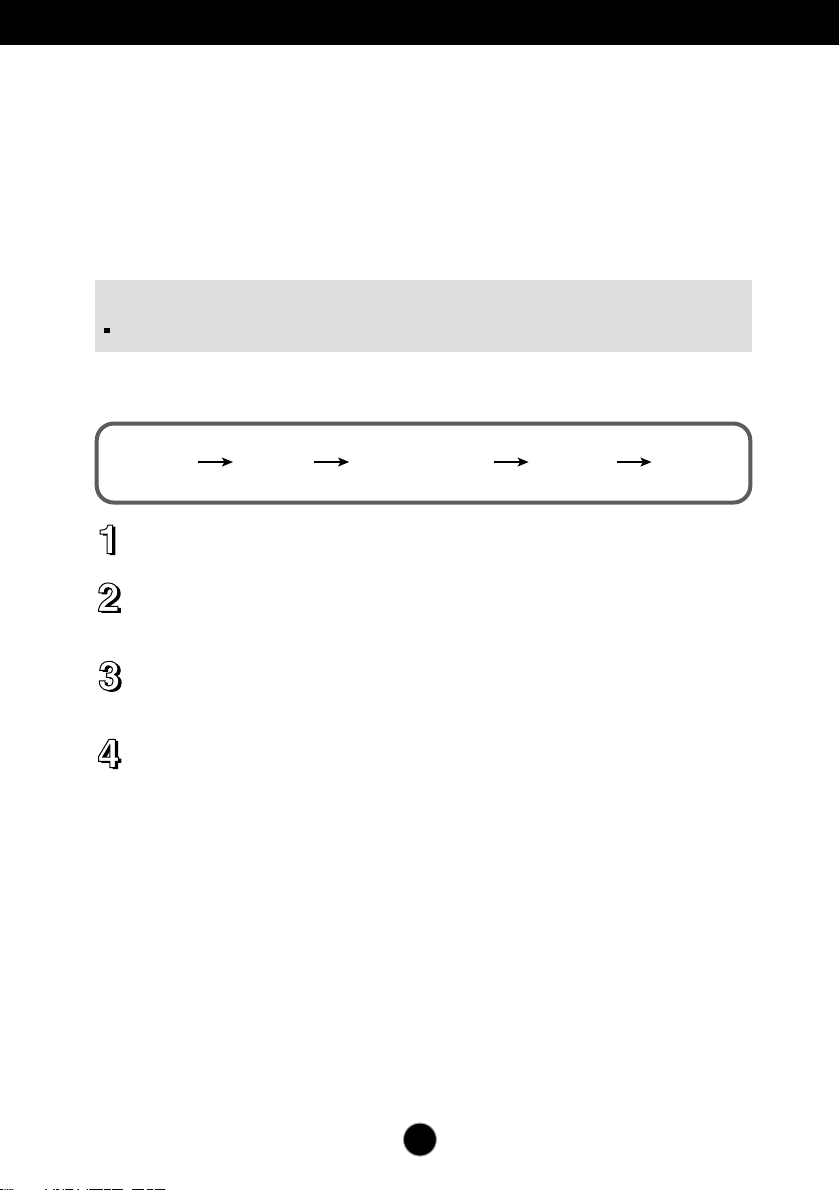
To make adjustments in the On Screen Display, follow these steps:
Press the MENU Button, then the main menu of the OSD appears.
To access a control, use the or Buttons. When the icon you want
becomes highlighted, press the SET/AUTO Button.
Use the / Buttons to adjust the image to the desired level. Use the
SET/AUTO Button to select other sub-menu items.
Push the MENU Buttononce to return to the main menu to select another
function. Push the MENU Buttontwice to exit from the OSD.
Automatic save
With the OSD open, once you have made an adjustment the monitor
automatically save any adjustments you have made, even if you exit the menu
or open another menu. If you make an adjustment and then wait for the
OSD to disappear, the adjustment will also been saved.
NOTE
Allow the display to stabilize for at least 30 minutes before making image adjustments.
SET/AUTO
MENU MENU
-
+
-
+
-
+
-
+
Loading ...
Loading ...
Loading ...