Loading ...
Loading ...
Loading ...
For Customer Services & Spare Parts please call 0345 208 8750
Opening times: Monday - Friday 8am – 8pm & Saturday 9am – 1pm
or visit us at www.productcare.co.uk
10
Installation
• This appliance can be installed as a built in unit only. The clearances shown in
the below drawing must be followed.
• Avoid damaging the product during installation, positioning of the appliance
requires two people in order to avoid injuries or damage to the appliance.
• Your appliance should not be located in direct sunlight or exposed to
continuous heat or extremes of temperature (e.g. next to a radiator or boiler). If
this is not feasible, then you should install an insulation plate between the
appliance and the adjacent heat source.
• You should check whether there is an electrical socket available, which will be
accessible after your appliance is installed.
• Place the appliance flatly and firmly on a solid base.
• Be sure to leave enough space for the opening of the door, to avoid damage to
the appliance or personal injury
• The aperture size has to be a minimum of (H)1778 x (W)560 x (D)550mm. The
cabinet in which the appliance is housed in must have a ventilation recess of
(W)540 x (D)50mm.
• The wooden cabinet the appliance is to be housed in must not be enclosed. The
back wooden panel of the cabinet must either be removed completely or cut
out in accordance with the diagram on page 12. This is to allow sufficient air
circulation to cool down the condenser unit for energy efficiency.
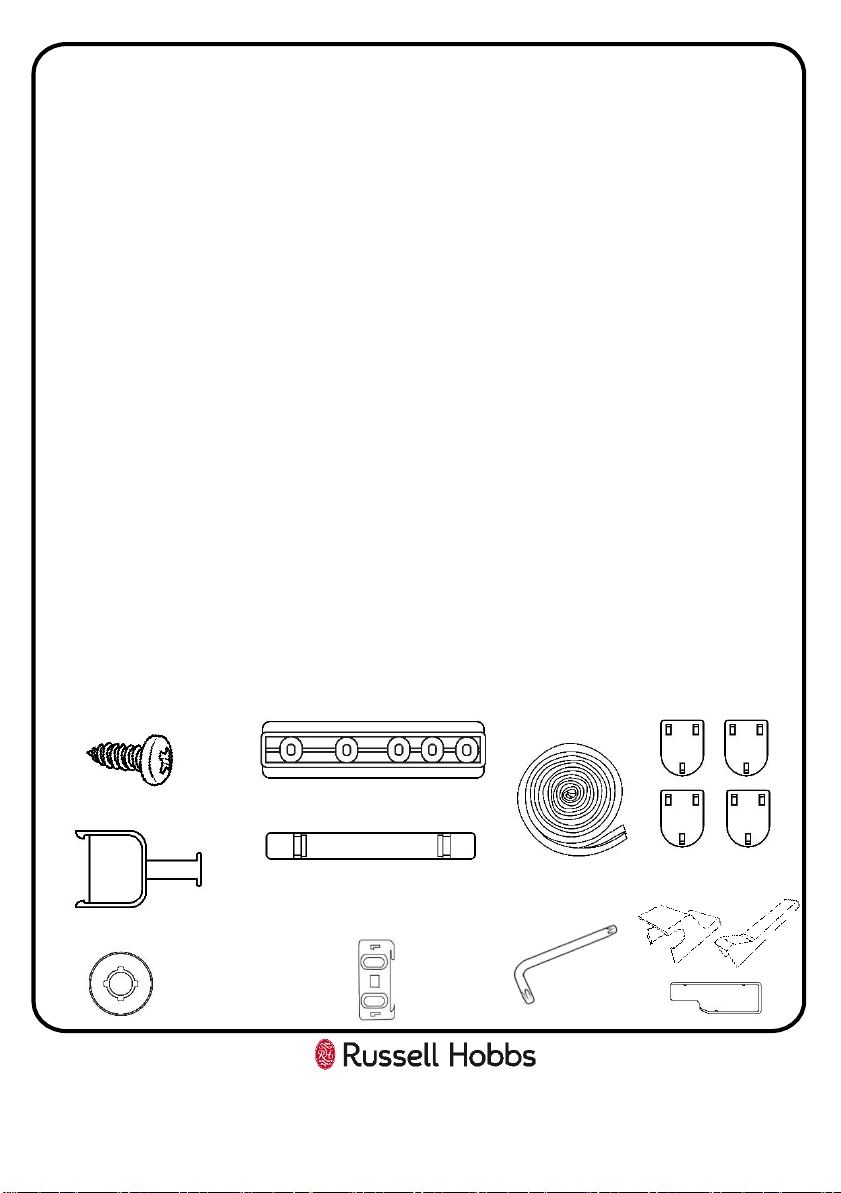
• The accessories that are required for installation are detailed below:
1 x Joint
cover
4 x Door guide
4 x Door guide cover
4 x Door guide holder
(pre-assembled on the door)
20 x Torx screws
3 x Hinge covers
2 x Screw caps
2 x Foot blanking covers
4 x Blanking covers
1 x Torx
Allen key
Loading ...
Loading ...
Loading ...