Loading ...
Loading ...
Loading ...
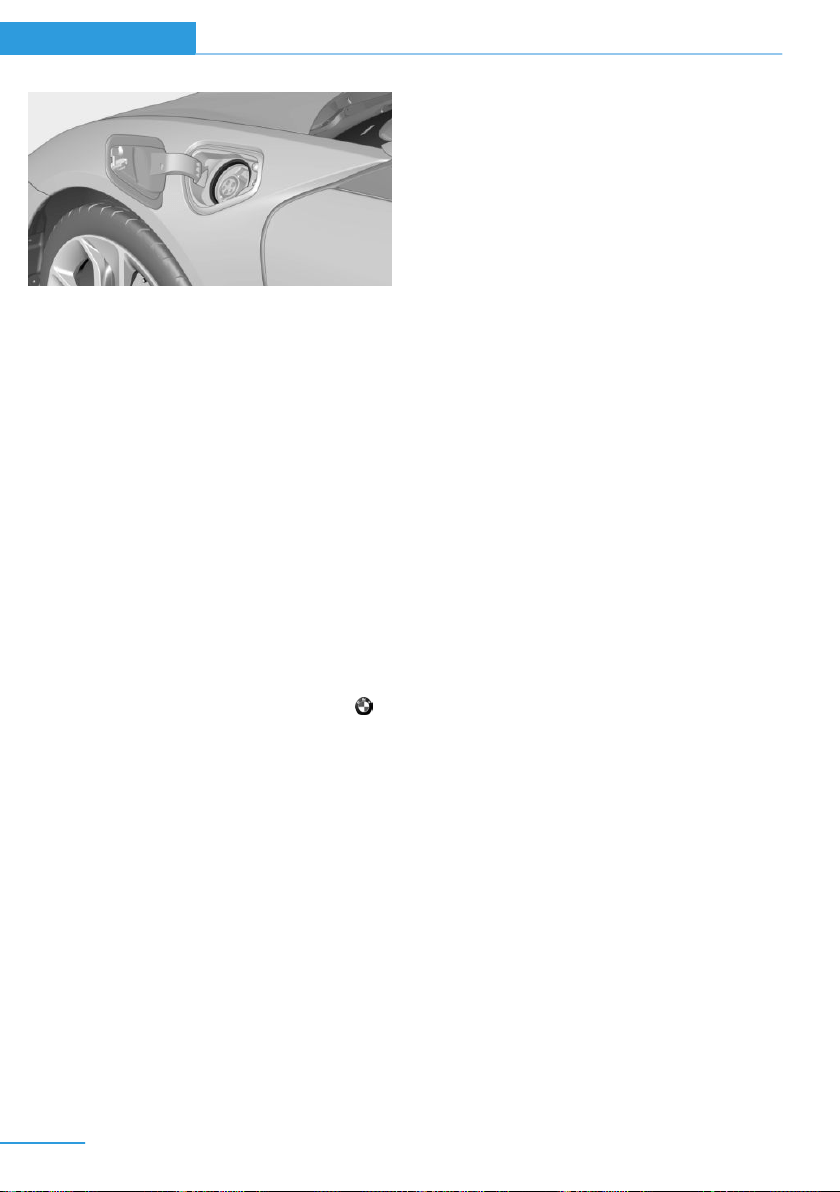
▷ Lamp white: charging cable can be con‐
nected or removed.
▷ Lamp flashes yellow: charging process is
being initialized
▷ Lamp blue: charging process is started at a
set time.
▷ Lamp flashes blue: charging process ac‐
tive.
▷ Lamp flashes red: fault in the charging
process.
▷ Lamp green: charging process completed.
When the vehicle is locked, the indicator lamp
goes out after some time.
When the vehicle is unlocked, the blue indica‐
tor lamp flashes continuously. The other indi‐
cator lights go out after some time.
To check the charging process, press the
key on the remote control. The charging status
is indicated on the indicator lamp. In some
cases the vehicle is locked.
Additional messages regarding the charging
status, e.g., probable end of charging or the
planned departure time, can be displayed in
the instrument cluster, on the Control Display
and via the BMW i Remote App on the smart‐
phone.
Planning charging process
The charging process can be adapted to con‐
straints, e.g., the cost of electricity. The vehicle
can control the charging process in such a way
that the charging process is completed at the
departure time. A departure time must be set
for this purpose, refer to page 151.
The following settings are available:
▷ Charge immediately.
▷ Set time window for favorable charging.
▷ Set charging via a Level 1 charging cable.
If drive readiness is switched off, changes can
be made on the Control Display. Departure
time can only be changed once. Scheduled de‐
parture times are not adjusted. Settings for
standing air conditioning and loading process
are accepted for planned departure times too.
Charging immediately
The charging process starts as soon as the
charging cable is connected.
1.
"Settings"
2. "Charging"
3. "Charge immediately"
Setting time window for favorable
charging
When departure time is set, a time window for
charging with a favorable electricity rate can be
set.
1.
"Settings"
2. "Charging"
3. "Low cost charging"
4. Set rate begin. Turn the controller until the
desired time is set and press the controller.
5. Set rate end. Turn the controller until the
desired time is set and press the controller.
Setting charging via a
Level 1 charging cable
Depending on the electrical mains, the vehicle
must be charged with a different charging cur‐
rent strength, refer to page 146.
1.
"Settings"
2. "Charging"
3. "AC charging power:"
Seite 150
Mobility Charging vehicle
150
Online Edition for Part no. 01 40 2 957 072 - X/14
Loading ...
Loading ...
Loading ...