Loading ...
Loading ...
Loading ...
ENGLISH
Function
15
Function
* The On-Screen Display (OSD) in this manual may be slightly different from your projector.
* This operating guide explains operation of RGB(PC) mode mainly.
1. Press the MENU button. Then, move to PICTURE with the
∧, ∨, <, > buttons and press the OK button.
2. Press the ∧, ∨ buttons to move to a desired function and
press the OK button.
3. Press the <, > buttons to make a desired adjustment and
then press the OK button.
• You can set image values differently for each input and Picture Mode.
• Saving after making adjustments will display (User) in adjusted Picture Mode.
(except Expert 1/2)
• Execute Picture Reset for Picture Mode to restore back to default factory set-
tings.
• Press the BACK button to exit the menu screen.
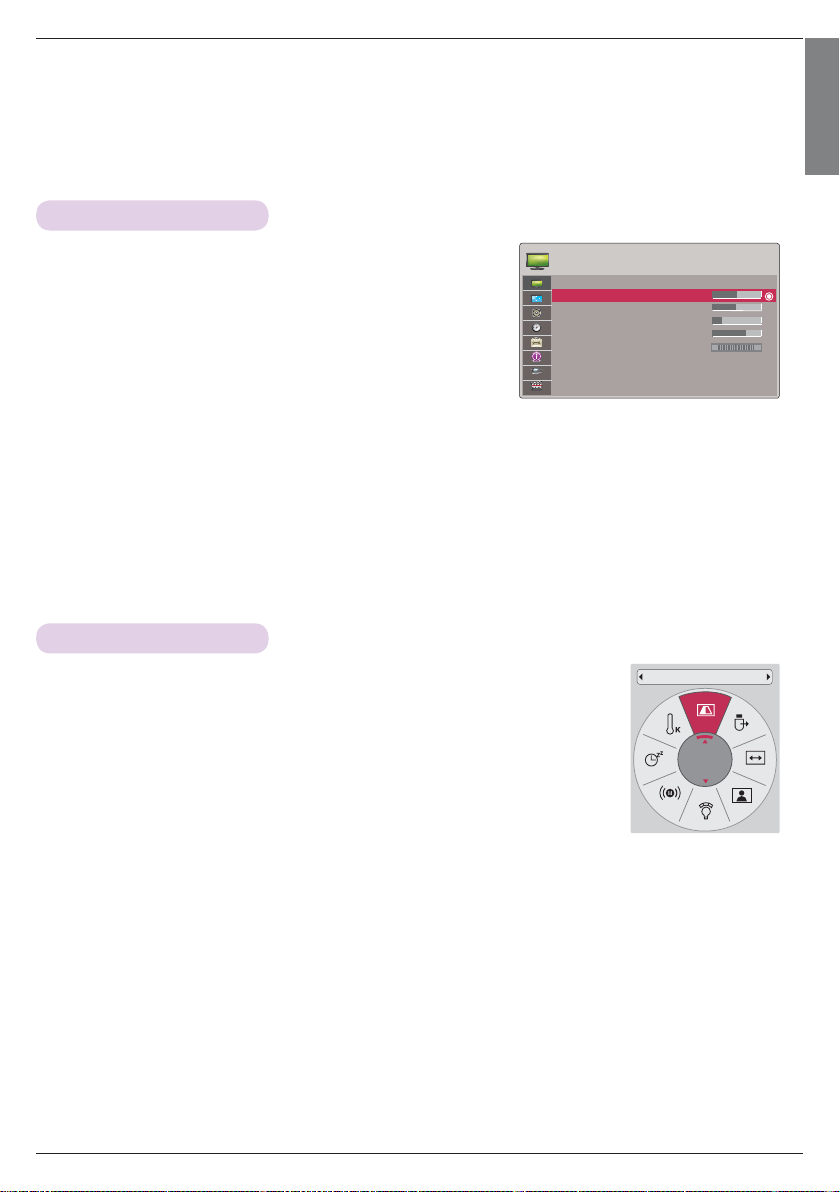
Adjusting Picture Mode
ꔂMove ꔉOK
PICTURE
Picture Mode : Standard
• Contrast 50
• Brightness 50
• Sharpness 5
• Color 70
• Tint 0
• Advanced Control
• Picture Reset
G
• Select Rear when projecting from the back of the transparent screen purchased
separately.
• Select Ceiling when installing the product on the ceiling.
• When PJT Mode is Rear/Ceiling, the left/right of the speaker changes automatically.
• You can use this function through the MENU button.
• Press the BACK button to exit the menu screen.
To Change PJT Mode
* This function turns the projected image upside down or flips horizontal.
PJT Mode
Front
1 . Press the Q.MENU button on the remote control.
2. Press the <, > buttons to move to PJT Mode.
3 . Press the ∧, ∨ button to select a desired item.
Loading ...
Loading ...
Loading ...