Loading ...
Loading ...
Loading ...
13
INSTALLATION INSTRUCTIONS
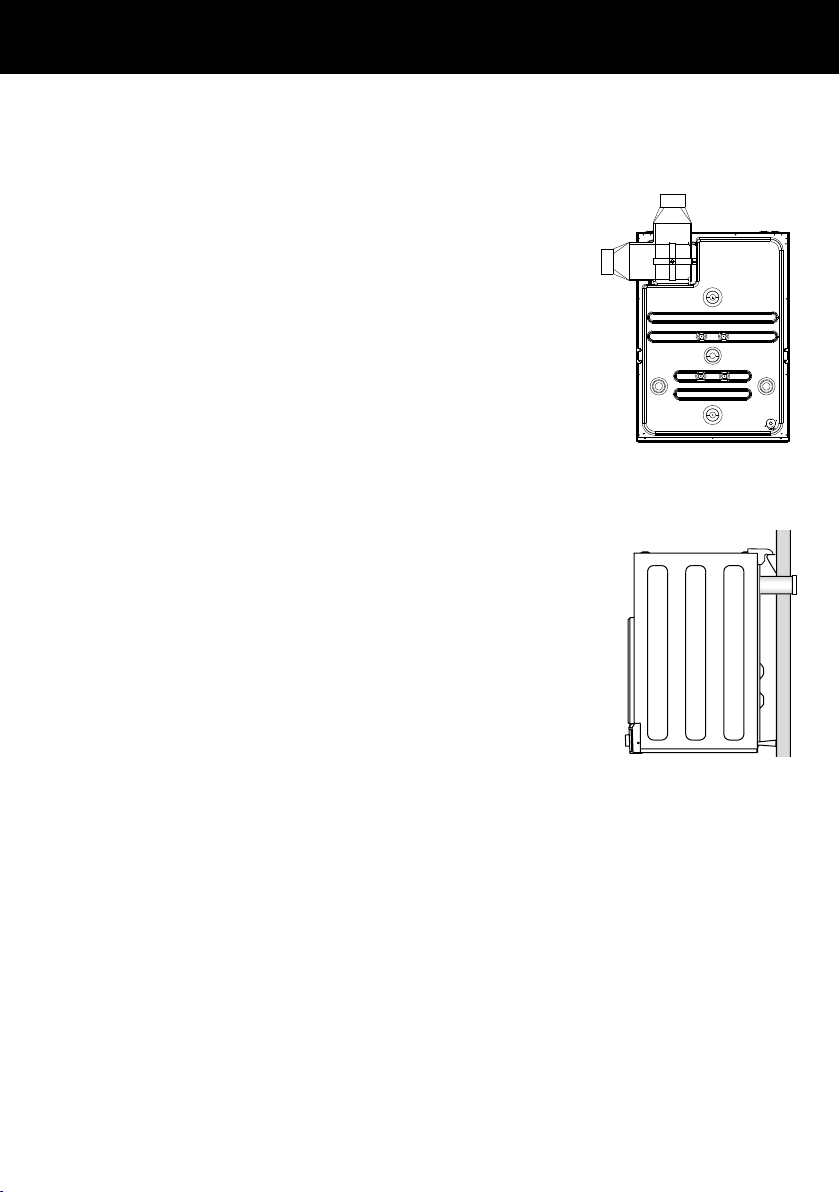
Before a rear venting option is installed the dryer must be changed from the front
venting factory setup. Remove the outlet grille from the front left-hand side and replace
with the outlet cover from the rear left-hand side. These covers should be gently pried
at the sides to prevent damage.
External venting options
The dryer can be vented with a kit that can be
positionedtovent upwards or to the side. Kit part
number PD-DK4W.
The dryer can be vented directly through the wall with
Kitpart number PD-SVHCW4, in combination with the
ductadaptor supplied with the dryer.
Note: the vent system should be a maximum of 2 metres
with no more than three 90⁰ bends.
Internal venting
Front venting is the only option for internal venting.
The dryer is set up for front venting when it leaves
thefactory.
Note: all efforts should be made to vent the dryer
externally, if possible, to avoid moisture build up in the
areaaround the dryer.
Electrical connection
1
This appliance must be connected to a
220V–240V,50Hz, sinusoidal, 10Aelectricalsupply.
2
Uncoil the power cord, remove and discard the plastic pin
cover and plug into a powersocket.
3
Connect the appliance to an earthed outlet protected by a
fuse of suitable capacity.
Check the power cord for damage and make sure it is not
squashed or twisted when installing the dryer.
Always remove the power cord from the power socket by
the plug, not by the cord.
IMPORTANT!
Do not touch or operate the dryer with wet hands or with bare-feet.
A damaged power cord must be replaced by a Fisher & Paykel Authorised Repairer.
The appliance must not be operated until it is repaired, as there is risk of electric shock.
Do not operate this dryer if it has been damaged during transport. Contact your
Fisher&Paykel dealer or Fisher & Paykel Authorised Repairer.
Through-wall
mounted ducting
Wall mounting ducting
Loading ...
Loading ...
Loading ...