Loading ...
Loading ...
Loading ...
9
TITLE TO GO HERE
Installation options
There are two different ways your dryer can be positioned. Freestanding or inverted and
mounted on a wall.
Free standing
The dryer stands on the floor and can easily be moved into position.
1
Move the dryer into the desired position. Do not lift the dryer by the top panel.
2
Have a minimum clearance on all sides of at least 20 mm.
3
Have a minimum clearance at the rear of 75mm. The
spacers from the accessory wall mounting kit can be used
to set this distance.
4
Install the dryer on a stable and level floor.
Free standing venting options
Note: the vent system should be a maximum
of2metres with no more than three 90⁰ bends.
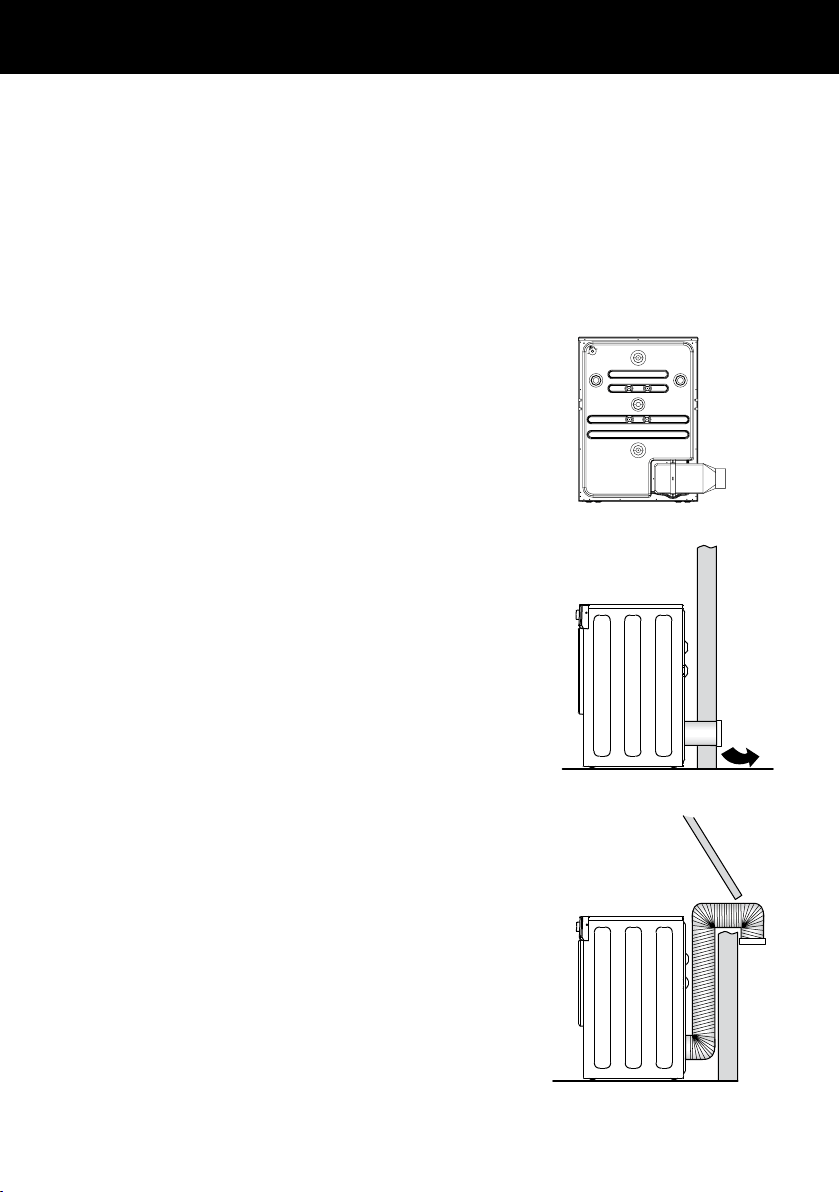
Through-wall venting
The dryer is vented directly through the wall using
Kit part number PD-SVHCW4, in combination with
the duct adaptor supplied with the dryer. The dryer
is vented with a kit that can be positioned to remove
the air to the side. Kit part number PD-DK4W.
Movable venting
The dryer is vented through a window using kit
partnumber PD-F0408, in combination with the
duct adaptor supplied with the dryer. This requires
the dryer to be a minimum distance of 140mm from
the wall to ensure the ducting is not restricted with
tight bends or can be crushed.
Before a rear venting option is installed the dryer
must be changed from the front venting factory
setup. Remove the outlet grille from the front
left-hand side and replace with the outlet cover
from the rear left-hand side. These covers should
begently pried at the sides to prevent damage.
Front venting
Front venting is the only recommended option for
venting into the room. The dryer is set up for front
venting when it leaves the factory.
Note: All efforts should be made to vent the dryer
externally if possible, to avoid moisture build up in
thearea around the dryer.
INSTALLATION INSTRUCTIONS
Movable venting
Through-wall venting
Through-wall venting with kit
Loading ...
Loading ...
Loading ...